Cockpit floor and walls
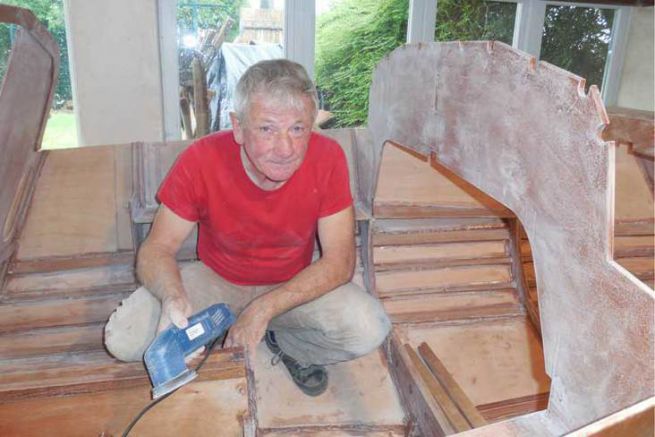
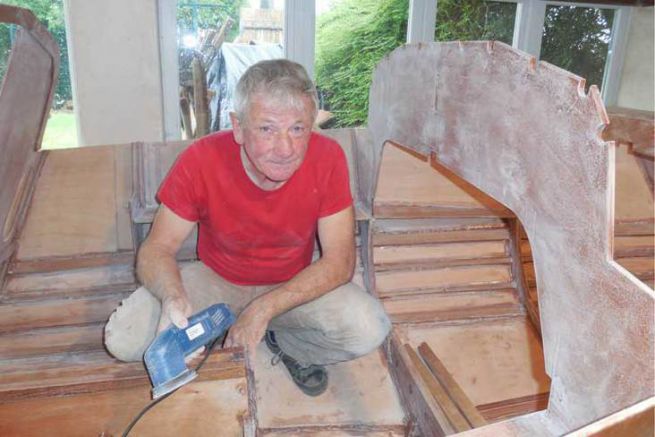
The boat's right side up. I have to make the fillet joints to glue the planks to each beam, then sand and impregnate the whole boat with resin.
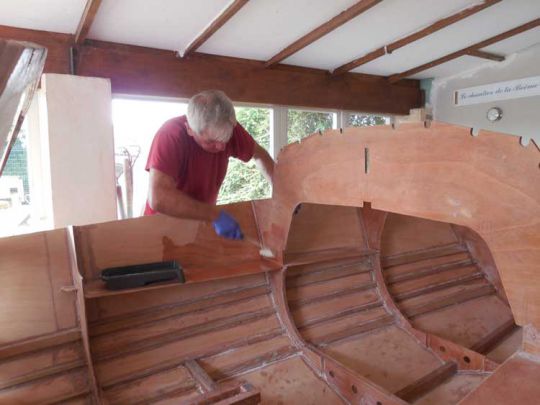
Impregnation of the whole boat
I modified the cockpit water evacuation system, it was planned to have the drip pans placed in drainage meshes. I choose to replace them with a drain hose with a recovery hole in the floor. The floor is constructed with a slope shape and the drain is placed at the lowest point of the floor.
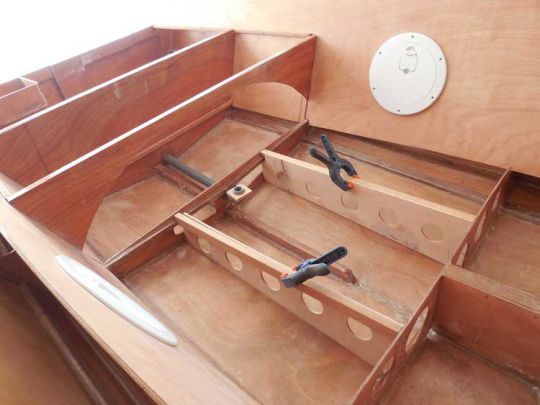
Additional bulkheads to stiffen the cockpit floor
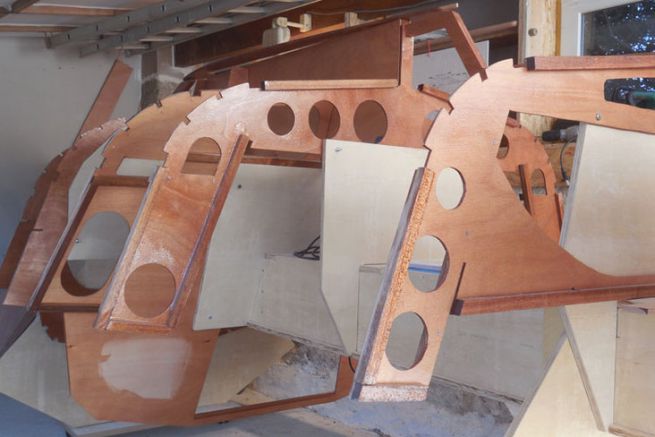
I also decide to place additional cockpit floor support bulkheads to reinforce the floor that I consider too flexible.
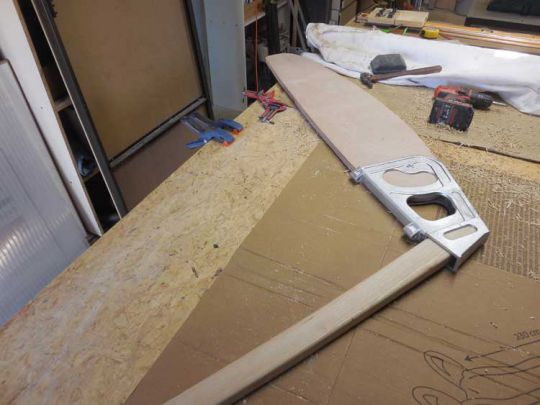
The rudder is made of plywood and the tiller of elm
Rudder and daggerboard, from appendages to small onions
Between two phases of major work, I build the rudder: the tiller is cut from an Elm beam, the rudder is made of 3 plies of 9 mm plywood.
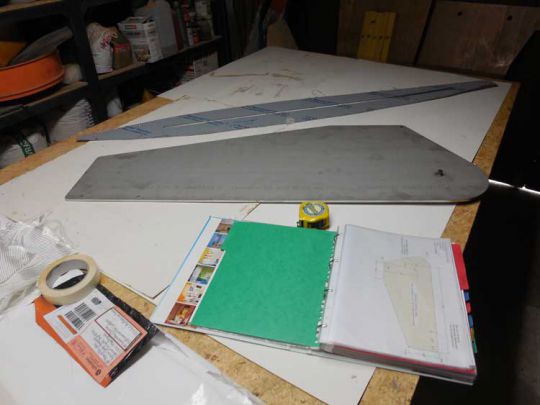
The two stainless steel parts: the daggerboard and the protection plate
The daggerboard is cut by a craftsman from a 6 mm thick 316 stainless steel sheet. A keel guard is also provided to protect the keel in the event of poorly controlled groundings. These parts are cut digitally.
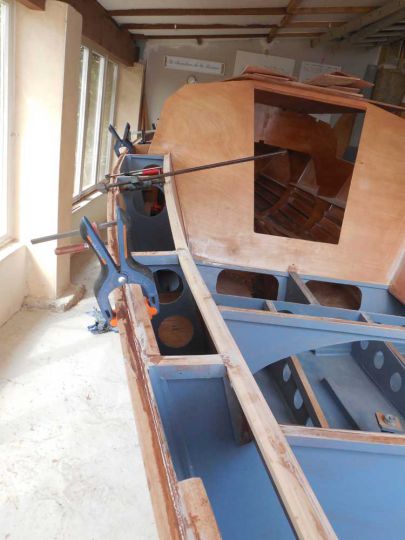
Laying of beakers
Bridges and insubmersibility
Before the bridge is laid, I make the beams and the listons. They are machined in exotic wood pieces. The 3.00 m long pieces are trimmed, planed and router-profiled. They will be jointed by scarfs like the planks. I install all these pieces in solid wood, as well as the many reinforcements essential for the fitting of the deck fittings.
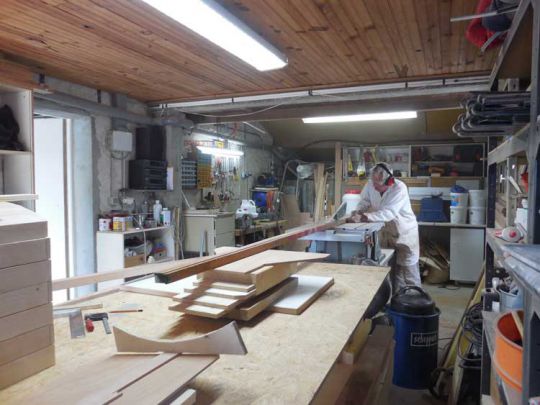
Flow of the listons
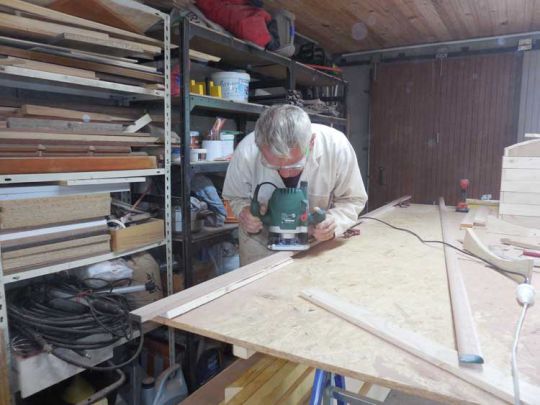
Machining with the router
The plans didn't call for a mooring lease, but I decided to make one on the port side.
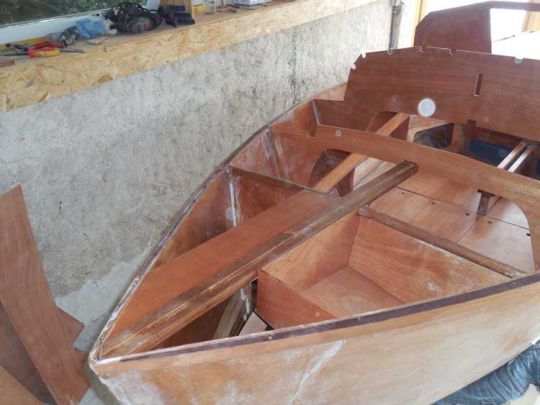
Creation of the mooring lease
In order to comply with current construction rules, it is necessary to make the boat unsinkable. The backrest provides two main buoyancy chambers: one of 95 litres at the bow and another of 180 litres at the stern. I will fill them with polystyrene foam. As a precaution, I'm making two additional small watertight compartments in the cockpit side lockers to compensate for the volume occupied by the anchor locker, and therefore not filled with foam.
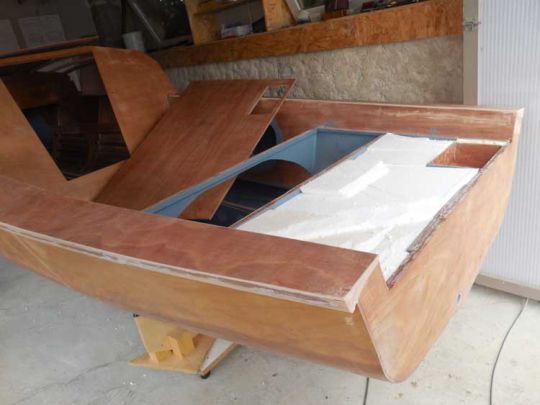
The large foam box at the back of the cockpit
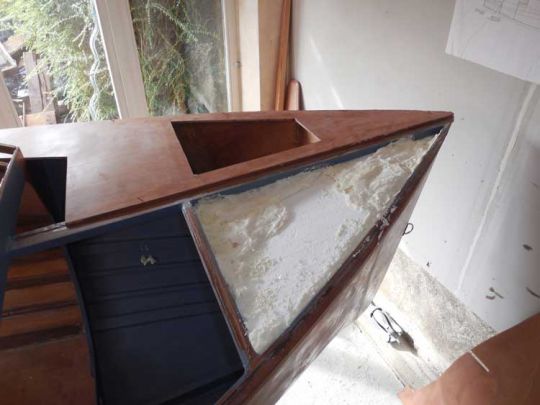
Due to the presence of the mooring leash, only the half-bowl is filled with moss
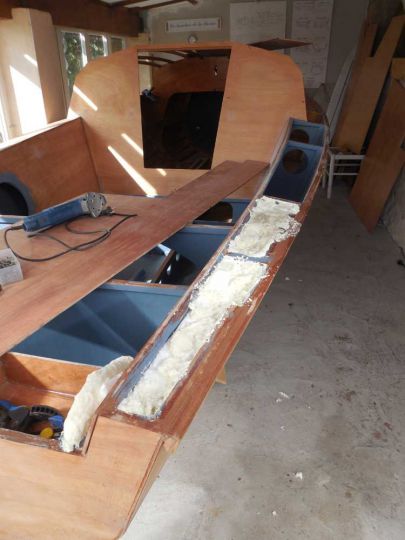
Adding foam to the walls of the cokpit
Cabin and deckhouse
After the numerous fillet joints in the cabin between the planking and the stringers have been made, the flooring, team fronts and worktops must be laid. Even if this Marauder is not big, it is entitled to some interior fittings.
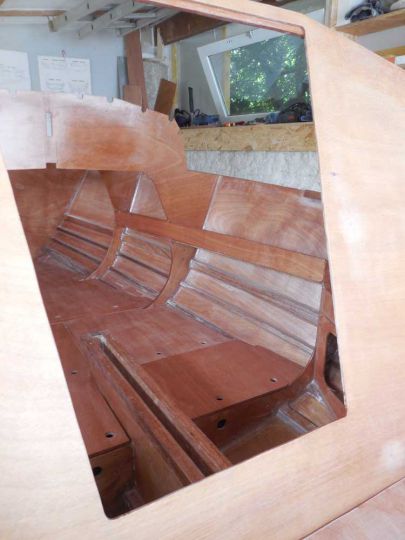
Adjustment of floor parts in the cabin
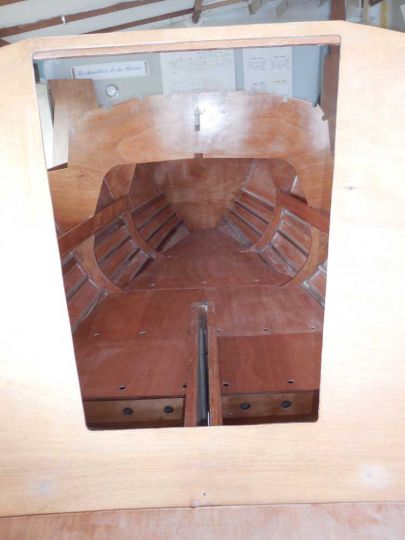
Then the deckhouse is built by glued stitching. It is presented dry on the rails which will receive it afterwards. I assemble it by interposing a polyane film which will prevent the final gluing on the supporting structure. This method allows me to lay it down after a first gluing and to laminate it on both sides. The final gluing of the panels together and the lamination are done in the workshop, it's simpler and the work is done in the best possible conditions. The assembly is then definitively glued to its frame.
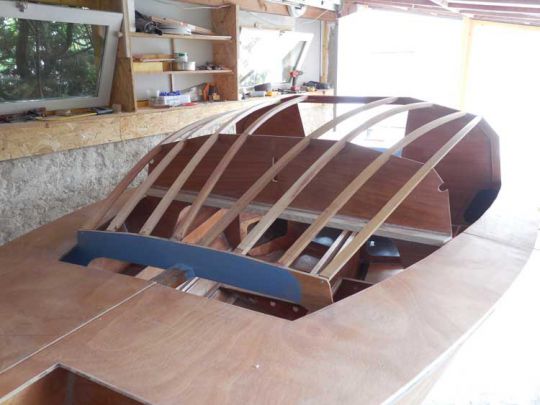
The frame of the deckhouse
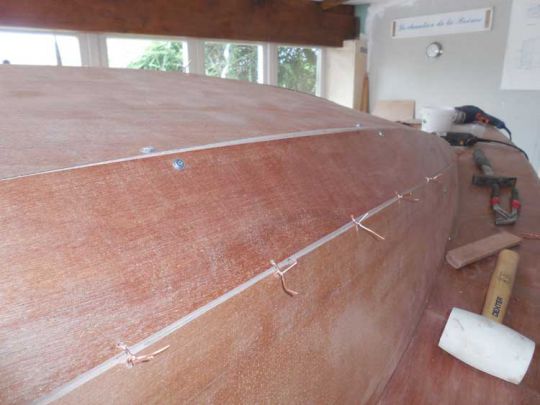
Sewing of deckhouse panels
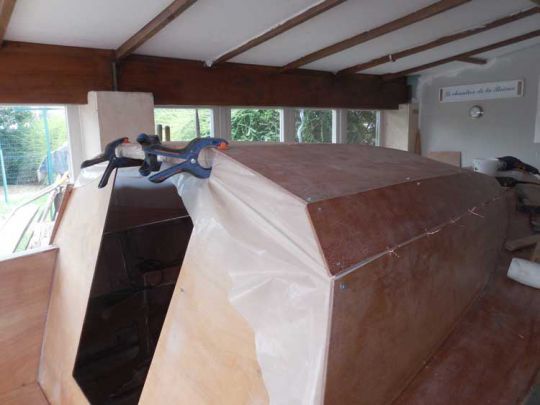
Bonding with the interposition of a polyane film
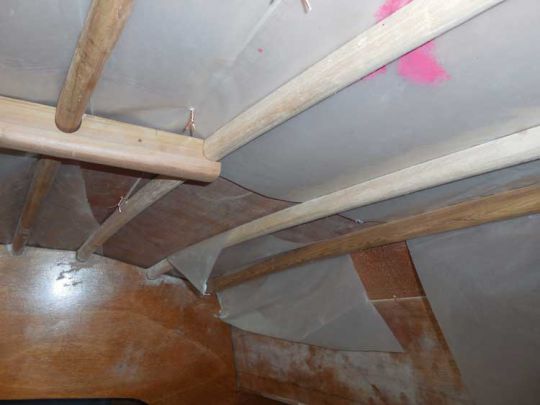
The polyane film seen from the inside
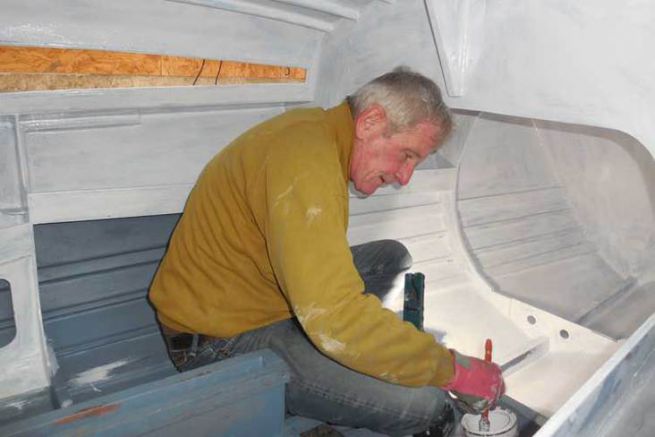
The finishing work must now be carried out: complete the concave joints, sand them, and impregnate the pieces that have not been impregnated before laying. This is a long-term job that I hadn't quite grasped. That's where experience counts. Indeed, today I know the mistakes not to make.
For the cabin ceiling, I should have turned the boat over to do the fillet joints on a surface closest to the horizontal. On the contrary, I worked "on the ceiling" for gluing, fillet joints and sanding the inside of the cabin. It was the most uncomfortable method!
What's more, I did this in the summer heat, so I didn't protect myself sufficiently and this "epoxy operation" ended with a giant hives attack that I treated with difficulty in several weeks!
