Scarves for panels
The 5.00 m long edging panels are assembled by scarfs. I must indeed assemble 2 panels in the length. The machining of the scarfs was done with a belt sander by superimposing the two offset panels. The gluing was done in the living room (it is cold in the workshop for epoxy resin!). Pressing was done with a home-made press.
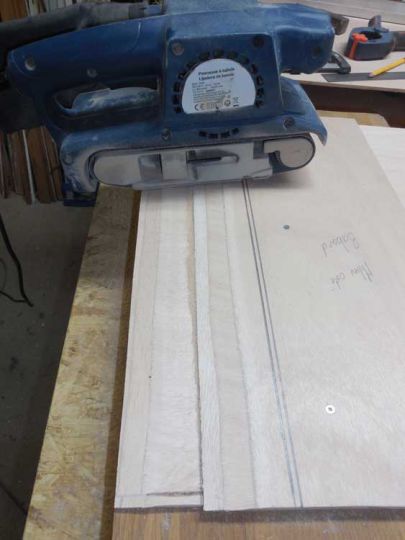
Scarfs made with belt grinder
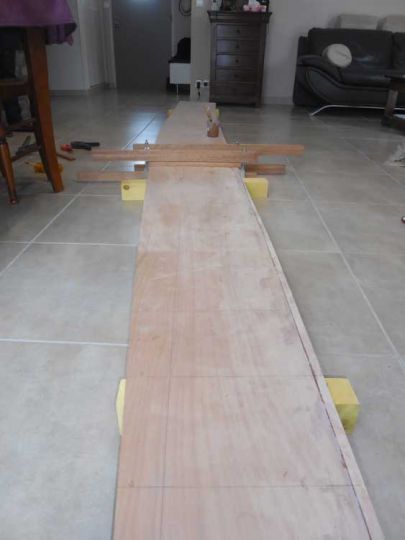
Setting up for gluing the scarves (in the living room!)
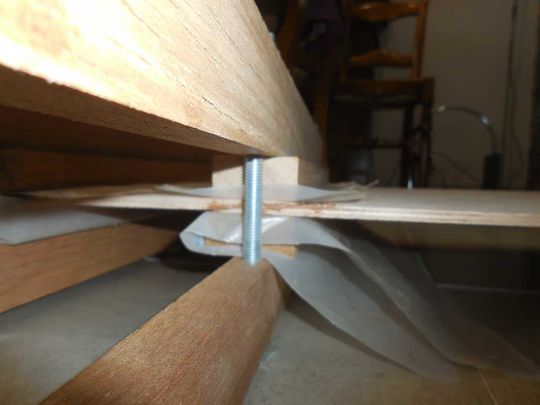
The press for gluing scarves
Boarded, keel and chines
The installation is easily done in 2 steps as always. Dry presentation, temporary screwing then gluing. I have now mastered the application of the resin with the syringe, although I use it a lot.
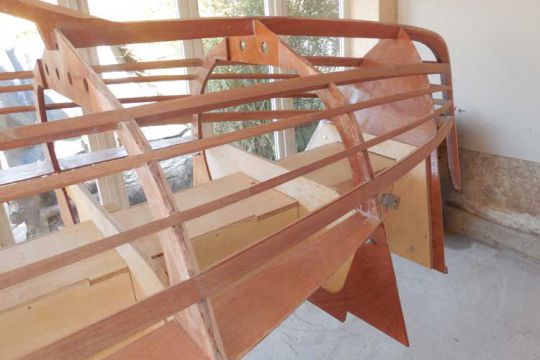
The solid wood rails are in position, ready to receive the plywood planks
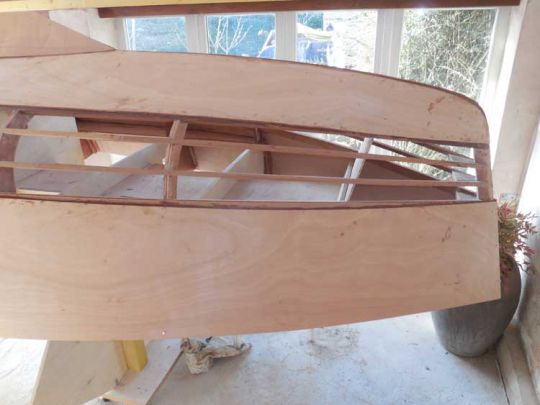
Laying the 2 edges in a sheet of plywood
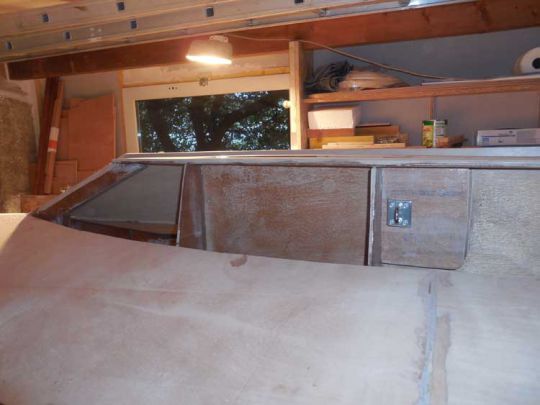
Keel well assembly
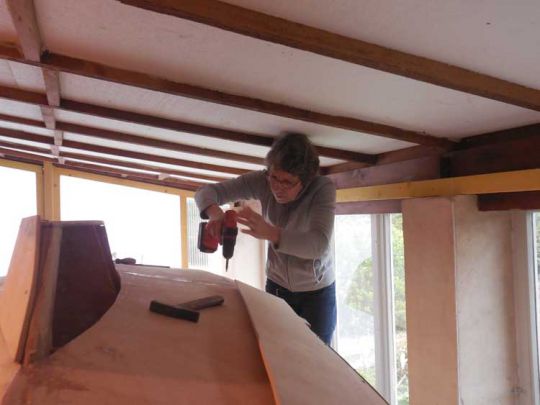
Screwing before gluing
The bottoms and sides are the easiest parts, they are large elements made of 6 mm plywood in a single thickness. They are laid longitudinally by temporary screwing and then gluing. We used the large-format medical syringe and the coating knife.
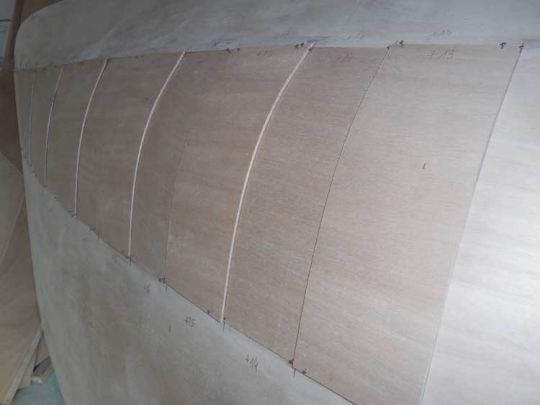
The chine is made with 2 layers of 3 mm plywood
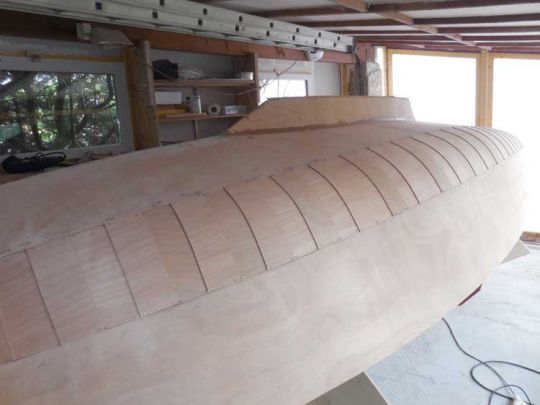
Superimposing the chine
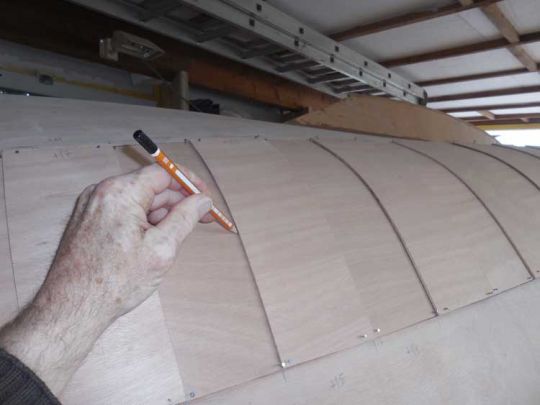
52 sheets of plywood must be traced and cut on each side!
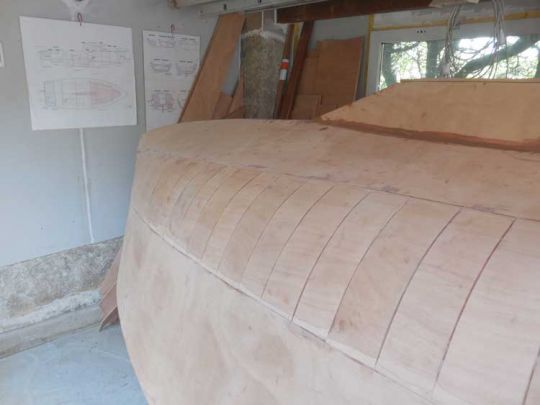
The chine is glued
The chines are the most curved parts of the border between the bottom and the sides. To make them, the architect foresees that they are made in 2 crossed layers of 3 mm thick CP. Small pieces of CP must be laid, which are cut one after the other. They are traced by superimposing the pieces, then cut out before being glued definitively. The operation must be repeated to make the second fold, which is crossed with the first one. This is a big job that will require a lot of time and patience. It took me 1.5 months to border the whole hull.
The keel planking is made by stitch gluing: this involves dry joining the CP parts by sewing before they are glued together. I chose to "sew" these parts with pieces of copper wire, so there can be copper left without fear of damaging the weld afterwards.
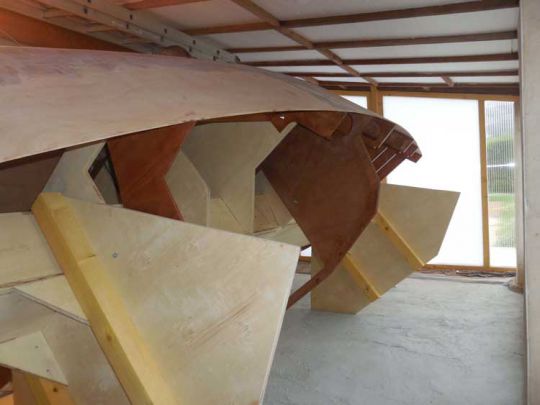
The cradle is designed to tilt the boat and facilitate the work
Stratification
As soon as the whole edging is done, it must be laminated, I use 200 gr/m² glass cloth applied using the "wet" technique. The work must be done on surfaces close to the horizontal to avoid the resin to flow. Not easy on a boat hull! So I will progressively tilt the hull as I work.
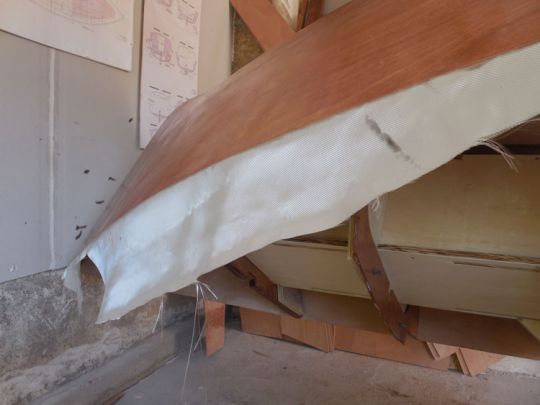
Glass fabric for solidifying the shell
Luckily the supports are designed for this and the weight of the set is not too great to tip it over. So I can do it easily. During this lamination phase, I use a lot of nitrile gloves and my work clothes suffer considerably, the workshop floor is also impregnated! This is not the most interesting phase..
At this stage, I laid 15 m² of glass cloth and consumed 12 kg of resin. And it's far from over..
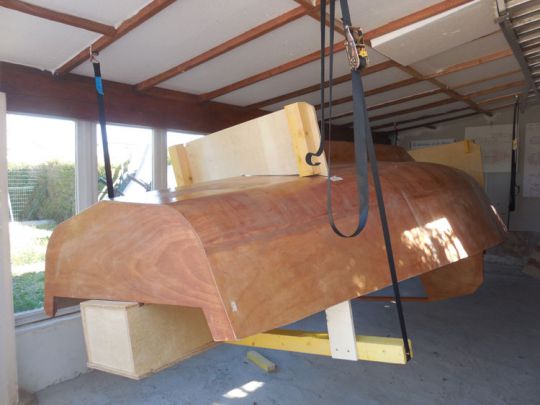
Reversal
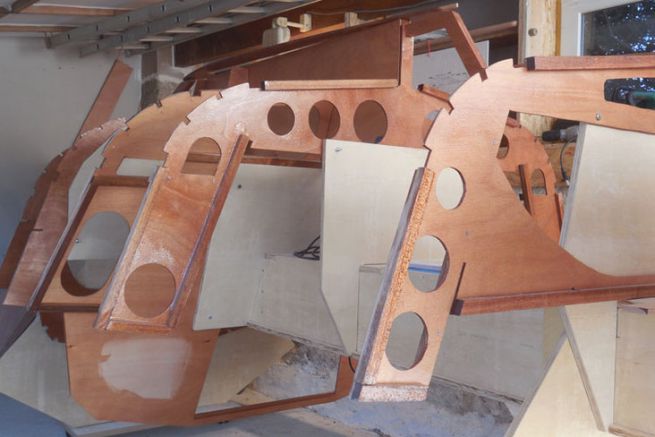
I should have done the first paint job before turning over (at least the primer coat), but my impatience didn't allow it, I was anxious to see the result, the boat right side up. I installed 2 ratchet straps on the frame of the room, it's not ideal, but it does the job with a few hands to help. Once in the right position after removing the bulkhead brackets, the central beam is extracted.
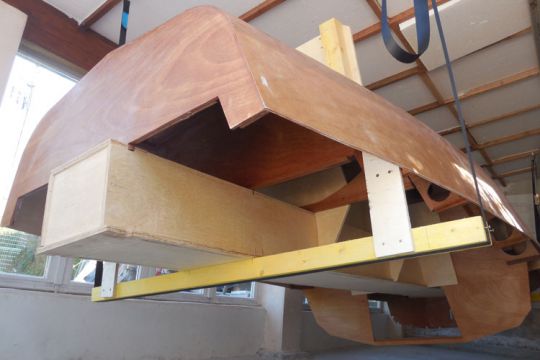
Hull lifting support installation
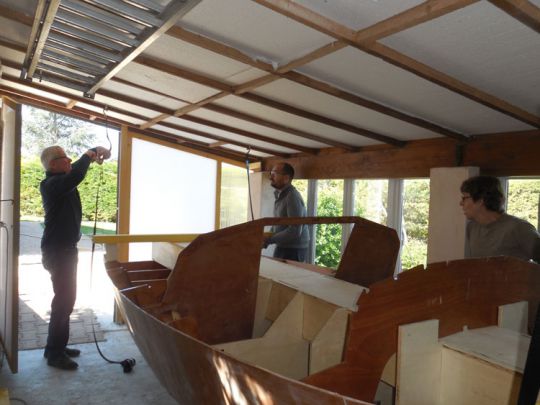
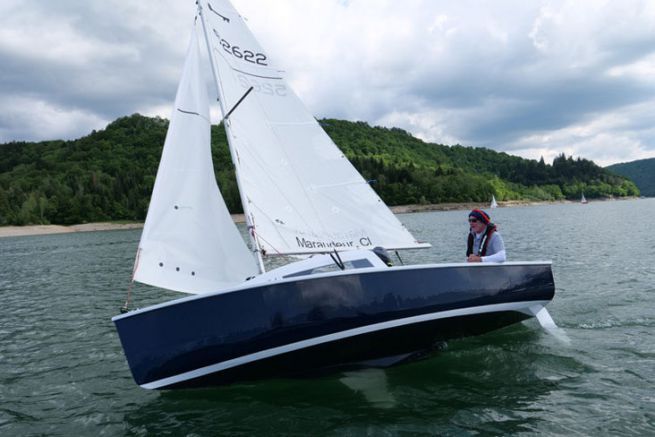
The Marauder is right side up!
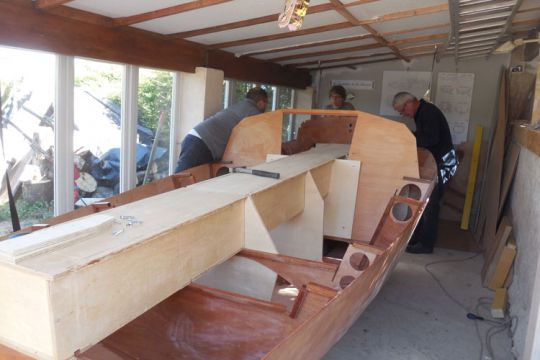
The beam for the construction site is extended from the rear as shown on the plans
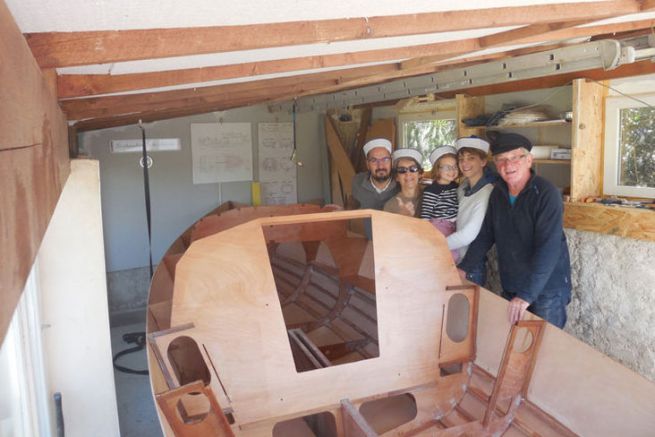
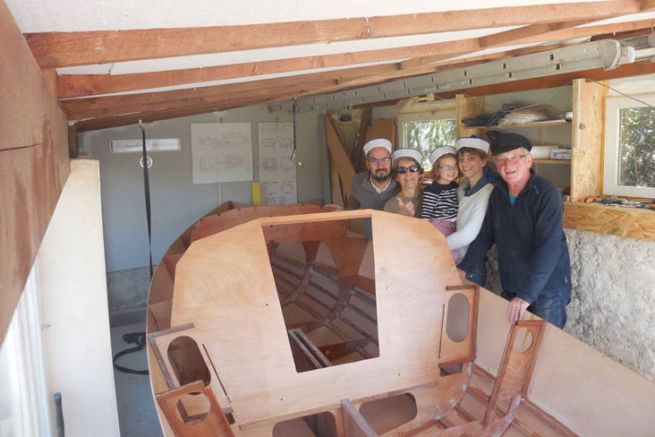
The extra manpower is there to share the pleasure of seeing the machine right side up. I can better measure the number of joints to be made between the stringers and the planks. At this point, I already have 300 hours of work. It seems that there are still as many to do..
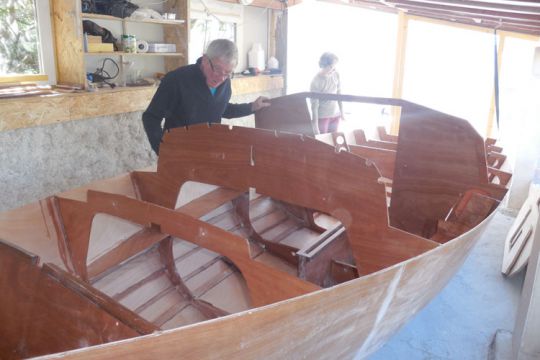
Contemplation of work well done
