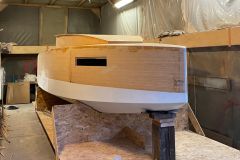
Chronological description of the first stage of construction
- Assembly of the boat's construction support beam
- Prefabrication of the daggerboard
- Cladding of partitions with cleats and reinforcements called "doublers"
- Assembly of the structure on the support: partitions, axial frames, daggerboard shafts, planking rails
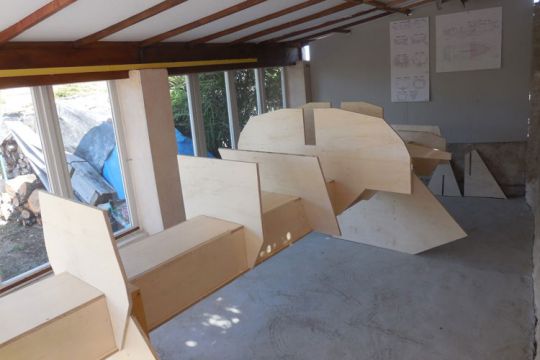
The beam that will be used to build the boat upside down
The stock of plywood is large, 22 panels of 122 X 244 cm from 3 to 15 mm thick are required
- The standard 15 mm CP is used for the axial beam and wall supports
- The 3 mm CP is used for bilges.
- The 6 mm CP is used for planks, decks, decks, deckhouses and bulkheads. (Except n°7 plumbing the mast which is thicker)
- The 9 mm CP is used for doublers, axial frame, bed base and cockpit floor, transom.
Cutting of parts and first assemblies
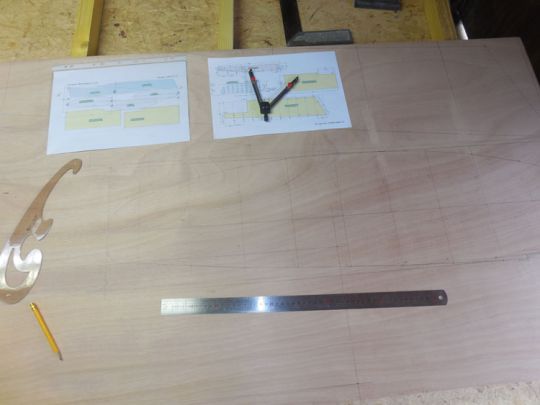
Tracing of parts
The many parts are drawn according to the plans in the architect's file. The architect's file proposed the purchase of a wooden kit including plywood cut on a digital machine. I chose to do the drawing and cutting myself. It is more pleasant to do everything and it is also an opportunity to significantly reduce the budget.
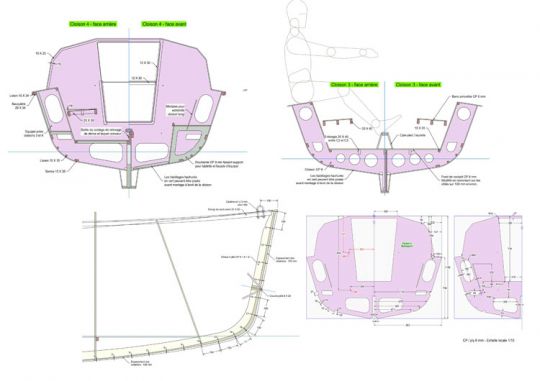
Extract from François Vivier's plan - Square plane of the axial structure
Square, aluminium ruler and large format tee do the trick.
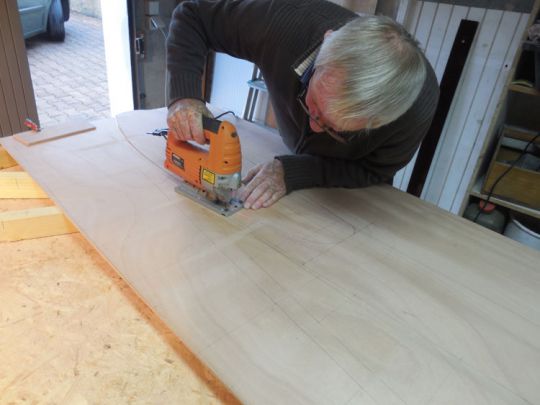
Jigsaw cutting
The cutting is done with an ordinary jigsaw. You have to be careful when cutting thick panels, in fact you have to make sure that the blade stays square to respect the tracing, it's not easy and will require a hundred hours of work.
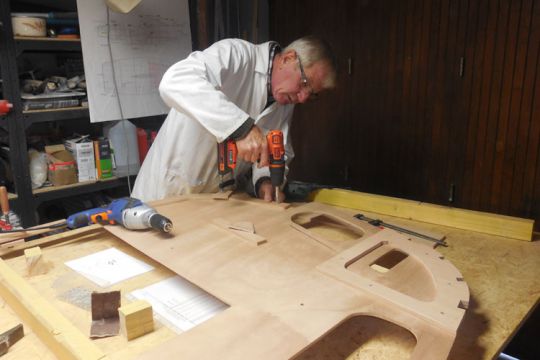
Installation of reinforcements on the partitions
Each part is then impregnated with epoxy resin. Impregnation is used to prevent water infiltration and to promote bonding.
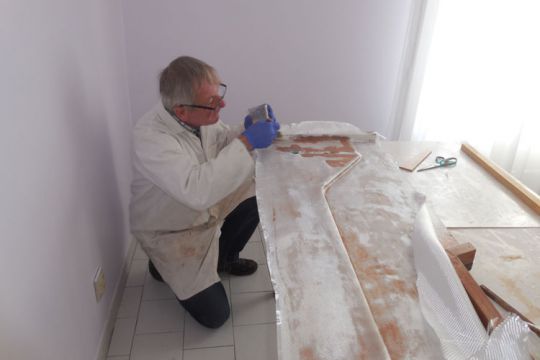
Interlining of the inside of the daggerboard well
I am doing my first canvas work on the inner walls of the daggerboard well. Great care must be taken because they will no longer be accessible after final assembly. I incorporate stainless steel plates to form the hub of the drift axis, also made of stainless steel.
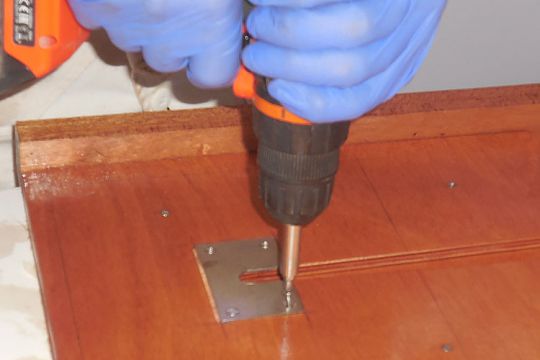
Incorporation of stainless steel reinforcements to form the hub of the stainless steel drift axis
The axial structure is made with 3 plies of 9 mm CP glued together, the assembly must be squared according to the final profile of the hull. The plans are very clear on this subject and the work is done with the belt sander.
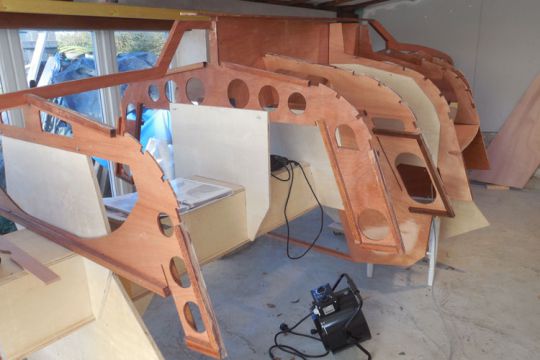
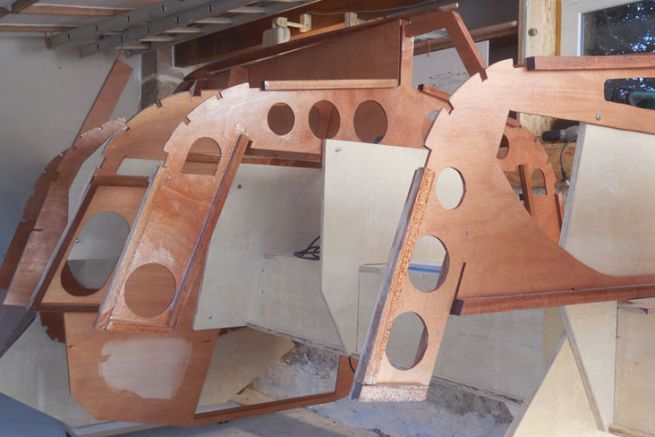
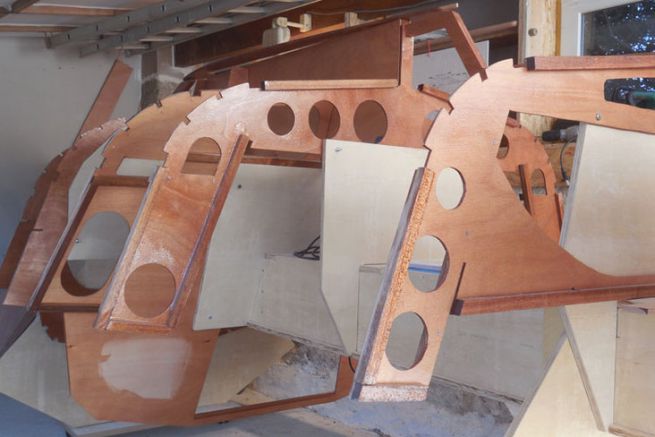
Installation of the partitions, daggerboard and axial frames on their supports.
In light the CP of the beam and the wall supports, darkened the boat parts impregnated with epoxy resin
Installation of the partitions by bolting on their supports, the daggerboard and the axial frame.
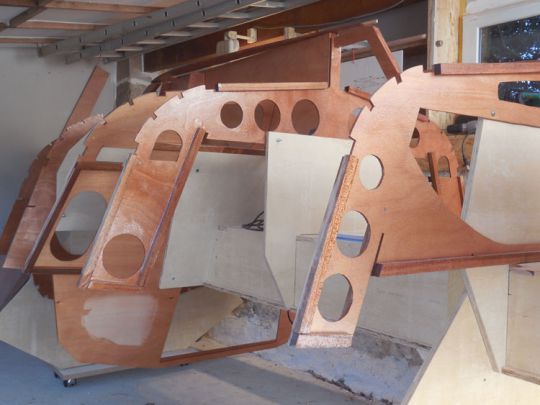
To move the assembly, I installed castors under the legs of the beam supports
Laying the planking rails
The installation of solid wood beams is not simple, they must be both bent and twisted.
First of all, it is necessary to manufacture solid wood beams more than 5.00 m long. Because of the lack of wood long enough, I had to assemble them at the end, it's called a scarf. The wood is machined in whistle to superimpose them before gluing over a length of 8 times their thickness. I did this with the belt sander. This technique will also be used later for the assembly of 6 mm plywood planks.
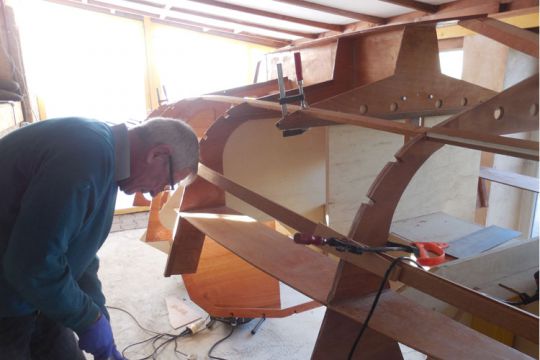
Installation of the flange support rails - Dry assembly by screwing, clamps, straps...
Then I presented the healds "dry" and fixed them with the means of the edge: screwing, clamp, ties, etc. To proceed with the final gluing, I had to drop everything off. This is when it gets complicated: the wood splits (it doesn't like to be screwed, unscrewed and screwed).
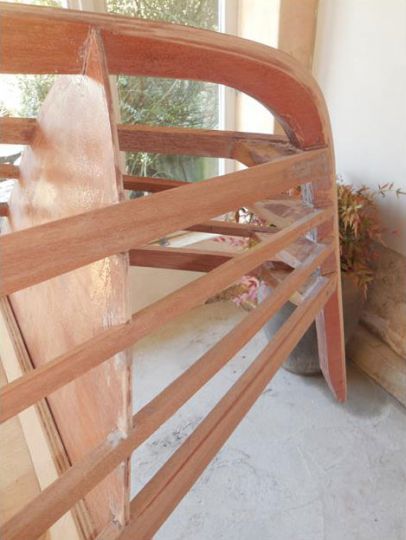
Insertion of solid wooden parts on the bow to allow screwing before gluing
The most complicated area is at the connection of these rails on the bow, I had to complete with solid wooden parts of the bow profile in order to be able to screw them firmly.
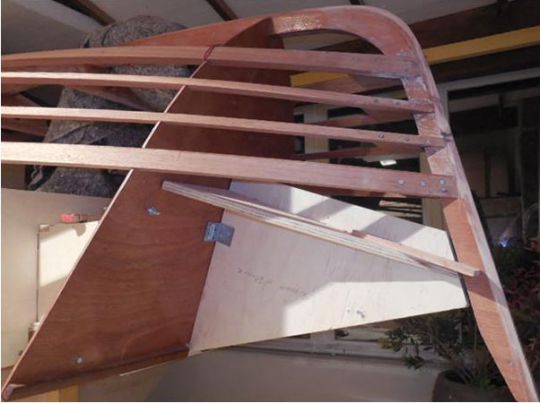
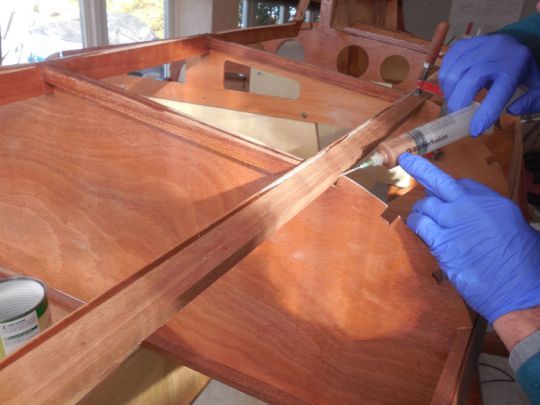
Then the gluing is done with the filled resin. I have tried several techniques to apply this resin, the best one is to use large syringes used in hospitals, without needles of course. My syringes were made of a 5 mm diameter outlet tube, so it takes no less to extract the resin.
