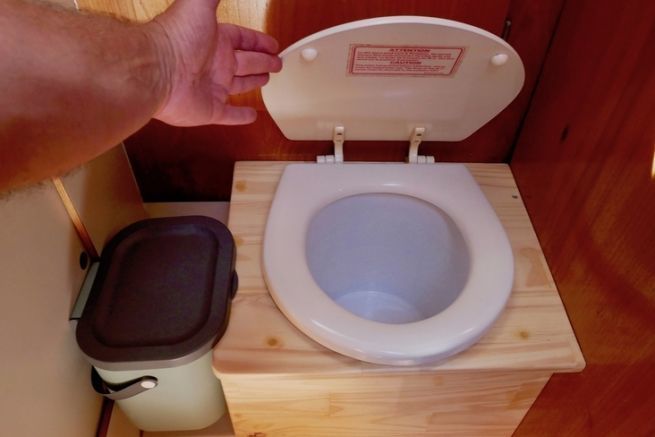
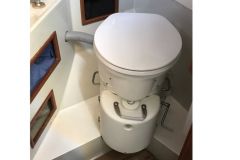
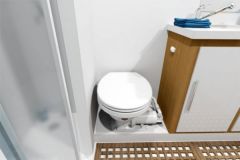
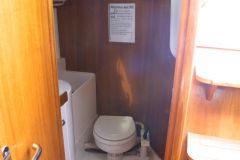
To bring an old boat into the modern era, a sanitary effluent collection system must be installed. This is especially necessary for boats that practice coastal or river navigation where discharges are forbidden. The solution of a black water tank is cumbersome at all levels. We have chosen the dry toilets for its ease of implementation and the economy of the necessary means.
Removal of the old
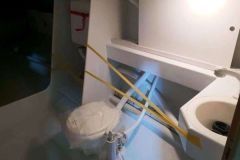
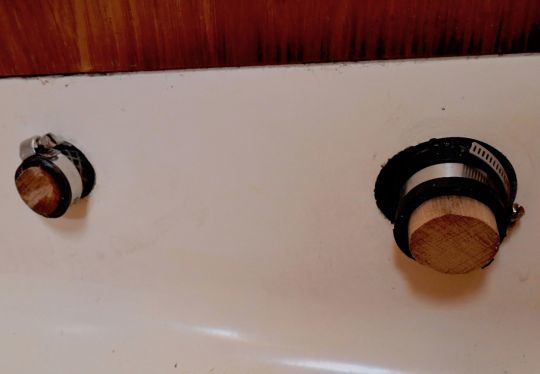
Before removing the existing marine toilet, the first precaution is to close the valves of the through-hulls. To preserve the possibility of returning to the marine installation, we keep the existing pipes that we close after rinsing by pinoches secured by metal collars.
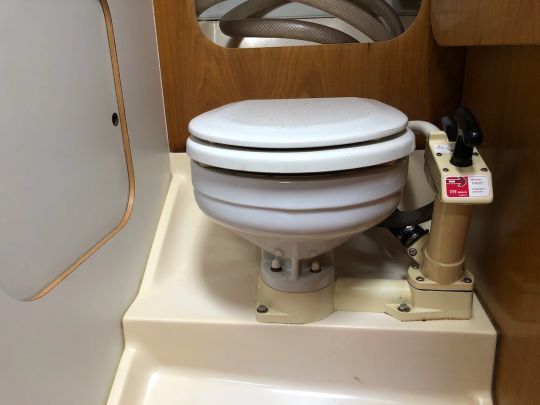
A plot on the spot
After the removal of the bowl and a thorough cleaning, comes the actual design phase. This can only be done on site, empirically. There is no need to make more than a sketch: any precise plan would be called into question as soon as it is confronted with the reality of the field.
The choice of the bucket!
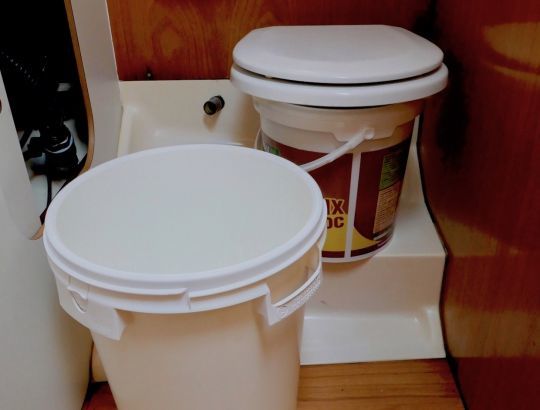
The foundation of any dry toilet is the container, a bucket with a lid. We need one with a diameter adapted to the toilet seat and a height compatible with human ergonomics. After research in the stores we finally opt for the packaging of a granulated organic fertilizer for the vegetable gardenâeuros¦
From the line to the cut!
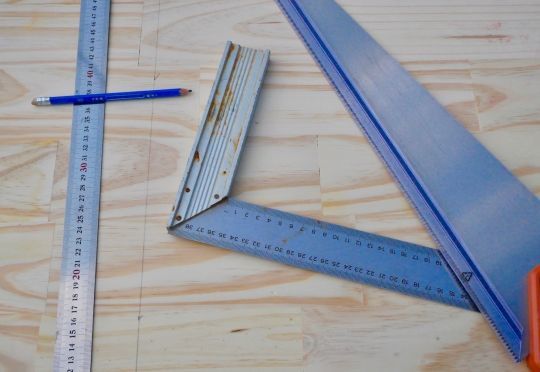
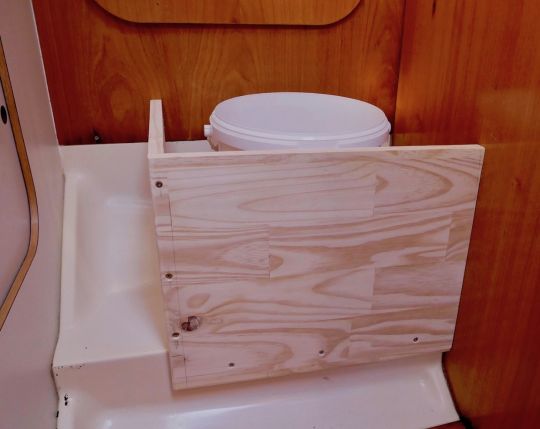
We start by tracing a frontage of height compatible with that of our bucket. This will be used as a reference to draw and cut the other elements of our assembly. In order to follow the curves of the polyester step as closely as possible, the drawing must be done carefully.
A beautiful pencil stroke!
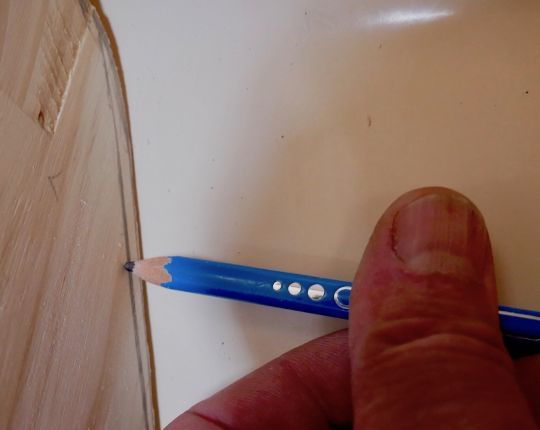
After a rough cut, the fitting work can begin. By sliding a pencil held flat against the support, the exact profile of the final cut is drawn. The tip of the pencil is shifted a few millimeters, which allows successive approaches to achieve a proper fit.
The tool of the chips!
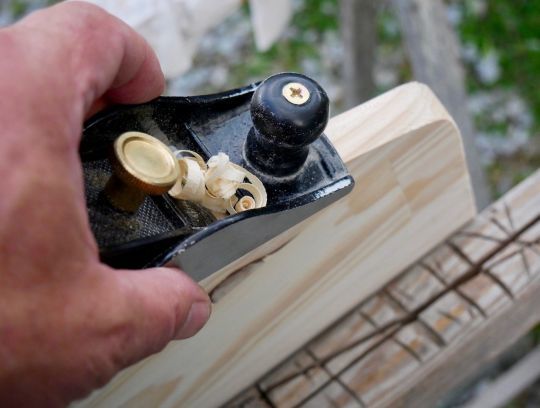
We use a carpenter's plane, a fabulous tool for those who know how to use it. It is used by respecting the grain of the wood, that is to say in the direction where the cutting edge cuts without tearing the fibers. The iron must just be flush with the sole to raise a fine chip that comes off effortlessly. Like all woodworking tools, it must be sharpened regularly.
The strawberry of the wood!
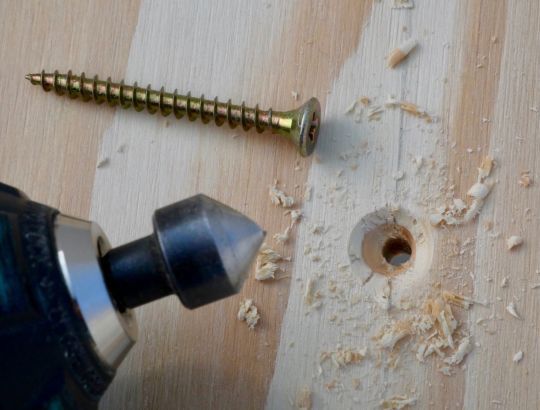
The thickness of our panels being sufficient, we choose to screw them together, directly on edge, without reinforcing cleat. We start by presenting the piece or a scrap of the same thickness to trace the location of the screws. We then drill holes to the desired diameter, with a wood drill bit that avoids splinters. Finally, we mill the location of the heads and it only remains to proceed with the assembly using screws of appropriate size and wood glue.
Pierced board!
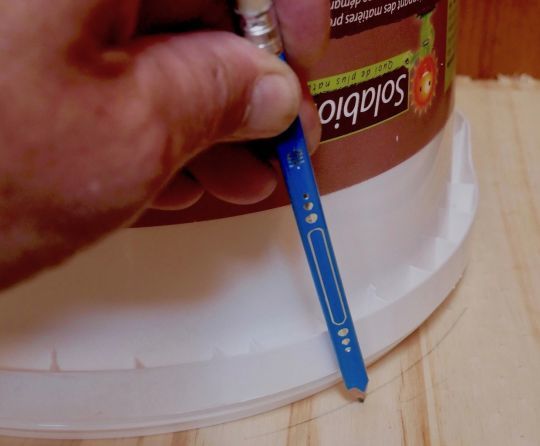
We present our bucket and the flap to determine the position of the cutout that we trace directly on the top panel using the edge of the bucket as a template. The cutout is made with a jigsaw, after drilling a hole inside the line to allow the blade to pass through.
By hand, like the old ones!
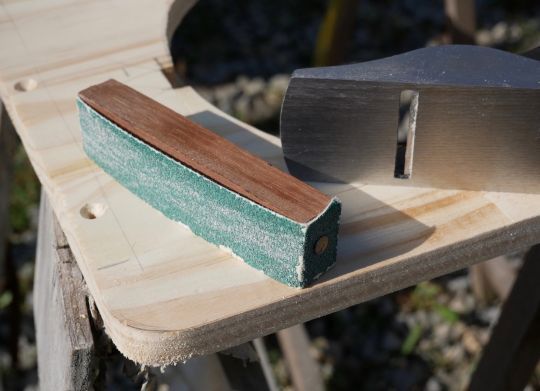
Straight cuts are made with a handsaw, which allows for a perfectly straight cut. Like the plane, it will stay in good condition if you take care to protect its cutting edge before placing it in contact with other metal tools. Using woodworking tools properly takes some practice. If you are out of practice, attach a piece of coarse-grained glass cloth to a wooden block. This tool will take the place of the plane and will help refine your work, including awkward saw cuts.
Paste and dust...
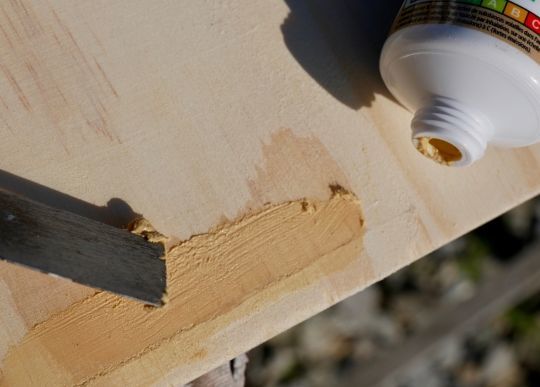
Irregularities and screw heads are masked with wood paste. The sanding is done without waiting for the complete drying. This allows a little sanding dust to be included in the paste, which then takes on the color of the wood and makes the joint difficult to see.
The end of hesitation
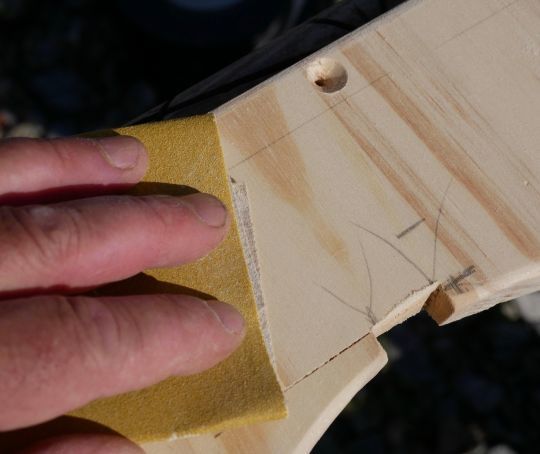
The final sanding should not be neglected. It allows to remove the defects of the wood, but also the pencil marks. These marks become useless and are the stigmata of our hesitations and underline the inevitable inaccuracies. Sanding makes them dusty and leaves only our realization.
Let's put on the glasses!
The toilet seat we removed is compact in size and we choose to re-use it. The plastic hinges are fragile and we will later replace them with traditional hinges.
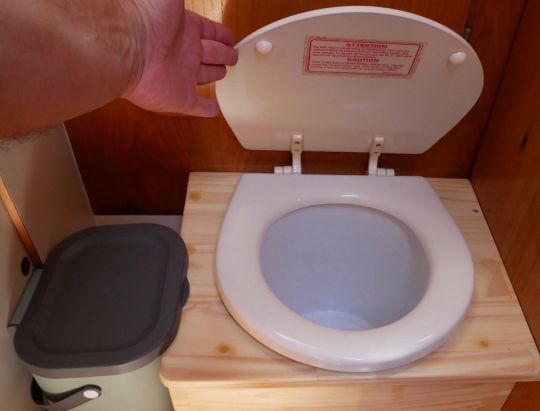
We apply three coats of a varnish that emphasizes the wood grain, protects its surface and facilitates cleaning. After drying, we still have to screw the box in place and install the container for the sawdust that will allow our toilet to function without discharge to the aquatic environment.
