The manufacturers sell kits containing all the wear parts adapted to each model. The easiest way, when possible, is to remove the toilet completely after closing the valves. This allows for a thorough pre-wash and to work comfortably on a workbench outside the boat, rather than crouching in a narrow space.
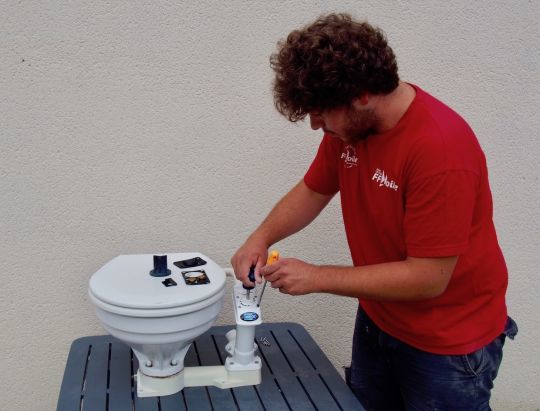
1 euros Remove the pump to access the valve
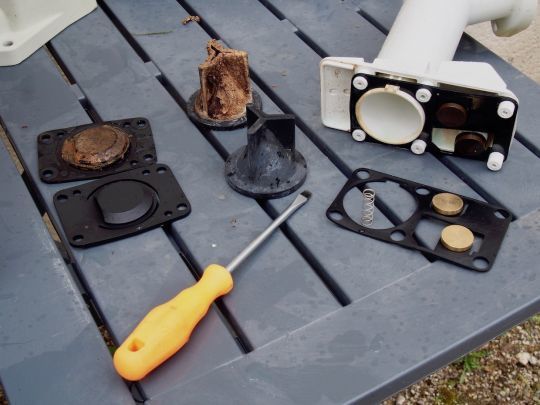
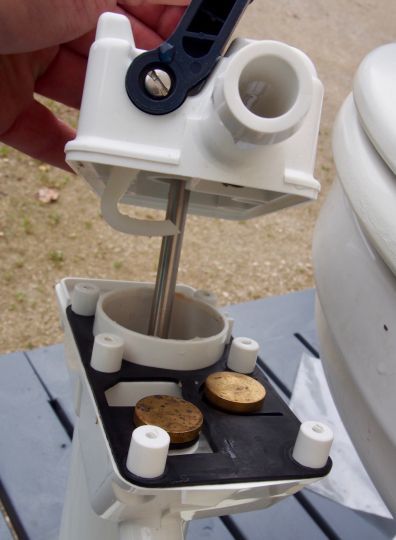
By unscrewing the 4 screws of the baseplate, the pump is separated from the bowl support. This allows access to the bottom valve, the one that prevents the pump from rising.
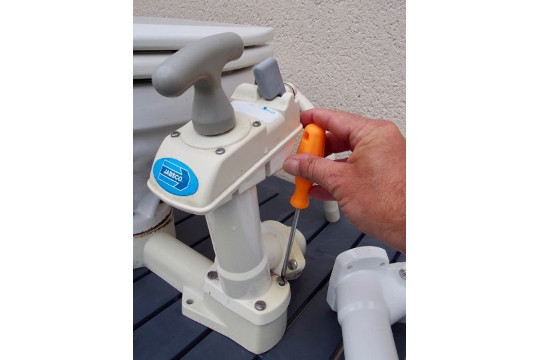
2 euros A new valve on a clean scope
This flap is weighted to fall back into place naturally, but it is common for its hinge to buckle. Once the span has been cleaned, the new flap is put in place. Three nipples prevent misplacement.
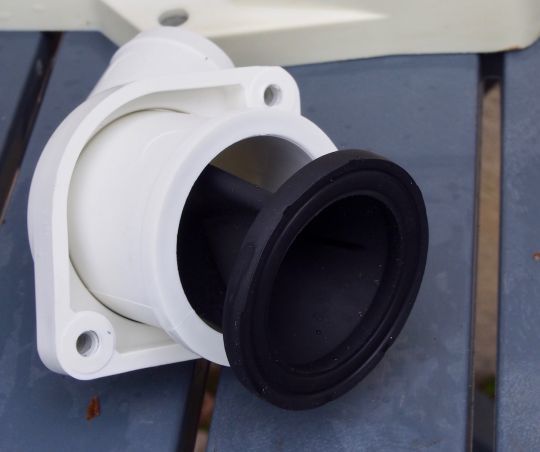
3 euros The duck's beak is deformed
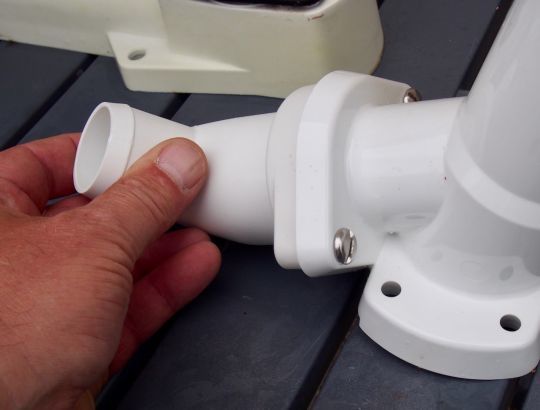
A flange fixed by 2 screws, holds the elbow which contains the "duckbill", a flexible drain valve. With time and limestone deposits, the duckbill becomes deformed and loses its watertightness. Its regular replacement is necessary.
4 euros Better to wait to squeeze
When reassembling, do not overtighten the flange. This will allow the elbow outlet to be easily oriented towards the drain pipe. The final tightening will be done once the drain pipe is reconnected.
5 euros The mechanism is in the head
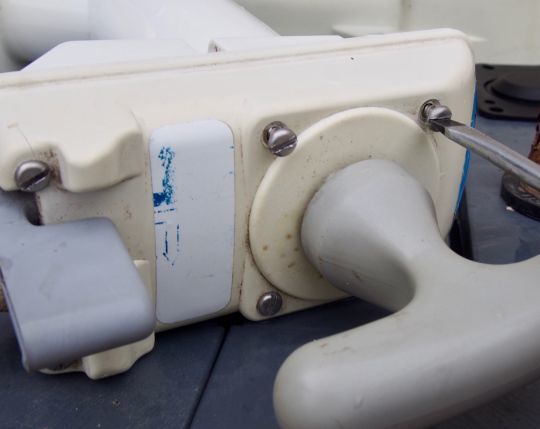
The head is the "clean" part that sucks in the sea water. Six screws allow access to the mechanism as well as the rubber plate that forms the seal and valves. This is often where algae and shells come to nest, causing a bad aspiration.
6 euros Do not forget the spring
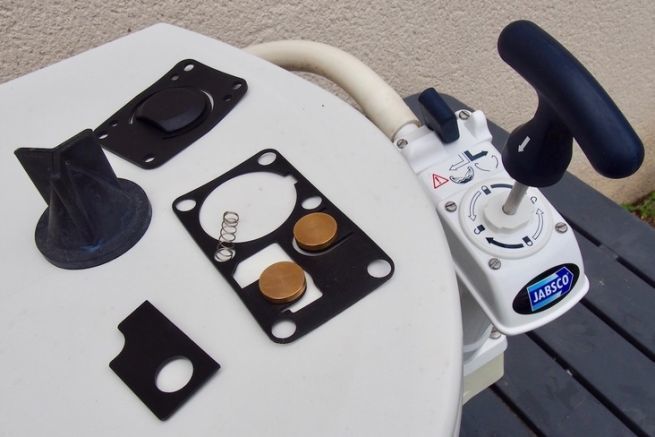
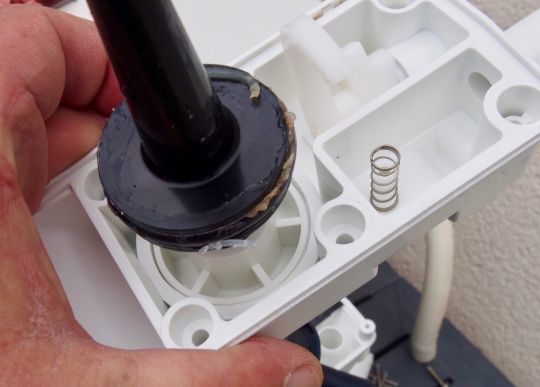
The pump has a piston whose seal can be easily replaced, but which wears so little that it is not included in the kit. Nevertheless, it should be lubricated with marine grease. Note the presence of a spring which should not be forgotten during reassembly.
7 euros Replace the bearing plate and seal
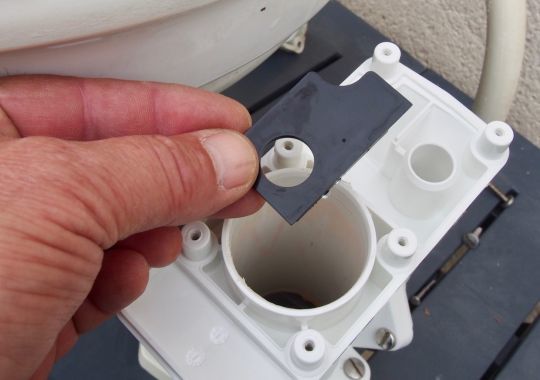
A plastic plate is used to support the valve. It's part of the kit, so you might as well replace it even if it doesn't look marked. The new gasket is put in place. Again, there is no risk of error.
8 euros Operate the control lever
When reassembling, take care to tilt the control lever (black) to the left, in the suction position, so that the hook (white) can be inserted in the cut-out of the seal. The 6 screws should be replaced and tightened gradually, diagonally and evenly.
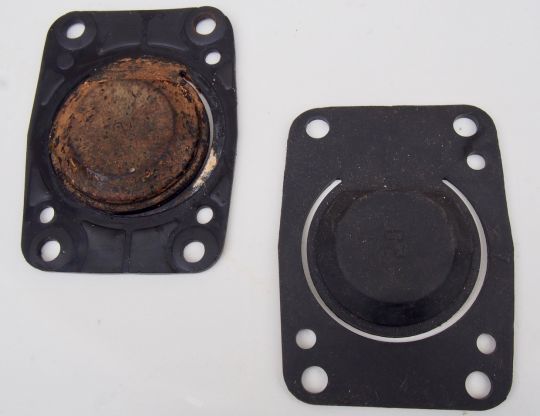
9 euros This is not a luxury!
Placing each used part in parallel with the same one, taken out of its pocket, allows you to measure how useful such an intervention is. As soon as you start pumping, you will appreciate the difference!
