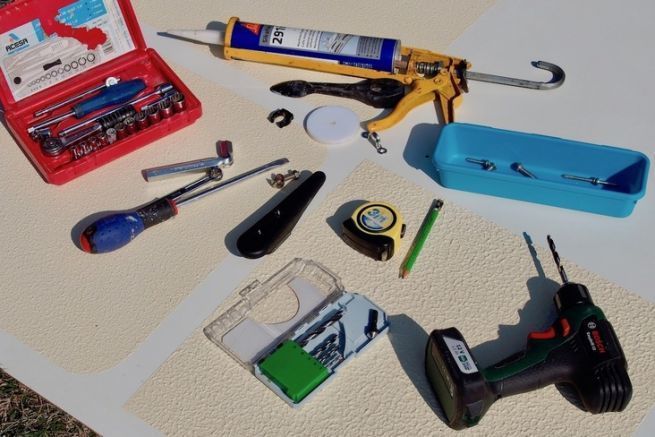
When adding equipment to the boat, it is better to think twice about the choice of location. Avoid high-traffic areas or places where there is a risk of water stagnation. Check that the support in the chosen location is strong enough to withstand the forces imposed by the new equipment. The forces at play are not the same depending on whether you are installing a windlass or a fender bridge...
Inside and outside
Once the ideal location has been identified and mapped out from the outside, the next step is to make sure that there is nothing inside that will interfere with this choice. Make sure that the drilling will go smoothly and will not damage a gas pipe, an electrical wire, or a tank. Also check that there are no partitions or reinforcements that will complicate the screwing and that you will have sufficient access to install the counterplates, washers and nuts.
Marine stainless steel screws and bolts
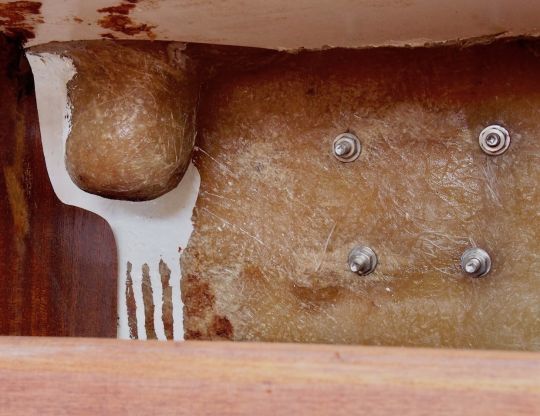
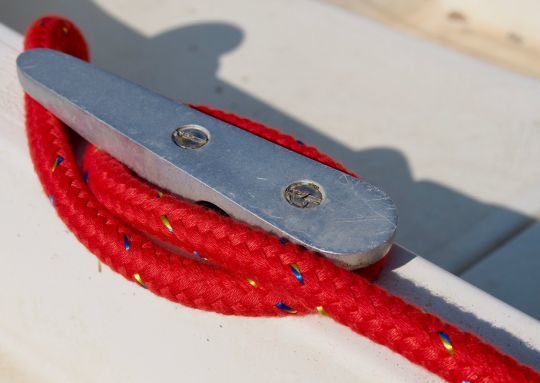
To choose the right fastening screws and nuts, it is important to think about the type of stress: shear or pull-out, that your equipment will undergo. The screws and bolts must be of the appropriate diameter, but also have a head shape corresponding to the fixing holes in the part, countersunk or not. Only marine stainless steel, called A4, is valid. The simple industrial A2 is not suitable for nautical use.
Interior reinforcements
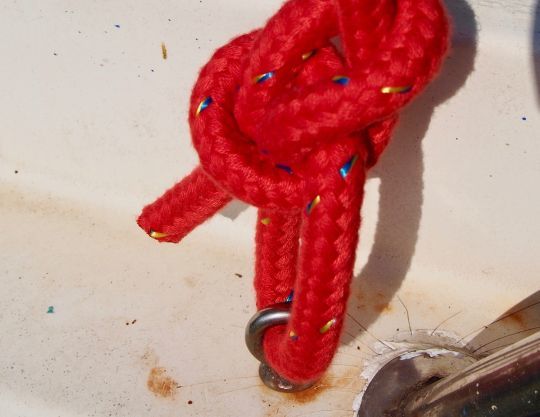
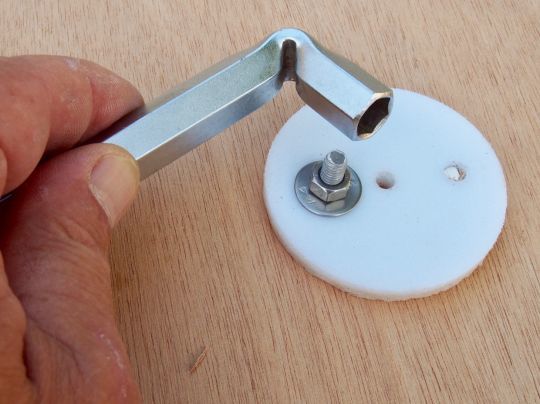
Care should be taken to provide large washers under the nuts. In addition to providing a good bearing surface, they contribute to sealing by trapping a large quantity of gasket that flows back onto the thread when tightened. For a heavily stressed part, a solid counter-plate should be prepared and the holes drilled.
A drilling in three steps
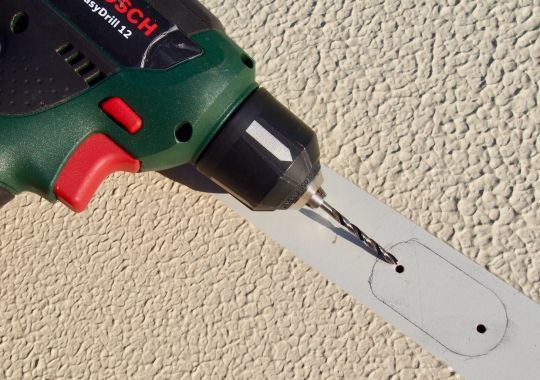
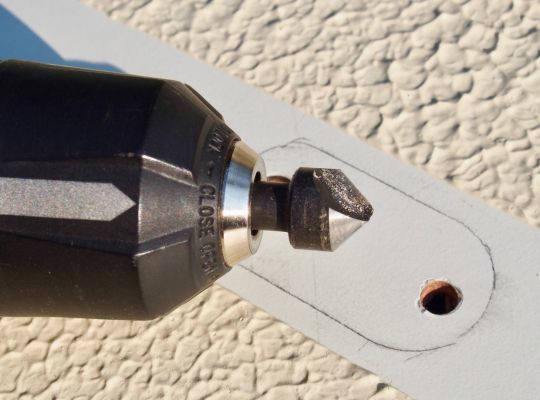
First a fine drill is made, then the desired diameter. For a bolt, we will choose a drill to the diameter of it. For a screw, we will drill to the diameter of its core, ie the bottom of the threads. Whatever the material of the boat, the angle of the drilling is then slightly milled. This will avoid any splintering during the screwing, especially in the case of a gel-coat. This small space also allows for the trapping of excess gasket and ensures a better seal. On wood or steel, a touch of paint should be applied.
Blank assembly
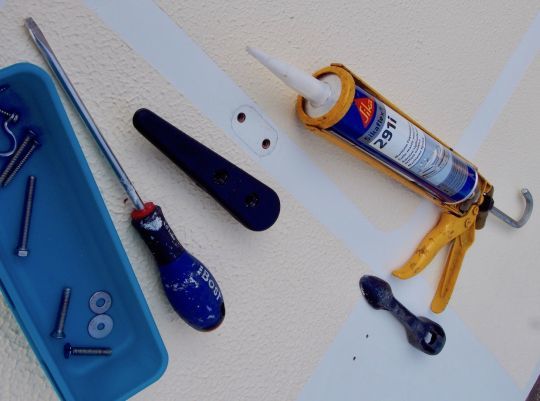
To avoid any surprises, always proceed with a blank assembly, i.e. without a joint. This will give you the opportunity to check that the bolts are long enough and that everything fits well. This will avoid having to make adjustments to parts that are smeared with mastic. The sealant should be marine grade. Do not use a sanitary silicone, this is one area where saving money does not pay off!
A team effort
For the final assembly, it remains to find a helper who is not afraid to get his fingers dirty and who has an arm long enough to reach the end of the screws, often in impossible places. Divide the tools and screws between the interior and exterior and provide everyone with plenty of rags... Open the hoods and windows to facilitate communication between the two workers.
Enough filler
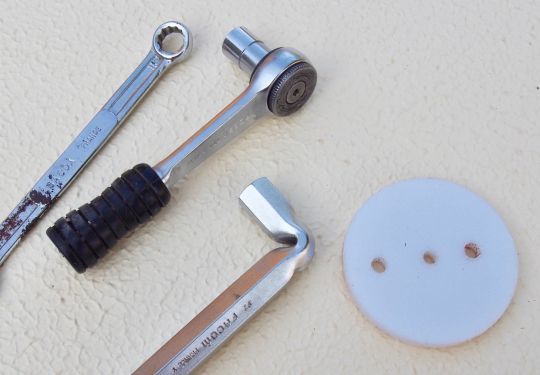
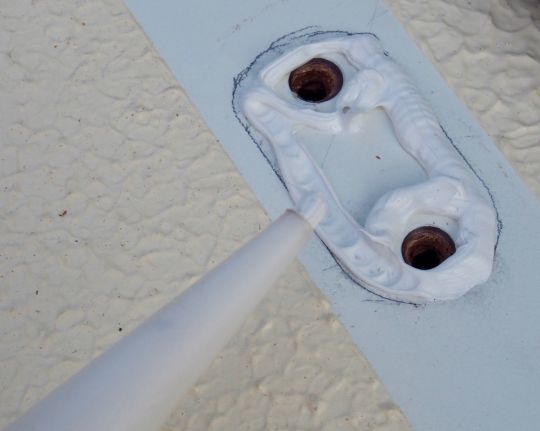
It remains to apply the sealant in a bead that follows the contour of the piece and circle each hole. A touch of sealant will be added to the edge of the holes so that each screw gets its share. Once the piece and the bolt screws are in place, your helper will place the backplate, washers and each of the nuts while you do your best to help by screwing from the outside so the nuts catch on the threads.
At arm's length
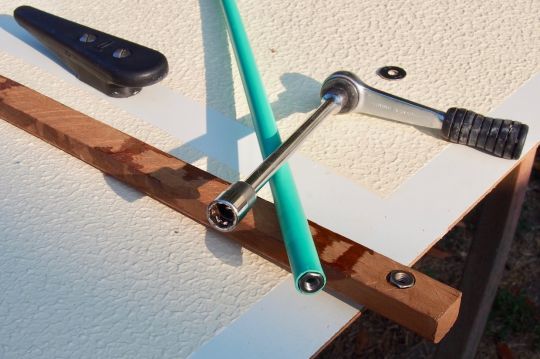
Since this exercise is usually done blind and in a less than comfortable position, one should not hesitate to use an extension cord: a piece of pipe of adequate diameter to wedge a nut in, a piece of wood in which one will have drilled a hole where the nut will hold in force... A drop of putty to hold a washer or a nut on a fingertip and facilitate their installation at arm's length... All the tricks are allowed!
The ratchet is irreplaceable
Once all the nuts have found their screws, tighten moderately so as not to drive out the entire joint. The part should be in place, the joint should flow back, but the final tightening will only be done after the sealant has dried. To operate in tight places, a ratchet wrench and a set of sockets are irreplaceable!
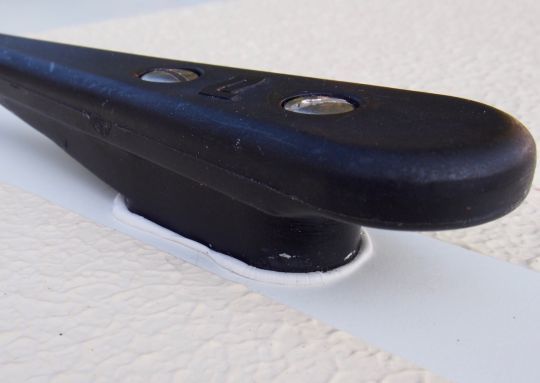
A spoon for Dad...
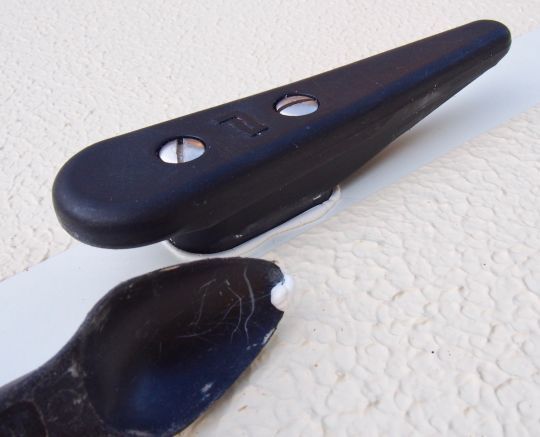
To clean up excess filler around the piece you just installed, nothing beats the Rubson tool. It's a plastic spoon that you advance over the joint, hollow side up. This smoothes the sealant bead while picking up the excess and avoids the need for a rag and acetone, which only dilute the sealant to spread it better.

 /
/ 