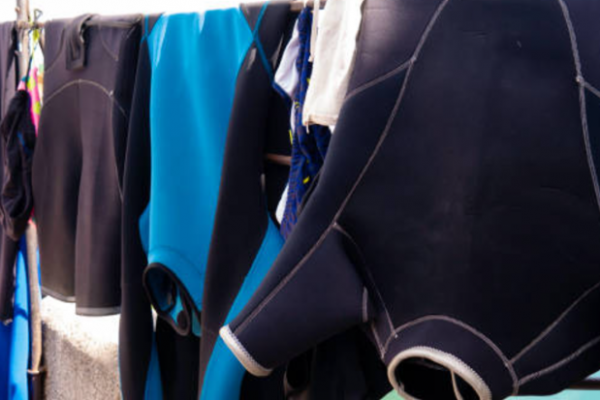
Wetsuits are subject to the vagaries of sailing, and can suffer from tears and wear. So why repair rather than replace? The answer is simple: instead of investing in a new suit, a well-executed repair will extend the life of your wetsuit while reducing its environmental impact. This guide details the steps involved in carrying out effective repairs directly at home, without the need for a professional.
The essentials before any repair
When repairing a wetsuit, particular attention must be paid to the type of material used in its manufacture. Conventional wetsuits, generally made from synthetic neoprene, do not share the same chemical and physical properties as alternative materials such as Yulex, the natural rubber used by Patagonia, or the fabric made from recycled oyster shells found in wetsuits from the Söoruz brand. These new ecological materials have specific characteristics, notably in terms of flexibility and durability, which can be altered by the use of unsuitable glues. If in doubt, consult your suit manufacturer's recommendations or opt for professional repair services.
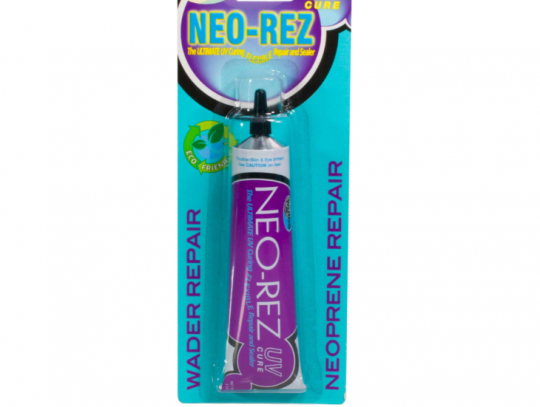
For your repairs, we therefore recommend the use of specially formulated glues, preferably certified as having low VOC (Volatile Organic Compounds) emissions. One of the best-known is Solarez's famous "Néo-Rez", which contains no toluene.
Rigorous inspection
Before you start, make a thorough assessment of the condition of your neoprene wetsuit. Careful inspection of sensitive areas (seams, joints, areas subject to frequent stress) is necessary. Minor tears of less than 5 cm are easily repaired, but more delicate areas such as the collar or seams require specific intervention to maintain watertightness and flexibility.
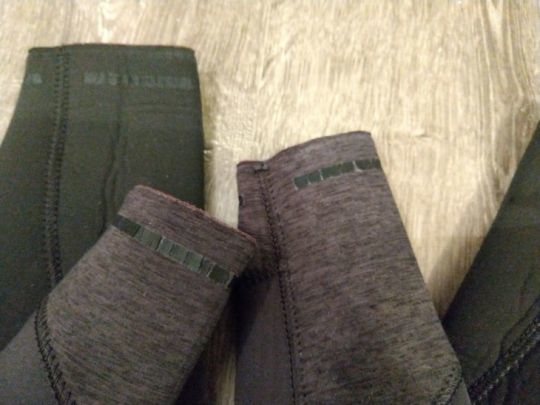
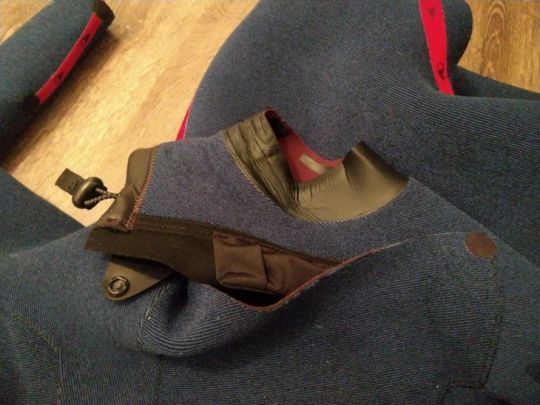
Two elements can't be replaced: firstly, liquid tape, which doesn't last over time, comes off in pieces and inevitably ends up in the ocean, hence the importance of raising awareness of its impact to prevent it from being used again by brands. On the other hand, the black rubber-like lining often found in collars eventually decomposes as the head passes over it. It is therefore sometimes preferable to change the entire collar, even if the exterior is in perfect condition.
Clean and dry suit
To get the repair off to a good start, start by preparing your wetsuit. Clean it thoroughly to remove any sand or salt residues around the affected area. Make sure it's completely dry, as the glue won't adhere to a damp surface. Finally, you can prepare your work surface and the necessary materials.

Repairing a hole or minor tear
-
Place a weight to hold the tear open. This facilitates precise glue application and ensures better adhesion of the edges to be glued.
-
Start by applying a first coat of glue to the inner edges of the tear, without making them touch. Allow to dry for 5 minutes, then add a second coat, using just enough glue to cover the surface.
-
Wait another 5 minutes before carefully removing the weight. Carefully bring the edges of the tear together and glue them, holding them firmly in place for about 1 minute, or until the glue begins to hold well.
-
Leave the suit stationary for at least 1 hour to ensure the strength of the repair.
-
Finish by applying a final coat of adhesive to the outside of the repair. Wait a minimum of 1 hour before using the combination. The longer the drying time, the more durable the repair.
Making a reinforced seam with a patch
-
To repair a large tear measuring between 5 and 12 centimetres, use a needle, nylon thread and a suitable patch.
-
Start by preparing the area to be repaired. Using scissors, cut away any loose, rough parts or protruding threads and cut the patch to the correct size, ensuring that it covers the tear to a large extent (leave a margin of around 1 cm).
-
Thread the nylon thread through the needle, then cross-stitch around the tear, securing the patch in place. Visualize this step as lacing a shoe: maintain even spacing between stitches and apply even tension to ensure a strong, aesthetic hold.
-
At the end of the seam, secure the thread with a tight double knot.
-
Apply a coat of neoprene glue to the entire seam, including the edges of the patch, to ensure a perfect seal. Then turn the suit inside out and apply a second coat of glue to the other side to further strengthen the repair.
Zipper repair and maintenance
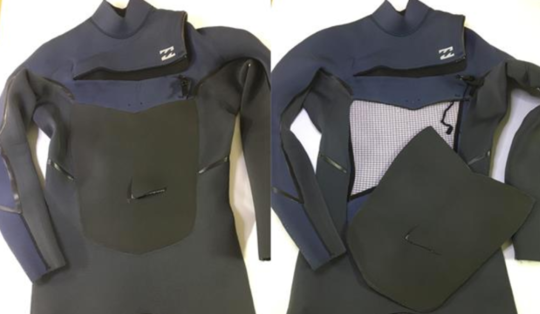
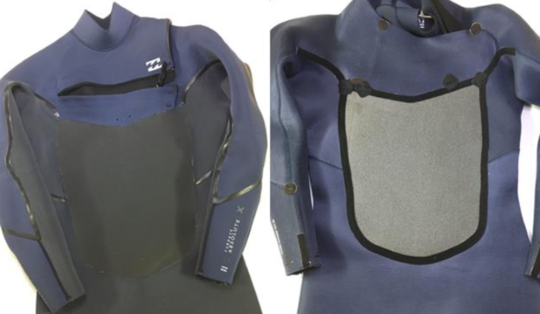
Zippers are often the first weak point in wetsuits. One of the most common causes is the accumulation of sand or salt between the teeth. To prevent this, regular rinsing with clear water is essential to remove residues before they damage the mechanism.
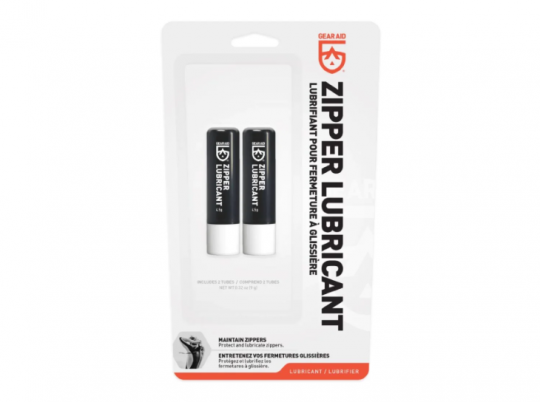
If, despite these precautions, the zipper remains sticky or has difficulty sliding, a suitable lubricant will be your best ally. Opt for a wax-based stick: biodegradable and compatible with salt water, it will provide effective protection while prolonging the life of your wetsuit.
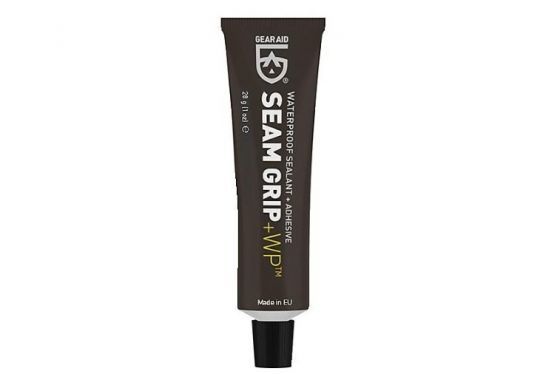
If a slider is damaged, simply replace it using a universal repair kit, as YKK models are compatible with many combinations. In the case of a detached sealing strip, a urethane rubber adhesive, such as Seam Grip+WP, is an effective solution for permanently re-anchoring it.
Maintenance to avoid repairs
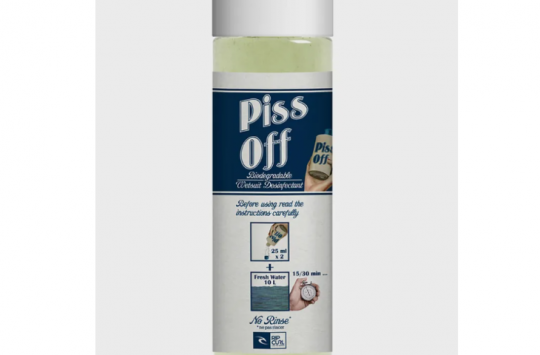
To limit wear and extend the life of your wetsuit, careful maintenance is essential. After each use, hang it upside down on a wide hanger to ensure optimal drying without putting stress on the neoprene. When not in use, store in a cool place away from UV rays, which can weaken the material. Finally, wash regularly with a gentle biodegradable cleaner such as Rip Curl Piss Off Cleaner to effectively remove salt residues and bacteria, while preserving the flexibility and integrity of the neoprene.
There will inevitably come a time when your neoprene will be "cooked". When that happens, head for the collection points to give your wetsuit a second life!

 /
/ 