Sharpened to win... Run your hand under the hull of a racing Figaro 2 or Surprise: it's incredibly smooth, isn't it? Nothing to do with the unfortunate surface finish of a production yacht delivered by the shipyard. On the smooth gelcoat of a cruising yacht, antifouling is applied with a roller. In addition to this necessarily very granular application, the keel casting is roughly coated, the keel/hull bond is not masked, the through-hulls are not fairing... In short, all that's missing is a fixed propeller to permanently undermine the boat's potential. Let's face it: the hulls of good racing yachts are prepared with the utmost care to improve glide. That's the basics.
The next step is to maintain this beautiful surface finish. Two schools of thought: no antifouling and storage ashore âeuros is the formula chosen for small one-designs and teams with large resources âeuros or application of a hard matrix antifouling paint (teflon or copper/carbon preferred) and cleaning of the carène by regular diving.
Another interesting alternative is the resin-embedded copper process (M300 or Copper Coat). This is a mixture of resin and copper, a film with optimum glide. Guaranteed for five years, these products are attractive, but must be applied with care.
Once the boat is out of the water and well secured, the Kärcher comes into action. Be careful not to damage the surface: the aim is to remove dirt and shells, not to attack the gelcoat! If the weather's cool, don a good old-fashioned oilskin.
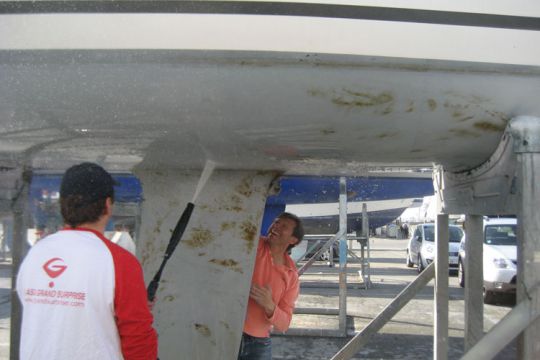
The keel/ballast connection is traditionally subject to plaster delamination. This is to be expected: the filler is often thick and the stresses high. Each crack results in a small ingress of water. The cast iron rusts... and bursts the keel joint. The damaged area is sanded with an orbital sander.
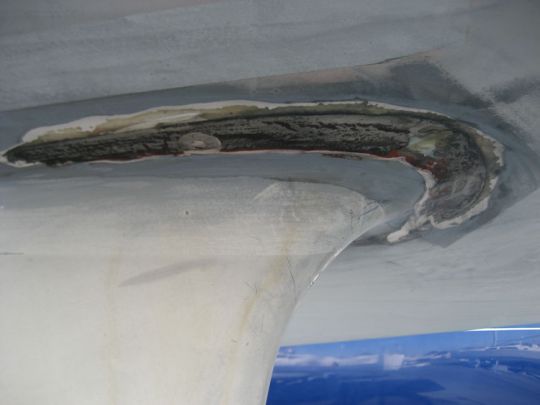
The leading edge is obviously exposed to heeling. As for the trailing edge, it must be perfectly symmetrical. Don't hesitate to use templates to ensure this. But beware: some one-design gauges limit the quality of preparation. Find out more.
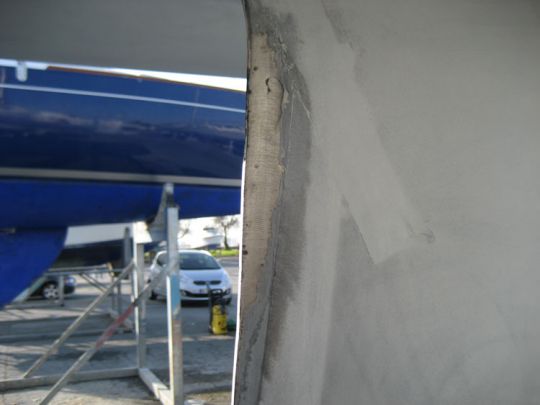
To smooth out rough edges, putty is used. The more cautious use epoxy. But long drying times and high temperature and humidity requirements motivate some racers to use polyester putty.
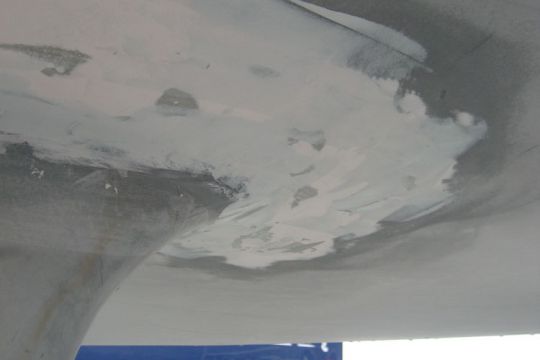
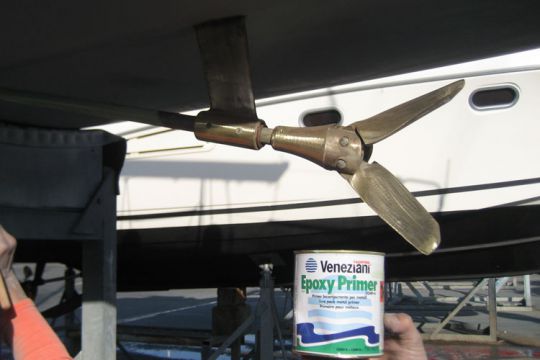
The propeller can, of course, be folded or steered. Fixed, it reduces the boat's speed by 0.2 to 0.5 knots and, above all, considerably limits acceleration. Blades, shaft and seat are stripped bare with a grinder. Finish with 400-grit water paper and metal primer. Remember to mask the anode location to maintain good electrical contact.
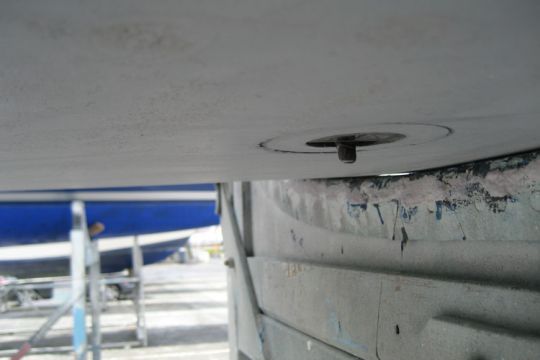
One of the secrets of gliding: limit the number of through-hulls, preferring speedo/sounder combinations, as shown here, and integrate them into the flange by lowering the hull. Don't forget to remove or conceal probes before painting.
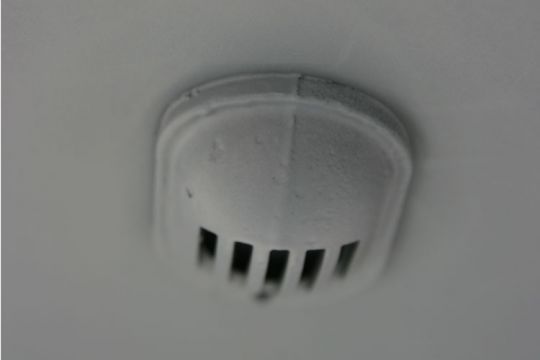
A tough debate! Is it better to improve glide still further and dispense with the strainer altogether, at the risk of swallowing plastic bags and seaweed through the seawater inlet? The skippers of our Grand Surprise could also have fitted a flatter strainer.
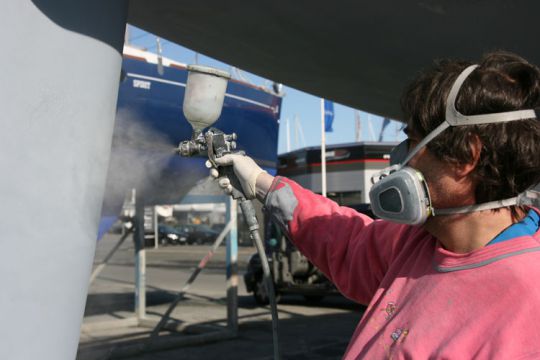
Before applying the paint, vivid works are protected by plastic film or newspaper. Watch out for the wind: don't risk "repainting" the sailboat next door when you use the spray gun!

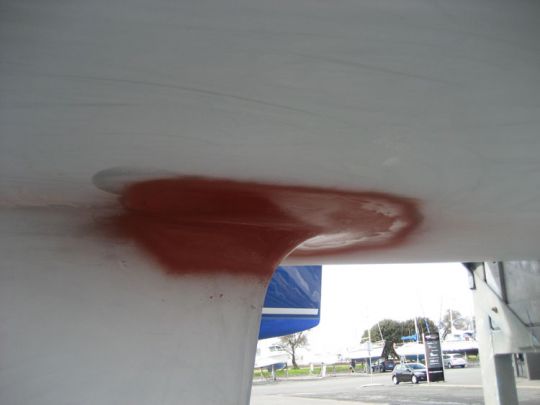
The most exposed areas âeuros keel and keel joint âeuros are more protected than the rest of the carène : they are entitled to an extra coat of primer. Spray application is preferred for a smoother finish.
Spray painting begins. Apply in criss-cross strokes, then finish in the direction of the boat's travel. Don't paint the propeller or the anode on the shaft.
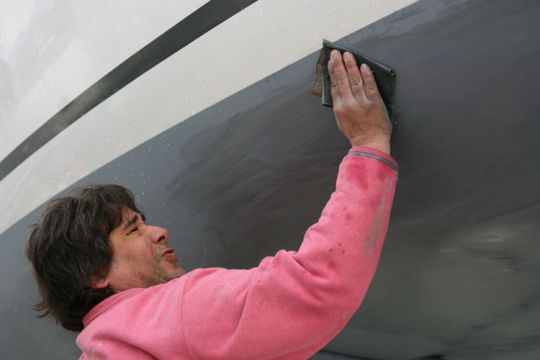
After a good night's sleep, the antifouling is dry. The "fog" is removed with very fine water-based paper (800 to 1200). The hull is regularly wetted with a sponge, then immediately sanded. A quicker job â?" two to three hours â?" and less tedious than it sounds.
Negotiate with the crane operator before relaunching: while the boat is suspended by the straps, prepare the surface and apply a coat of antifouling to the areas previously masked by the ber.
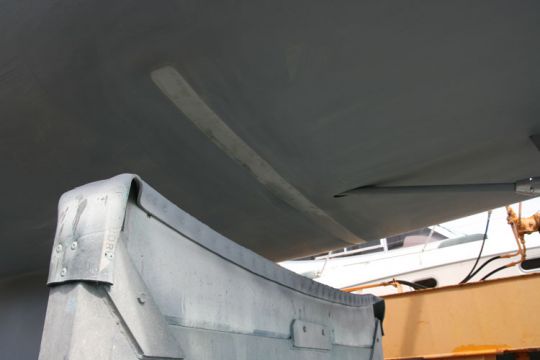
All that's left to do is to give it a swipe with 1,000-grit sandpaper... underwater.

 /
/ 


