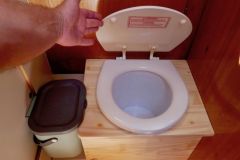
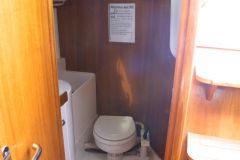
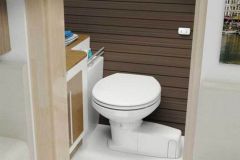
A toilet with a button...
Among the elements of comfort on board a boat, there is the toilet. It's hard for me to do without one unless I leave my wife on the dock... My Amerglass is equipped with a marine toilet with a hand pump that was getting old. Insidiously, I heard a request that stated " Can't we have a toilet like at home? On which you just press a button? "As you can see, in order to continue to sail serenely together, I had to think about replacing this manual pump.
Fortunately, SFA offers a model that can be installed in place of an existing toilet. The Maxlite+ from the Sanimarin range is designed for simple installation. And so it was. For about 500 euros, I got a brand new toilet, with the famous button...
Removal of the manual toilet
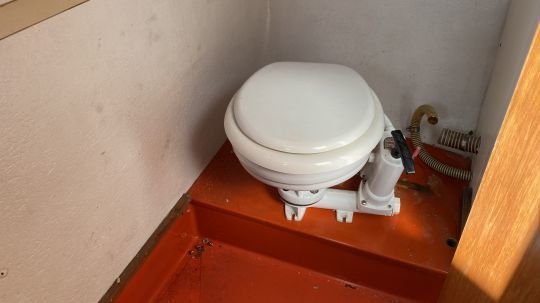
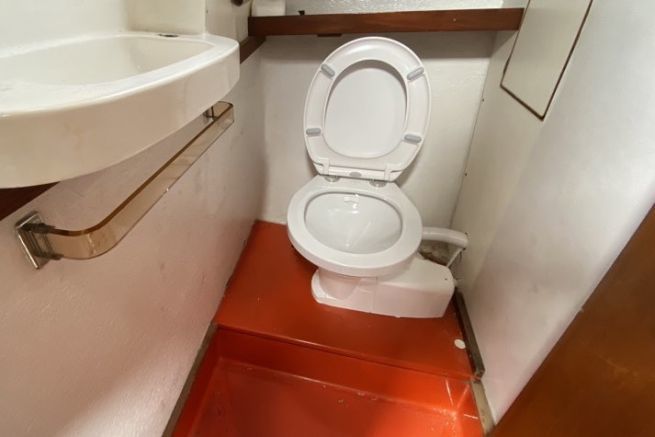
We begin by depositing the old toilet that we unload, to forget its leaks.
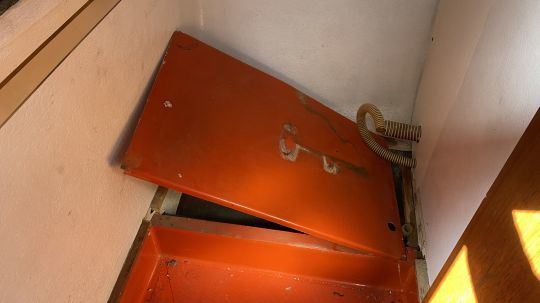
I take the opportunity to remove the floor and fill the few old holes with polyester putty.
Evacuation circuit
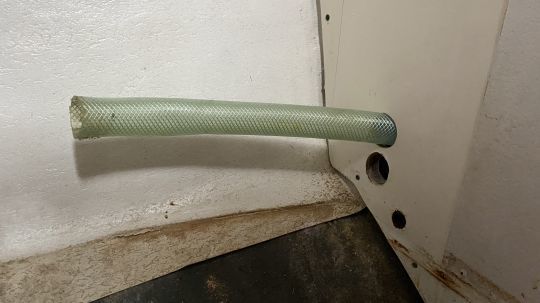
To avoid a break at the level of the drainpipe, I re-drill the partition a little higher. The old pipe in place will be replaced by a new opaque one in order not to have the pleasure of seeing the "particles" circulating inside.
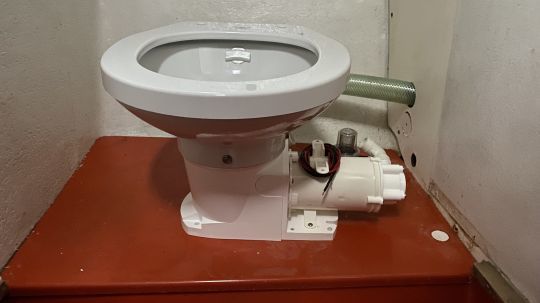
First tests of the new SFA bowl. We see the electric motor on the right which will be hidden later with a plastic cover.
Fixing the new toilet
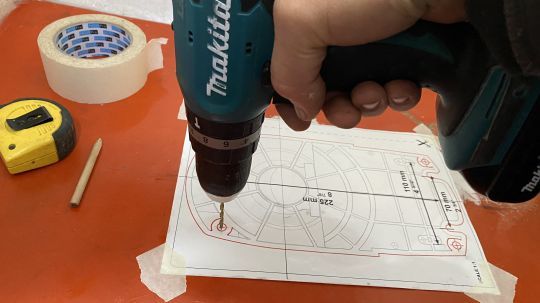
Drilling of the fixings using the template supplied with the toilet.
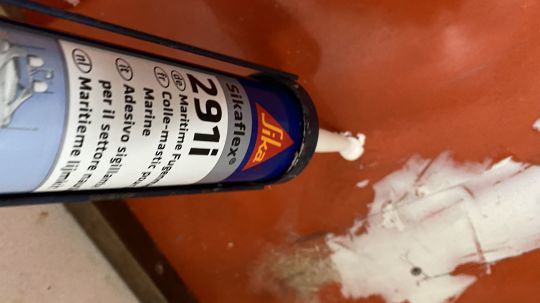
To avoid water infiltration, I chamfer the holes and fill them with sealing compound.
Connection of the pipes
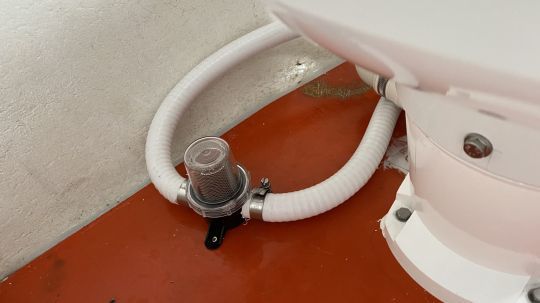
As foreseen in the assembly instructions, on the water supply pipe, I add a filter to prevent the electric pump of the toilet from being damaged by hard elements (even if the toilet is delivered with a spare impeller).
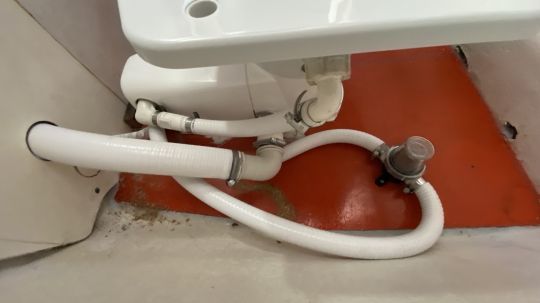
Small mishmash of pipes at the back of the bowl, the big one for the drain (38 mm) and the small one for the supply (19 mm).
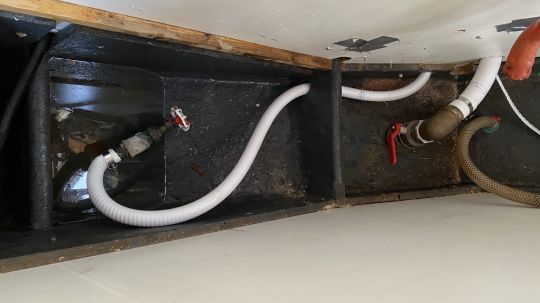
Connections to the valves behind the wall, using screwed collars.
Electrical controls
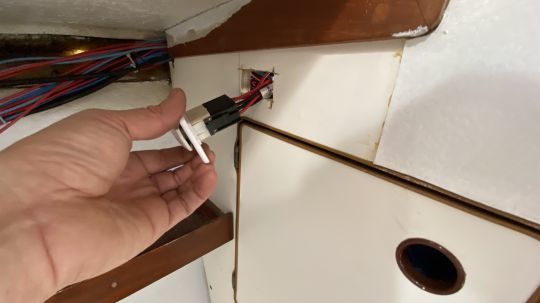
For the control switch, I make a rectangular hole through which the electrical wires (a 12 V power supply in my case) arrive. Be careful to use cables of good section. The motor of the toilet requires amperage (300 W in 12 V).
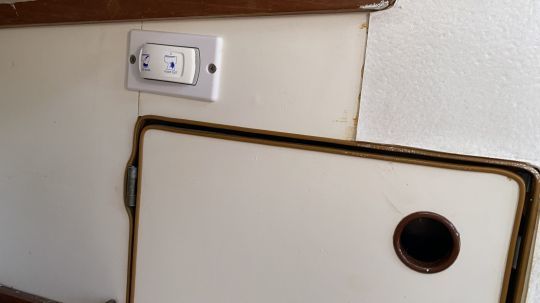
The control button is in place.
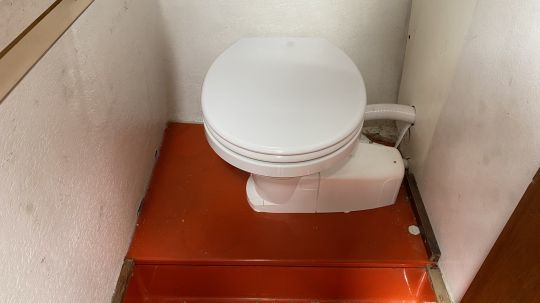
Ready to use with its flap and side protection. From now on, just press the button, like at home...
