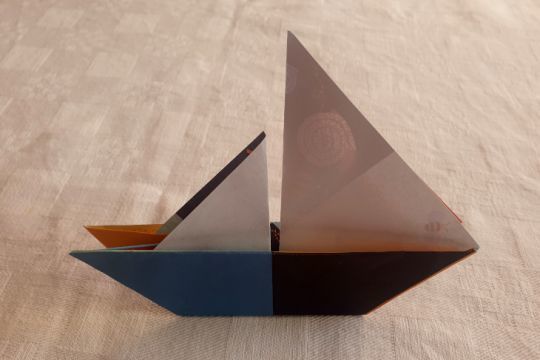
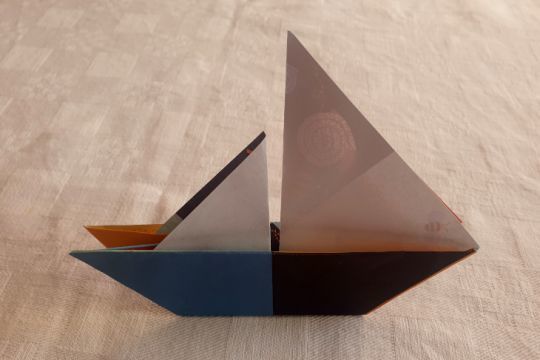
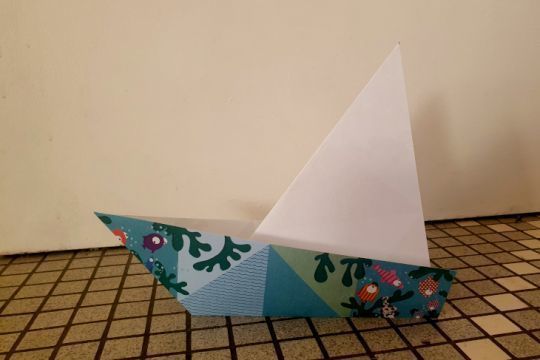
Winter evenings, long boat watches, rainy afternoons with the kids - there are plenty of opportunities to learn new folds and improve your skills. So impress your friends by making original paper boats. Here is a first model with a more credible headsail than the classic folding.
For this model, we use square papers, whose two sides are, ideally, of a different color.
Preparation of the folds
The first step is to mark folds. For this pattern, you need to make the 4 basic folds: the diagonals and the halves. If you have a two-color paper, the boat sail will be the color on top.
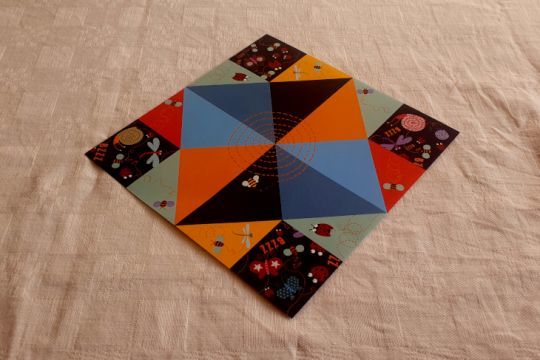
The second step requires bringing three of the four points to the center of the figure. Just follow the traces of the folds previously marked.
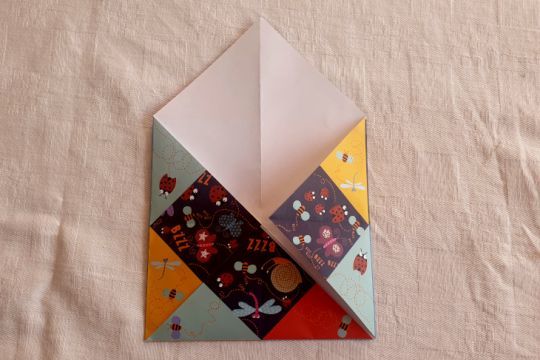
Then the tip of the base triangle is folded down to 1cm from the edge.
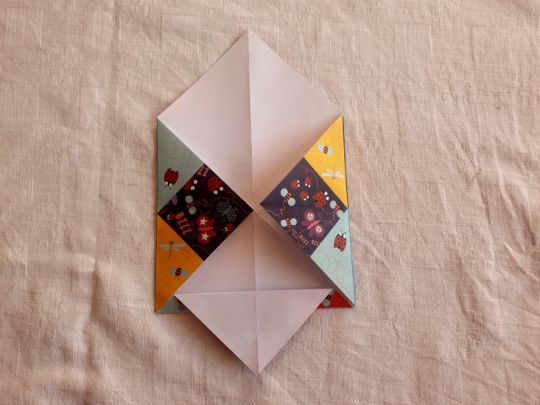
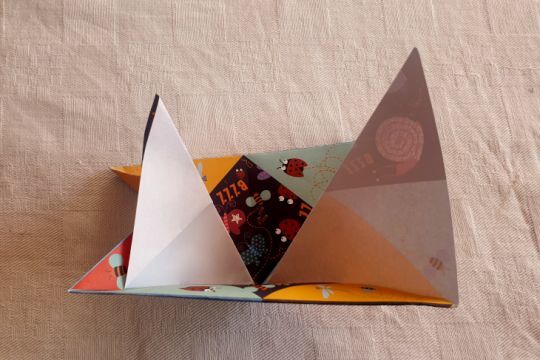
Here is the tricky part of this folding. You have to pinch the high and low points that prefigure the sails to reverse the fold. The other folds are in valley, while the folds of the 2 sails are then in peak.
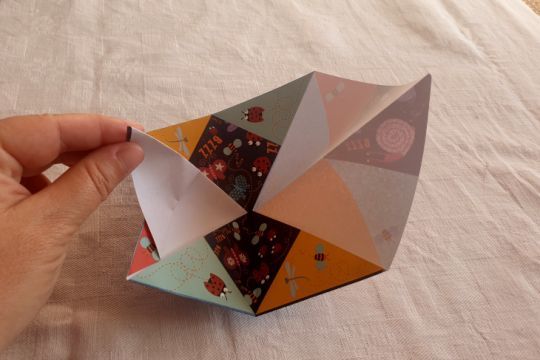
Hoist the sails!
The figure will slowly take shape thanks to the marking of the folds.
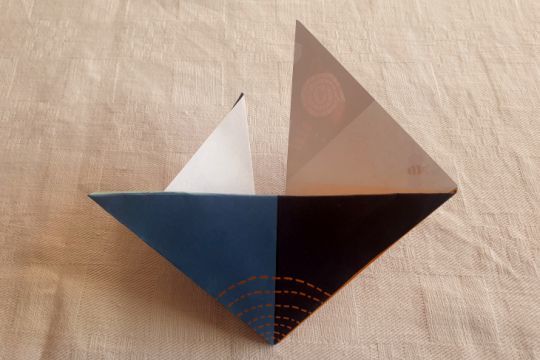
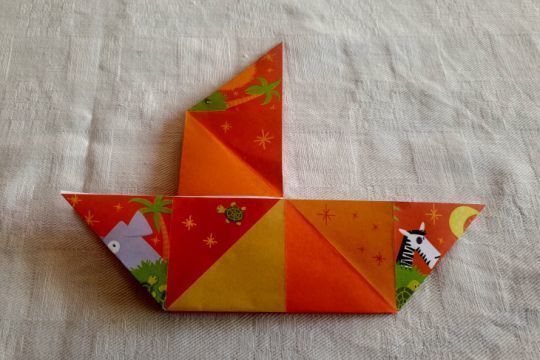
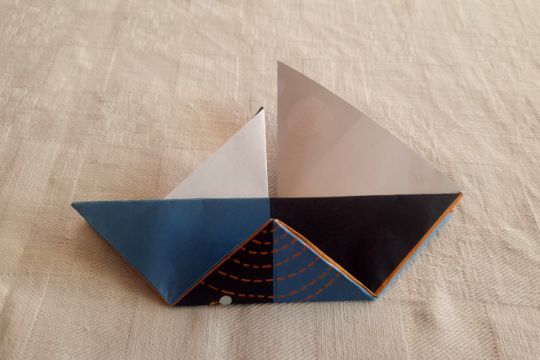
Then, fold the bottom point to create the flat bottom of the sailboat. It is possible to stop at this point. The folded tip creates a base that allows the sailboat to stand.
A keel to stay stable
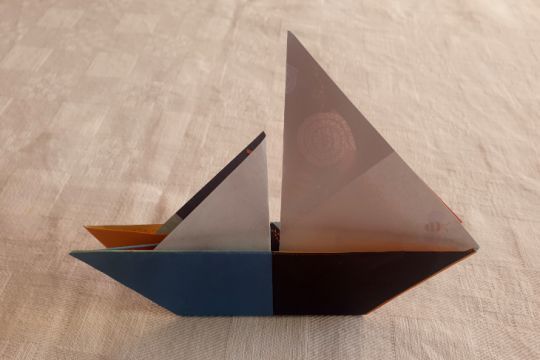
To continue folding, it is necessary to unfold the last fold, turn the figure over and repeat the same operation by folding the bottom point to mark the fold in both directions. Finally, it is necessary to unfold the bottom of the figure to reverse the folds of the bottom point and turn it towards the inside of the shell.
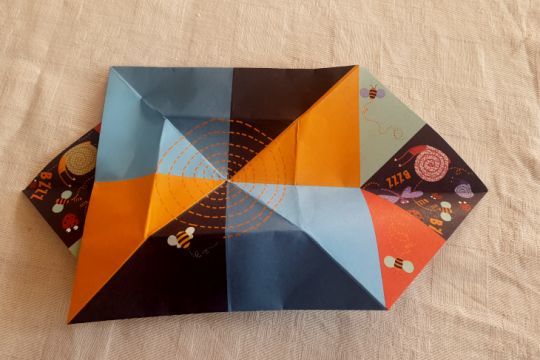
The operation is easy but a bit tricky. You have to proceed step by step.
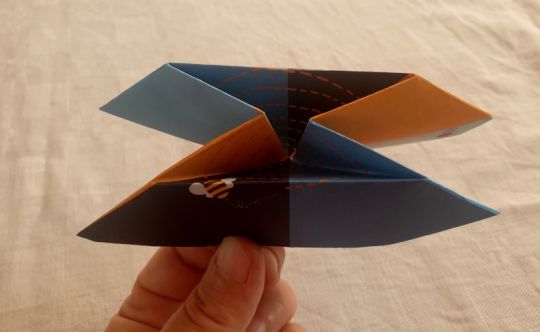
And here is your finished sailboat!
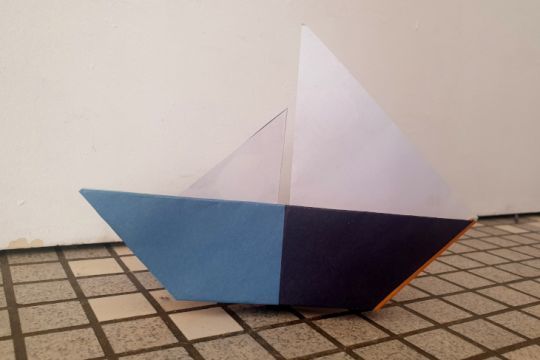
To your papers!
