Many boat floors are covered with a flexible floor covering that is easy to use and maintain. They have to be cut to fit a boat's quirky environment, with nooks and crannies and awkward spaces to work in. Replacing this flooring with a new one will give a real boost to the interior, for a modest cost.
Mark the slats
Any laths and angles that cover the joints of the hatches should be removed and above all located. This will avoid playing jigsaw during reassembly. If the floor has several hatches, collect the laths in batches, but also the corresponding screws with a piece of adhesive tape.
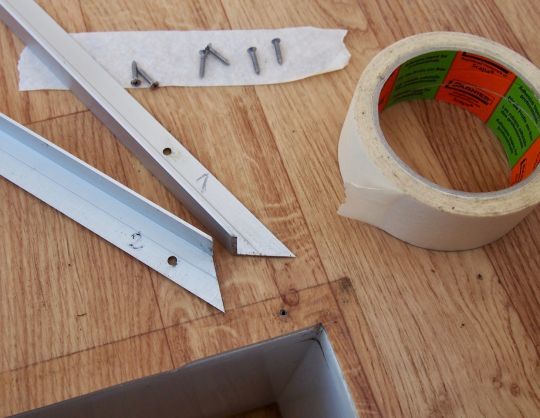
Firm screwing
If some of the screw holes in the floor have expanded, plan to glue a piece of hardwood into the hole and level it. This way, when you reassemble the floorboards, they will be securely fastened.
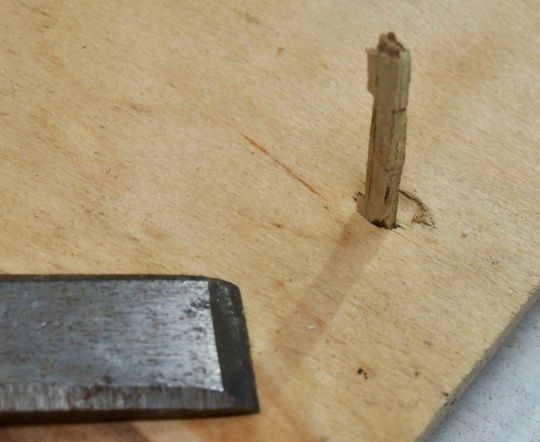
The imperfections of the pasturos
Inspect the fit of the previous liner. Note on it any gaps, especially if you have to use the old pieces as a template. This will prevent you from repeating past mistakes. If the material you have chosen has a pattern, write their orientation on the templates as well.
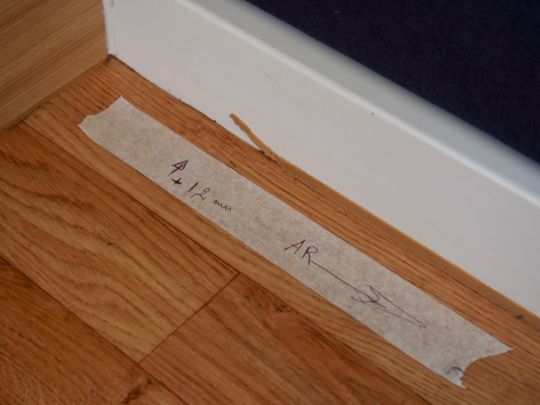
Net place
If the old coating was not glued too strongly, it should settle without deforming too much. If Neoprene glue was used, you will have to be brave and tenacious. A heat gun will soften the old glue and make things easier.
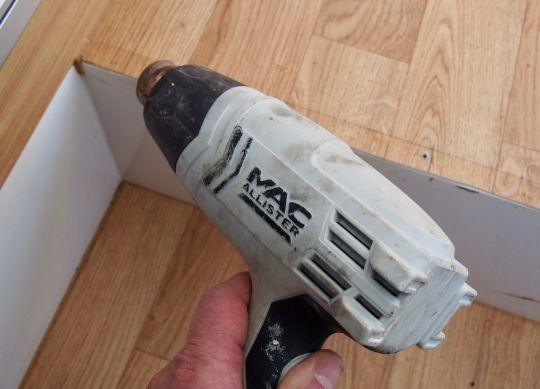
Get rid of the rough edges!
For an impeccable result, it will be necessary to sand off splinters and old traces of glue... Everything that could show under the new coating will be smoothed. The possible hollows will be filled with a coating. After a last sanding, it will remain to pass a good blow of vacuum cleaner just before the installation.
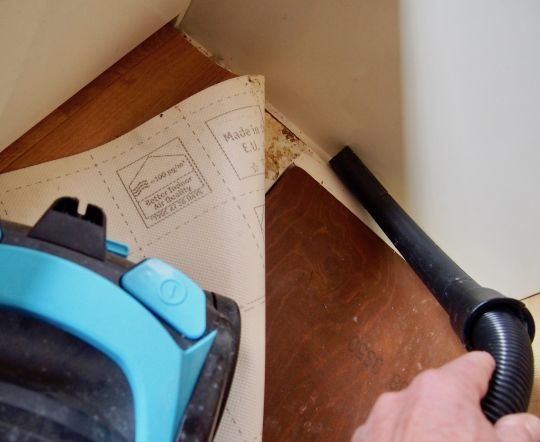
Preliminary relaxation
During all these operations, the new material will have been unrolled on the floor so that it can relax and lose its tendency to curl. This precaution, too often neglected, will simplify both the cutting and the installation.
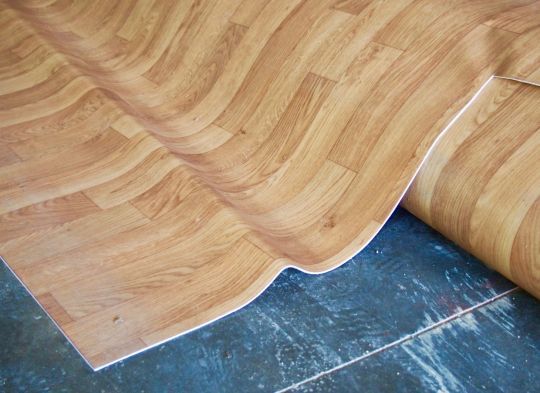
Upside down on location
If you were able to remove the old material without distorting it too much, the layout will be relatively simple. Simply place each of these templates on the new material, paying attention to the direction of any patterns and, above all, placing them right side up to avoid ending up with perfectly inverted pieces
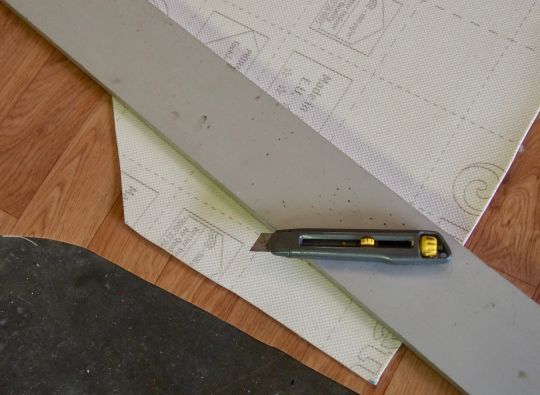
Use precise cutting tools
Use a cutter with a perfectly sharp blade, using a metal ruler as a guide. Cut to the right size, at least for the longest edge or for one of the corners, the one you will use as a base when installing. At this stage, do not cut the hatches, you will do it in place.
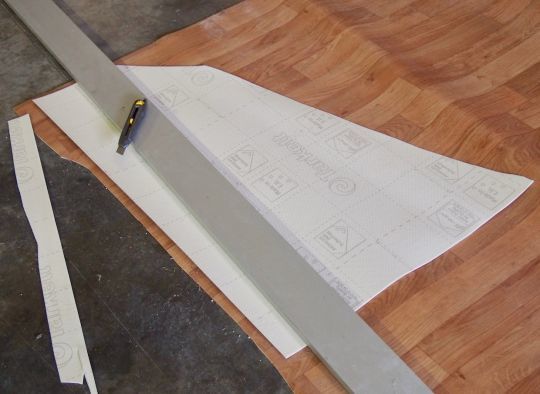
Weights and measures
Take a final sweep and place your new piece, aligning its longest edge with the straightest of the partitions. As soon as the covering is in place, stand on the piece: the weight of your body will prevent it from moving during the inevitable adjustments.
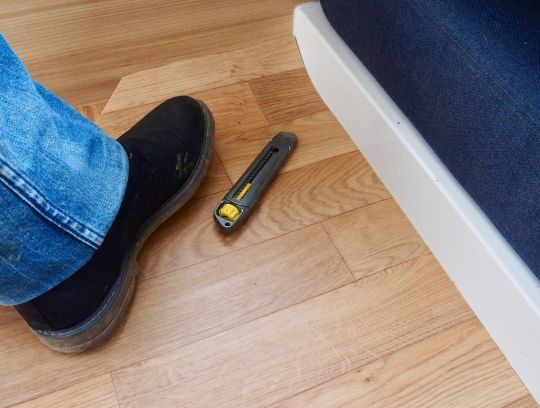
The overflow of the edges
Along the adjacent wall, lift the excess edge and bend the corner, smoothing the flooring to highlight the cut. A wide spatula will allow you to mark this corner and will also serve as a guide when cutting. Again, the cutter blade should be perfectly sharp.
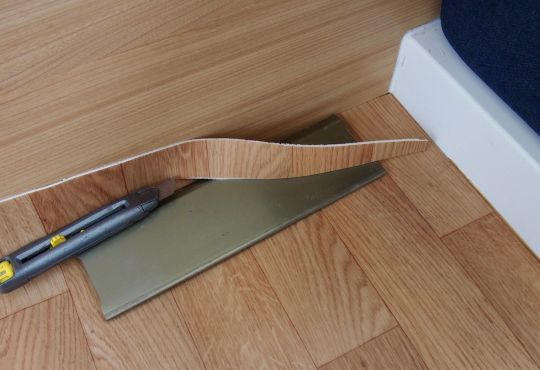
A work of patience
We will start with the least kinky side. As you go along, the siding will settle between the walls, and everything will become easier. Don't try to make your cuts too close to the edge. Instead, leave a small millimeter between the bulkhead and the edge of the material, so it can relax. Let it sit at least overnight before gluing.
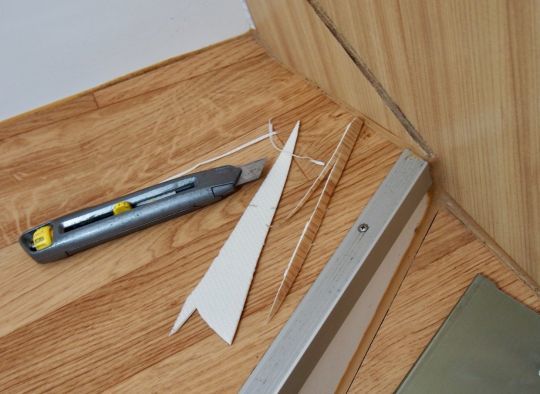
Gluing by half portions
The gluing is done with a glue for floor covering that will be applied with a notched spatula. To do this, we will raise half of the piece, keeping the weight of the body on the part remaining in place. After folding the flooring, it will be applied in place, insisting along the edges, so that the adhesive rises and fills the gap between the edge of the material and the wall. Any burrs can be easily cleaned with hot water.
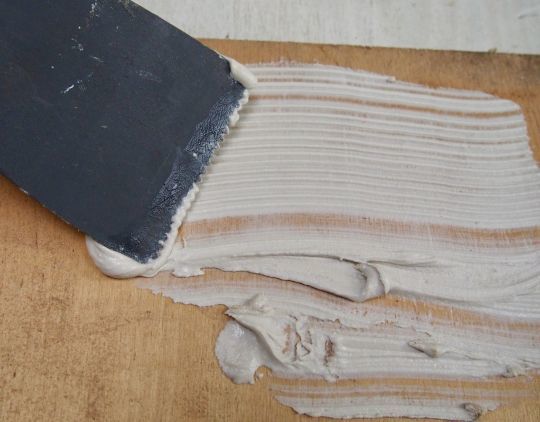
Cutting out the hatches
During the gluing process, we will proceed to the cutting of the hatches, whose corners will have been identified with the help of fine points. The traps are generally of regular shape and once the blade of the cutter is guided by the gap between the pieces of wood, the cut does not present any difficulty.
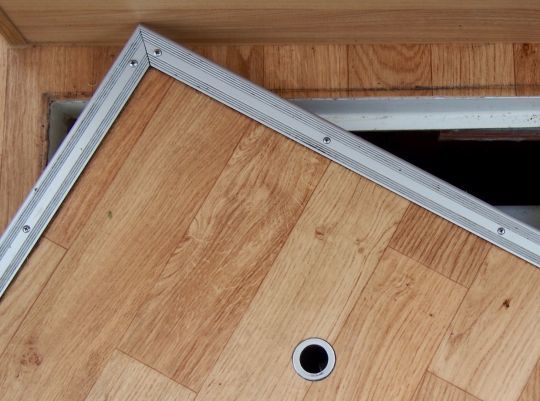
Finishes
It will remain to reassemble the angles and other handles of trap doors. We will make sure that the screw heads are perfectly adapted to the millings that will receive them. If they are not, we will refresh their location with a suitable milling cutter.
