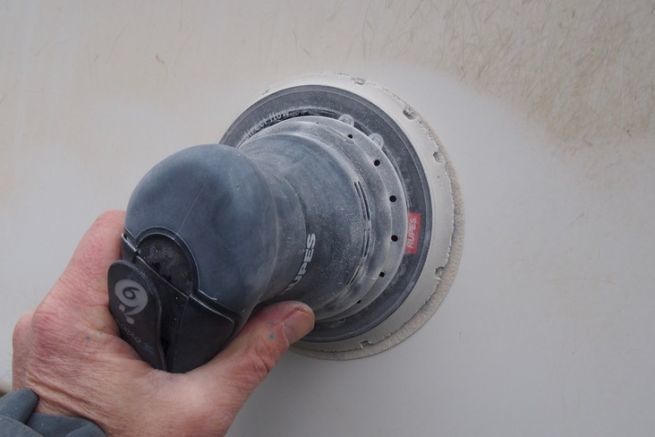
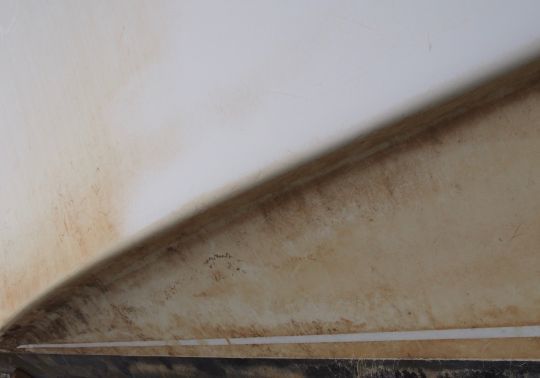
The micro-pores of the gelcoat gradually let the moisture through, but also a good part of the impurities it contains. This is the case, for example, of limestone and brown sediments that are present in estuaries. With time, the whole of the planking turns yellow and becomes dull. The hull of our boat is largely soiled by these encrusted traces. Our mission today is to give it back its former luster and a lasting shine.
Avoid acidic cleaners
There are hull dejaunants, but their acid-based formulation is not harmless! Residues should not go down the drain, so what about washing by the water? While the cleaning effect of these products is spectacular, they also deepen the pores of the gelcoat, making it easier for future dirt to adhere.
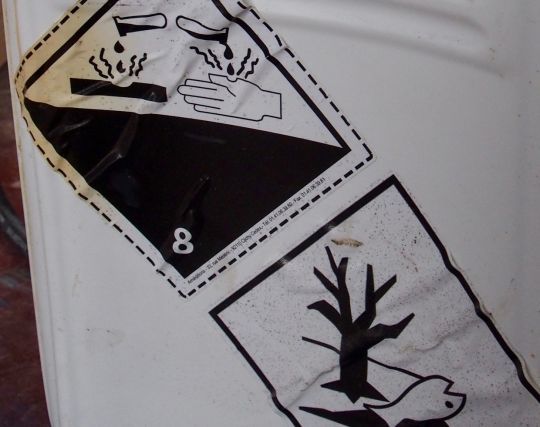
Hull paint is not a sustainable solution
The second idea is to repaint the entire hull of the boat. It's a big job that requires careful preparation of the surface, for a flattering result, but one that will be damaged very quickly if not perfectly executed. Two quick coats on a poorly prepared surface is the surest way to age your boat by 10 years!
Mechanical cleaning
The "clean" way consists in refreshing the gelcoat by removing the very thin surface layer, to find the material in good condition. This is done by sanding and polishing several times. It is a tedious process, but the result is impeccable. The high pressure cleaner ensures a first stripping and allows to rinse the salt and the dirt in the bottom of the chips and scratches.
Clearing the decks
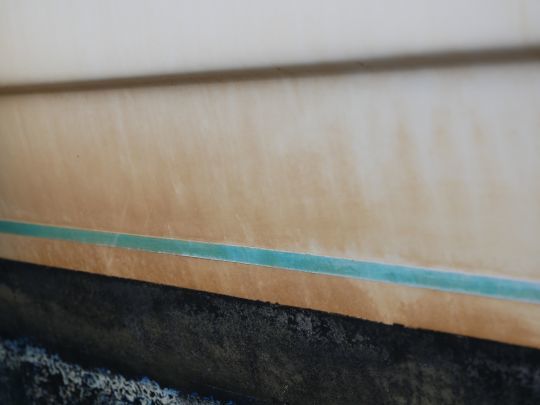
We remove all the elements that might get in the way, such as the ventilation grilles, the stern deck supports, and any accessories placed along the planking. Those that we leave in place, such as the hatchways and tank vents, are protected with adhesive tape.
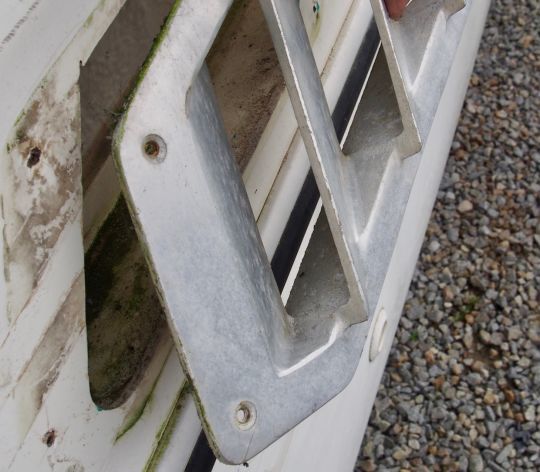
Goodbye glue!
There is no universal method for removing old adhesives. It can be more or less painful depending on their composition, their degree of wear or the ambient temperature! A fine scraper is used, possibly with the help of a light heating with a thermal stripper. In the best of cases, the glue can be removed with the adhesive!
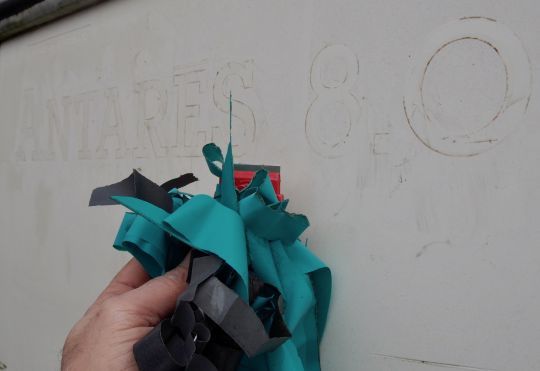
Engraved markers for flotation
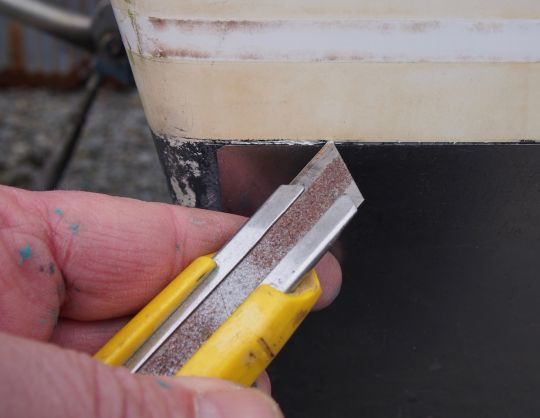
Our sanding may cause the waterline of the boat to disappear. To avoid any approximation during the treatment of the hull, we draw unambiguous marks in the gelcoat. We make a deep scratch at the bow, at the corners of the transom and in several places along the length of the boat. The tip of a cutter blade is well suited for engraving these.
Choosing the sanding grit
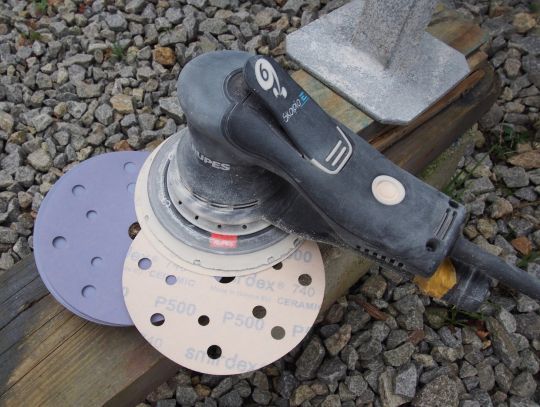
The first sanding uses an orbital sander with a circular disc. The choice of grit, between 320 and 500, depends on the condition of the hull but also on the thickness of gelcoat applied by the boat builder. Remember that this number indicates the number of grains per cm² and that the higher it is, the finer the abrasive. Sanding with 320 will be faster than with 500, but will require more work afterwards to polish the micro-scratches it will have created.
Wounds and bumps on the hull
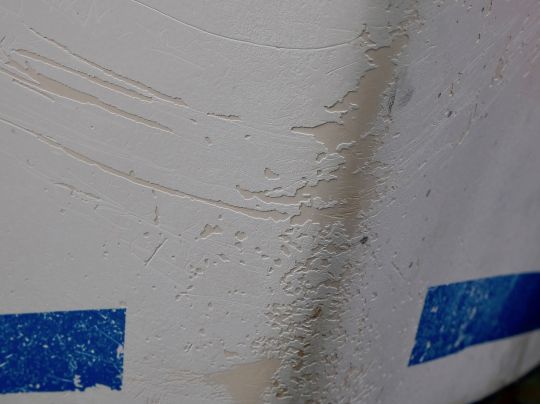
The abrasion of the surface layer of the gelcoat quickly gets rid of the traces of limestone, but the whitening of the gelcoat mercilessly reveals the defects, scratches and other snags that we will have to repair. We go around the boat armed with a pencil to mark them all. This precaution will avoid forgetting once we have in hand a spatula full of hardening mixture.
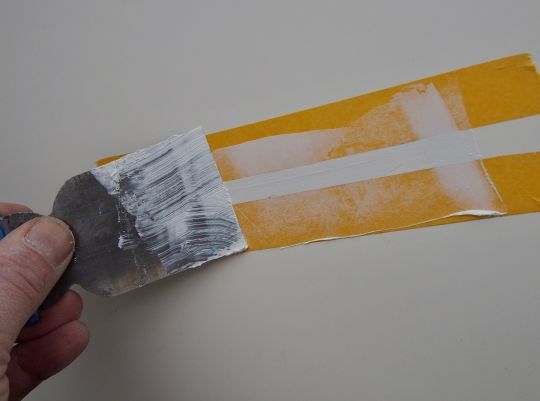
We fill in the roughness of the hull
We prepare a lightly tinted paraffin gelcoat that we apply with a body shop spatula. This product dries with a slight shrinkage, so it's best to give it an over-thickness when applying it. An effective system is to frame the scratches with masking tape that supports the spatula. This thickness is sufficient to counteract the effect of shrinkage.
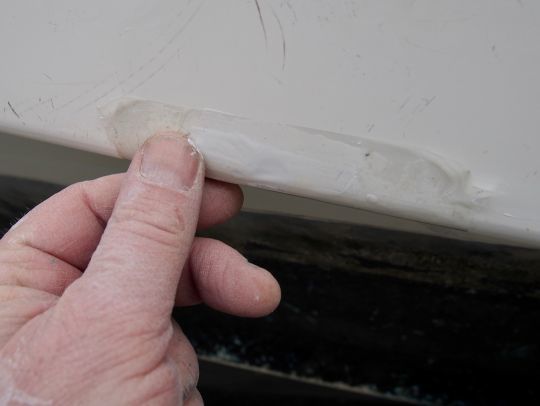
Finger and eye
Since the product tends to sink under its own weight, we can add a "filler", a powder that makes it less fluid, like silica gel. We also use the technique of covering the fresh product with a large strip of transparent "scotch tape" that is removed after hardening. It is then possible to smooth with a finger, over this film.
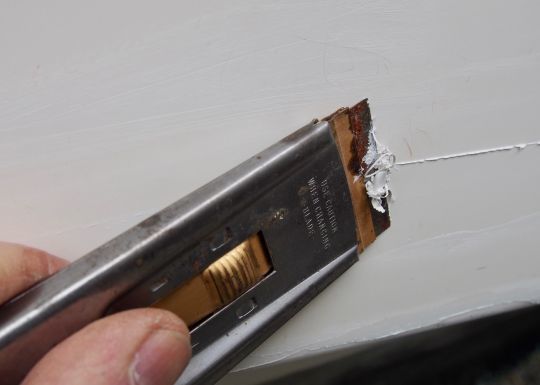
Water-based fine paper
The repairs are flush with a cutter blade used as a scraper and a fine abrasive. The following sanding is done with water paper, that is, a special paper that is rinsed regularly so that it does not clog. A pass with 800 grain, then another with 1000 grain is generally well suited. This gradual gradation seems tedious, but it is better to have to pass several times on the same spot than to waste time and energy with a too fine grain.
Smooth to the touch
This is done in increasingly fine passes until 3000, rinsing with a sponge between each pass. For us, 3 intermediate passes were necessary, at 800, 1000 and 1500. We now have a surface that is smooth to the touch, but we need to restore the shine with a "polish".
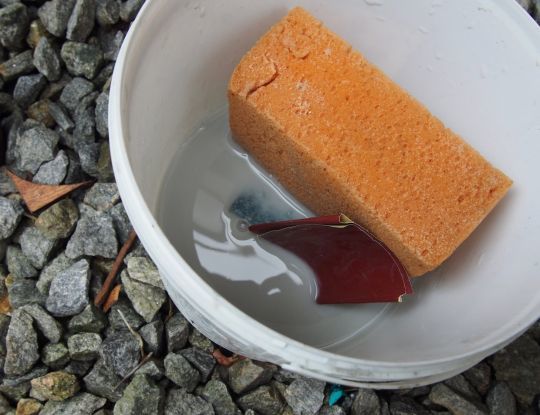
Polishing wand...
These polishing products exist in more or less abrasive formulations. The polish is applied with a dedicated machine called a polisher, or with an angle grinder equipped with a variator allowing a slow speed. We start with a pass with an orbital sander equipped with a foam tray that spreads the product, before continuing with the polisher, whose tray is equipped with a synthetic fiber brush.
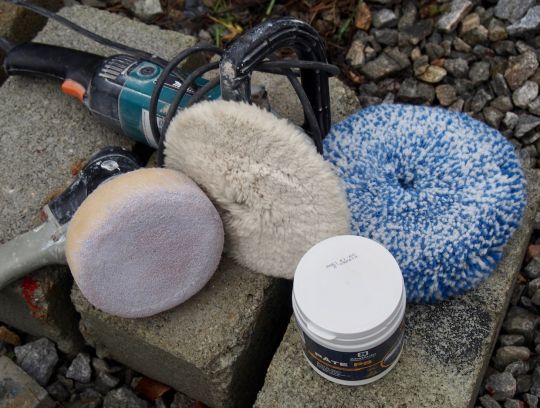
Squaring the hull
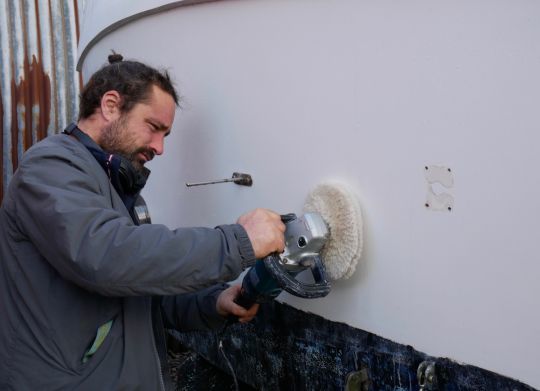
With the polishing machine, we work by squares of about 60 cm side, by squaring by crossed passes, vertical then horizontal. A little product is deposited on the support, then spread with the machine in very slow speed. You can then accelerate the speed and press lightly to make the product "work". The real secret of this machine is that you should never lift it from the support while the disc is rotating, otherwise you will throw the product far beyond the area to be polished!
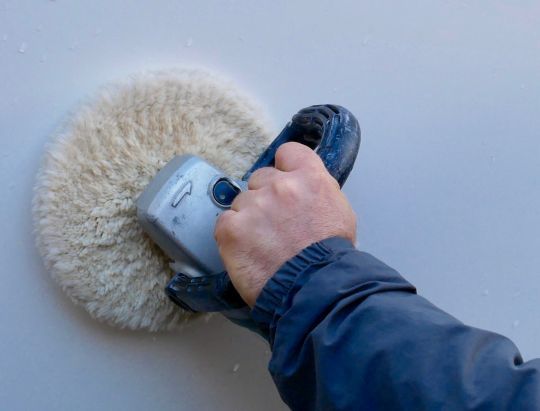
The brilliant shot!
Depending on the product used, and the desired result, we may have to complete this work with a pass with a glossy wax. This precaution completes a work of which we can be reasonably proud! This shine is not just to have the shiniest boat in the pond; it is also a protection that prevents dirt from adhering.

 /
/ 