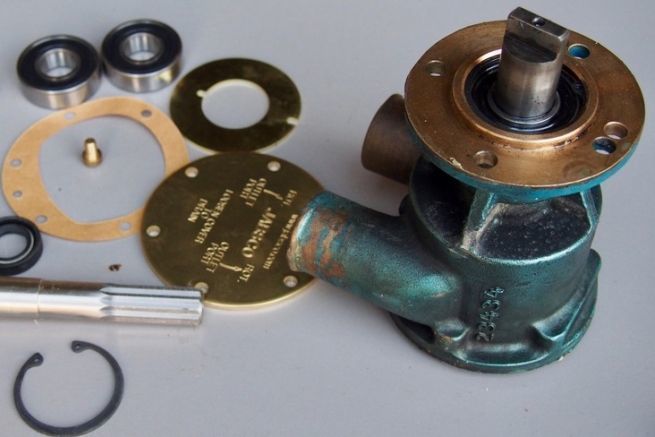
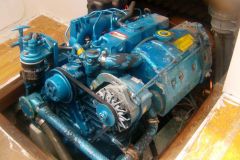
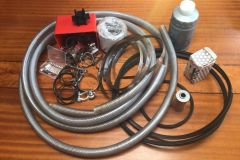
The seawater pump wears out, especially if the boat sails in water loaded with abrasive particles. The impeller of course, but also the casing, the bottom plate or the shaft and its seal. In addition to losing efficiency, this pump starts to leak. Manufacturers offer renovation kits that allow you to give it a second life. This is a fairly simple operation that does not require any special tools.
Pump removal
First of all, close the suction valve, then disconnect the hoses. The pump is held in place by screws that can be removed. Be careful not to damage the seal between the motor housing and the pump, even if it will have to be replaced when reassembling.
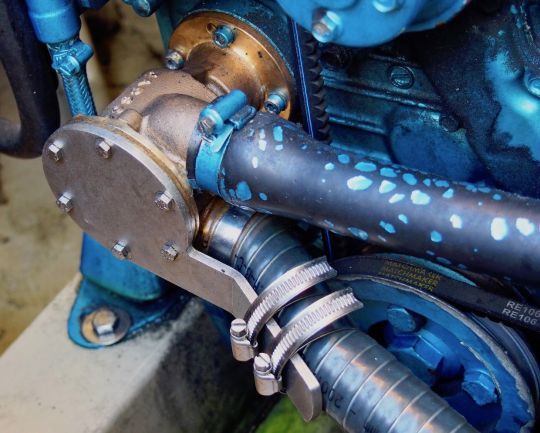
Fragile screws
We open the cover to access the turbine. Be careful, the screws are often made of bronze and chip easily. Inspect the parts as you dismantle them: a cover that is too marked will have to be replaced. Note that in case of a breakdown at sea, it is generally possible to turn it over to use the other side.
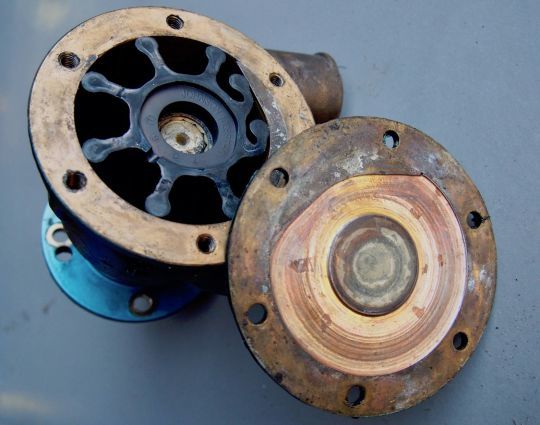
Use the right tool
Ideally, you should use an extractor to remove the turbine. Otherwise, you can use a large screwdriver, taking care not to mark the angle of the parting line. Check the condition of the blades, which may be bent, cracked or even missing. If this is the case, you will have to remove the pieces of the exchanger before restarting.
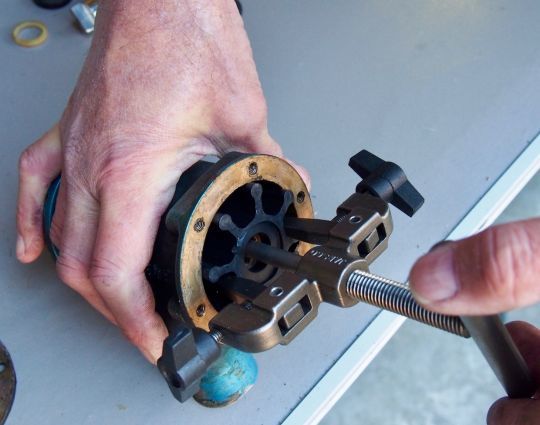
Extraction of the tree
After removing the snap ring that holds it in place, you can pull the shaft out by gently tapping its end with a mallet. The shaft comes out with its bearings without too much force.
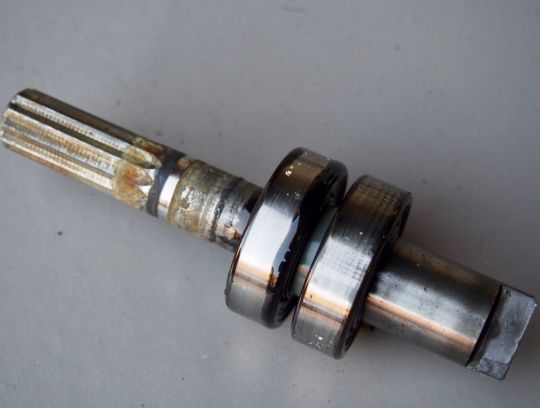
Bearing removal
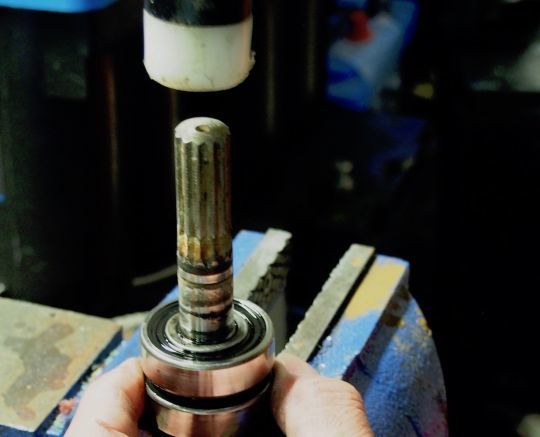
Still using the mallet and leaning on the jaws of a vice, you can extract the 2 bearings, without omitting to recover the plastic ring which ensures their spacing.
Shaft inspection
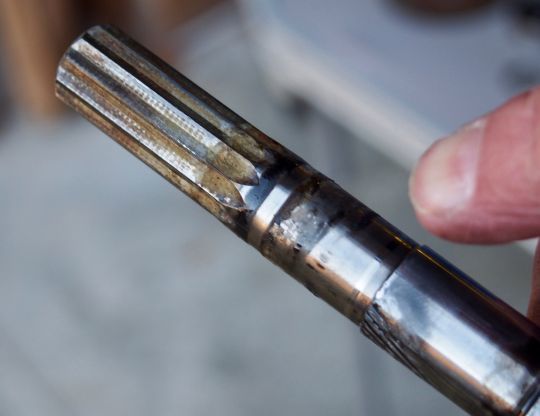
After cleaning, you can inspect the condition of the shaft and make sure it is not warped or marked, especially in the area of the spinnaker seal. Ours is clearly due for replacement!
Removal of the spinnaker seal
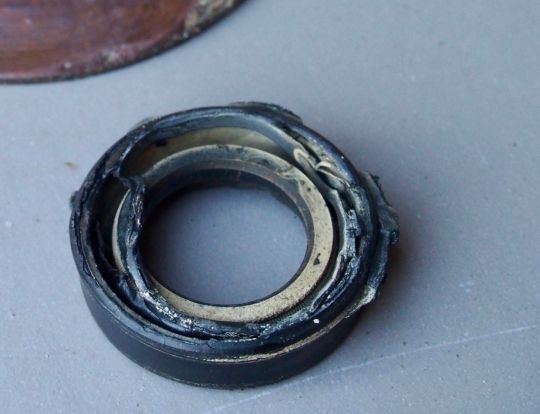
The spinnaker seal is removed. In our case, its condition leaves no doubt as to the cause of the leak! This seal is the guarantor of the good sealing between the pump body and the bearings. Its efficiency is therefore essential.
Reassembling the seal
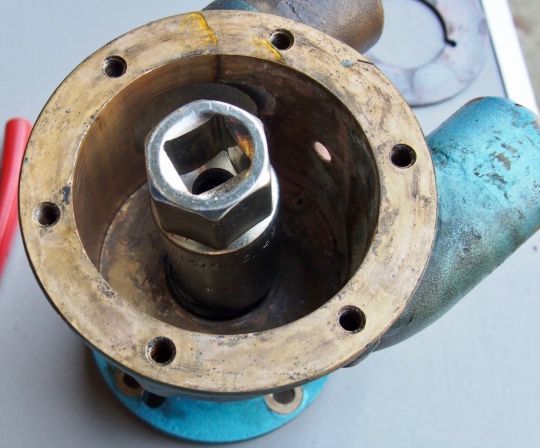
After cleaning its housing, the new spinnaker seal will be put in place. We use a tool with the diameter of this one (a socket is perfect) and we tap delicately by taking care that the joint remains well parallel to its housing.
Replace the bearings
To assemble the new bearings on the shaft, each part is greased before being placed on the shaft. If there is no press, we use a piece of wood drilled to the diameter of the shaft on which the bearing rests. We make sure that everything is in place, including the spacer ring.
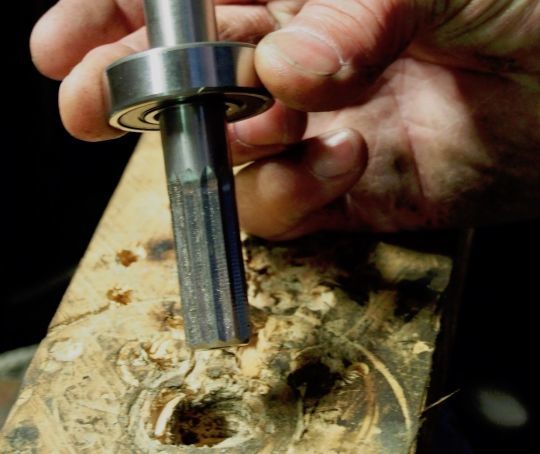
Lubricate but not too much
When reassembling the shaft on the pump body, the bearing cage should be lubricated without excess to allow air to escape. The assembly must fit snugly in its housing to clear the snap ring groove.
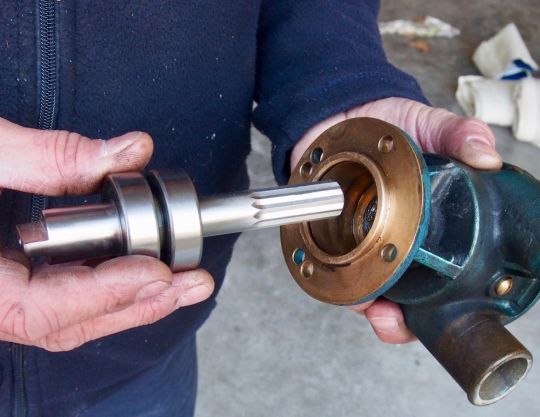
A choice of turbine
The bottom plate and boss will be replaced, as well as the new turbine. Depending on the waters you use, you can choose between several materials: Neoprene which is sufficient in most cases, or nitrile which is more resistant to abrasion. Be careful to place the blades in the direction of rotation and to lubricate the cage well to compensate for the lack of water during the first few turns of priming.
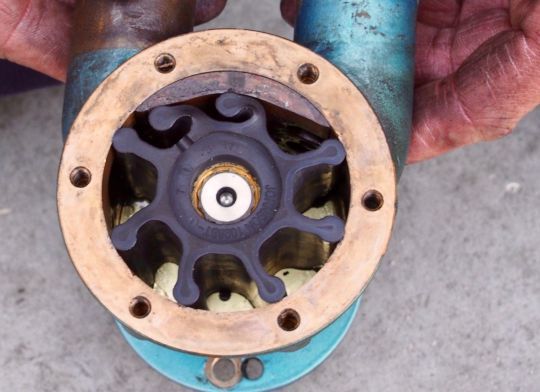
Closing the lid
The sealing surface will be lightly oiled before receiving the new seal, then the cover will be put back on, the inner face of which will have been greased beforehand. The screws will be put back on by 2 in diametrically opposite points and tightened with moderation.
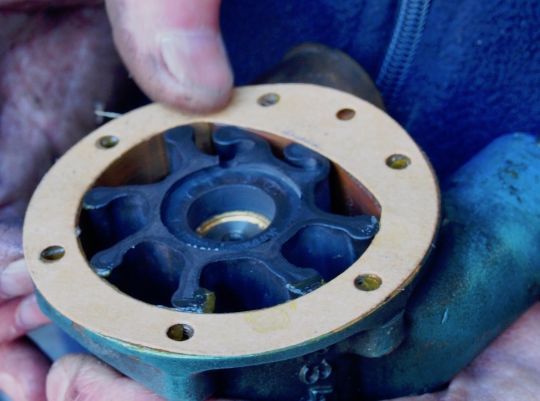
Revived hoses and new collars
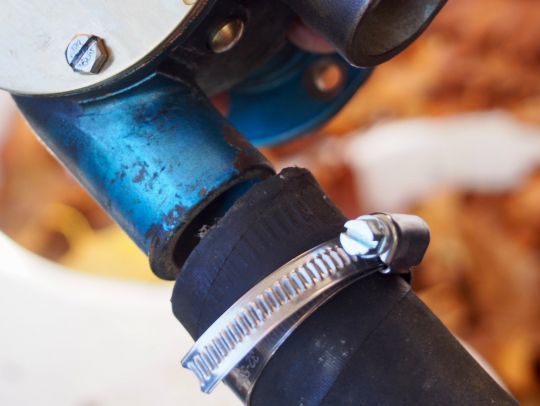
The pump can be reinstalled. Care should be taken to ensure that the hose ends are free of cracks or deformation. If this is not the case, the damaged part should be re-cut or the whole hose replaced. This is a matter of safety for the engine and the boat. For the same reasons, replace the clamps with new ones (they must be doubled) and tighten them with a socket rather than a screwdriver.
Take care of the re-priming
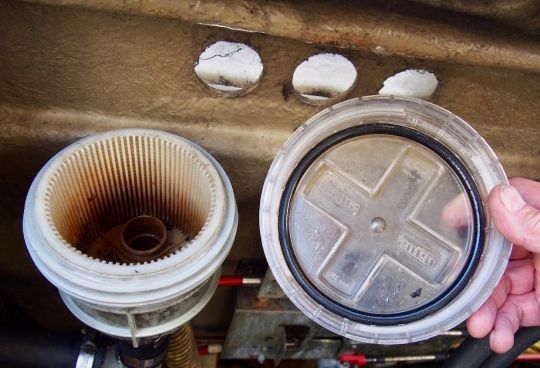
After an intervention, the circuit contains air and the pump will run dry for the few seconds necessary for priming. To help with this, you can pour water into the filter and open the suction valve immediately after starting. Take this opportunity to check the condition of the filter seal, which can cause air intake problems.
