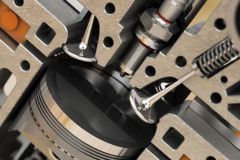
The heat exchanger is a cast housing that contains the engine coolant. It is crossed by a bundle of tubes called honeycomb and in which circulates the sea water that is sucked under the hull and then rejected to the exhaust. The heat exchanger is therefore the nautical equivalent of the radiator on a car. In use, it can become clogged with scale or shells. Its disassembly is not a common operation and is only undertaken when the cooling becomes less durable. However, it is an excellent way to allow it to regain its full efficiency.
Remove obstructing engine accessories
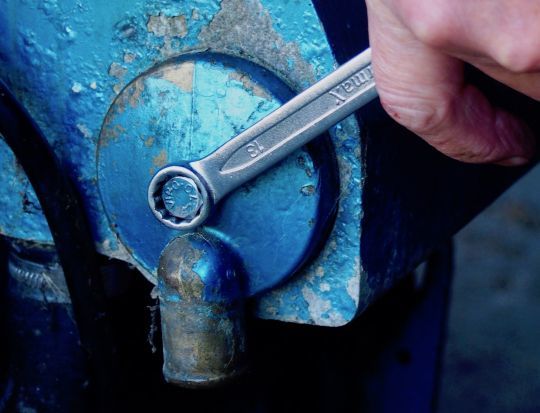
The exchanger housing has 2 covers, one at each end. They are easy to remove. The difficulty lies in the other engine accessories, especially the alternator, which limit access and must be removed beforehand. Once you have cleared the area and drained the circuit, removing the plugs is child's play: they are generally fixed by a simple central screw that you just have to remove.
Inspection of the exchanger
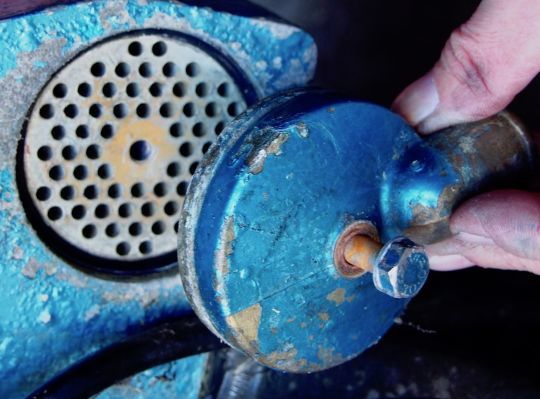
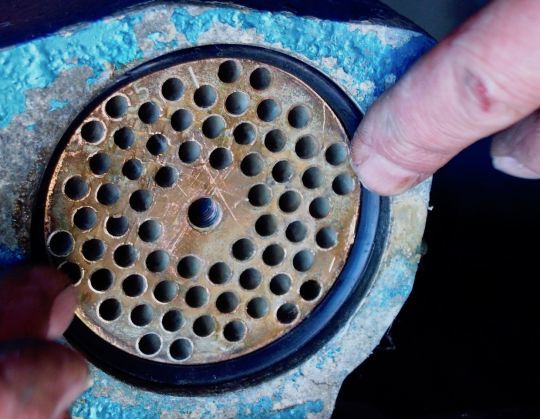
Inspect the inlet, which is the side through which the sea water enters. Despite the filters, this is where impurities accumulate. Even more commonly, this is where you find pump impeller blades that have torn off and ended up here.
Remove the seals
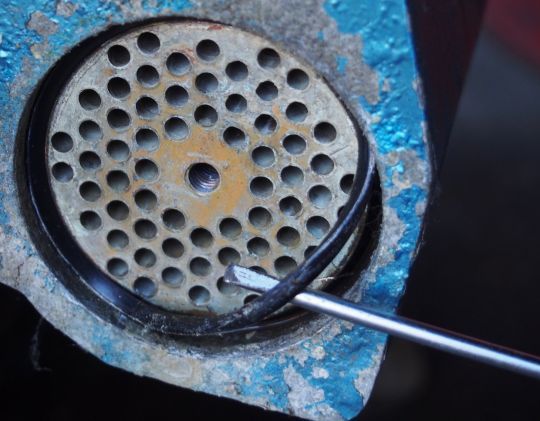
At each end, a gasket prevents seawater and coolant from mixing. Remove them carefully, even if they will have to be replaced anyway, as after each disassembly.
Extracting the beam
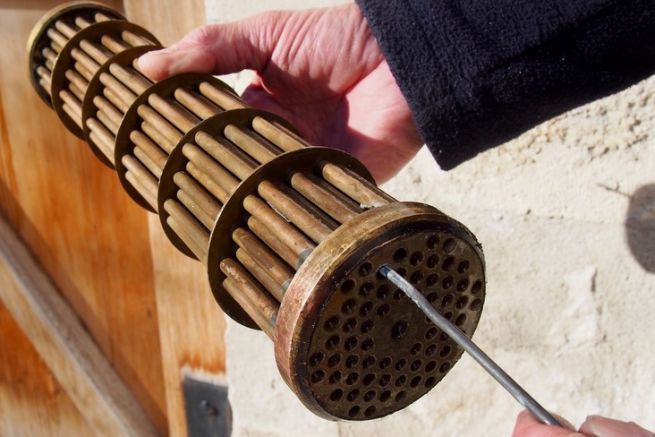
The honeycomb beam comes easily by pushing it at one end. If it resists, you can tap it, but only by interposing an object of soft material of suitable diameter.
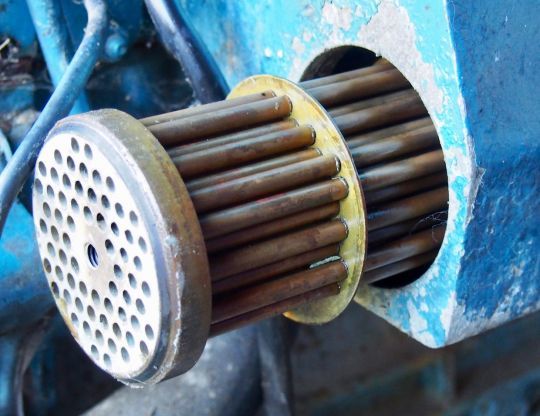
All dirt is harmful
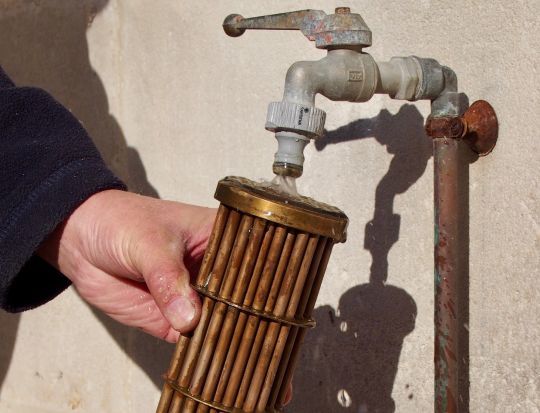
Once the beam is extracted, it is rare not to notice a clogging, either inside or outside the tubes. Sometimes, as in the photo, this clogging blocks all circulation. Even without being at this stage, anything that slows the flow of water or limits the exchange surface is detrimental to cooling.
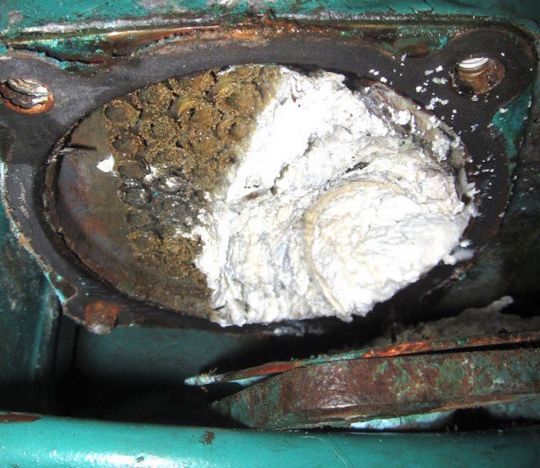
Scrape the exchanger
After an initial rinse to remove silt and mud, you can scrape the outside of the bundle, keeping in mind that copper is a malleable metal and therefore easy to injure if done without care.
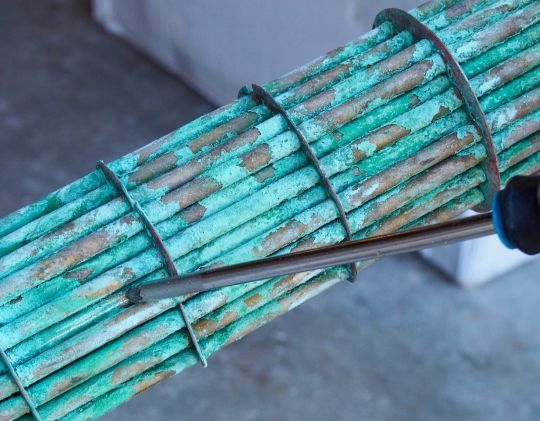
Connecting the exchanger
The limestone and any shells that may have developed in the tubes will be eliminated by an easy to make tool: a simple rod will allow you to link each tube to ensure that the passage is free and to eliminate the concretions that inevitably end up forming there.
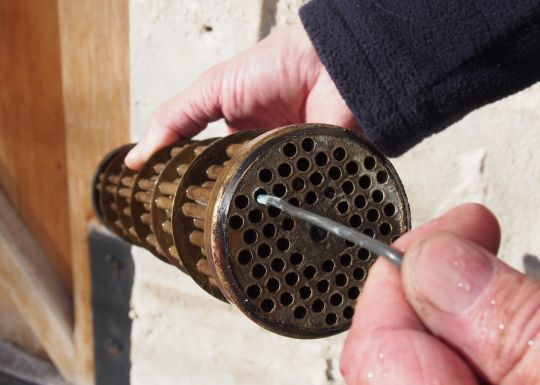
An anti-limescale bath
To complete the job, it is best to soak the entire piece in a bath of strong anti-limescale such as an acid. Of course, this will be done while taking every precaution and wearing appropriate protective gear. A careful rinsing will passivate the action of the acid and eliminate the last concretions.
Reassembly of the bundle and its joints
Once cleaned and rinsed, it remains to reinstall the honeycomb and its new seals. When you put the covers back on, be careful to orient them so that the hose does not form too pronounced a bend. It will remain to fill the exchanger with coolant.
Bleeding of the air from the circuit
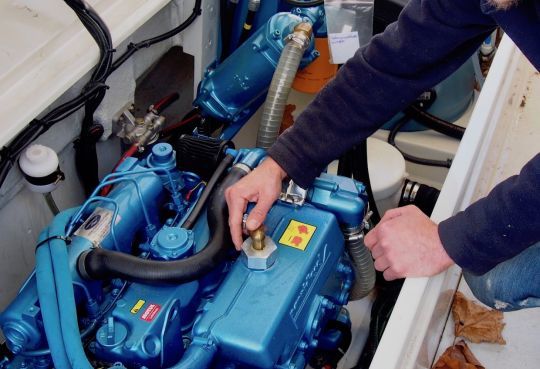
With the engine running and at temperature, open the plugs for a moment so that air bubbles can be purged, then top up the level in the exchanger or expansion tank.

 /
/ 