With wear and tear and time, a boat's mechanical engine controls become loose and less accurate. This can result in a less-than-accurate neutral, staggered acceleration, or even a shuttle that slips because it is not fully engaged. Adjusting the control cables is technically simple. It just requires common sense and logic to figure out what action (push or pull) the cables connecting the control box to the shuttle and the engine should have.
1 - An order transmitter
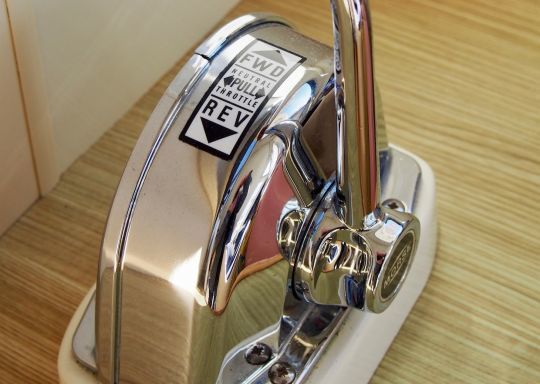
The control box is the nerve center of the system. It is responsible for transmitting the pilot's commands to the machine. In the case of a single lever system, it manages both the reversing and the acceleration.
2 euros Understanding the actions of cables
In the case of the mechanical controls we are interested in (as opposed to the developing electrical controls), the box operates cables that pull or push the reversing and accelerating levers located in the engine hold. Start by looking at the whole system to understand the actions of the mechanisms.
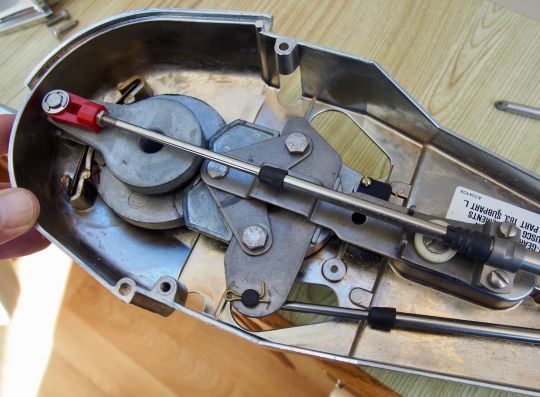
3 - Check cables and pivots
Once the case is open, inspect the condition of the cables: they should not form too pronounced a bend. It is mainly their pivots and fasteners that wear out and can generate a play detrimental to the precision.
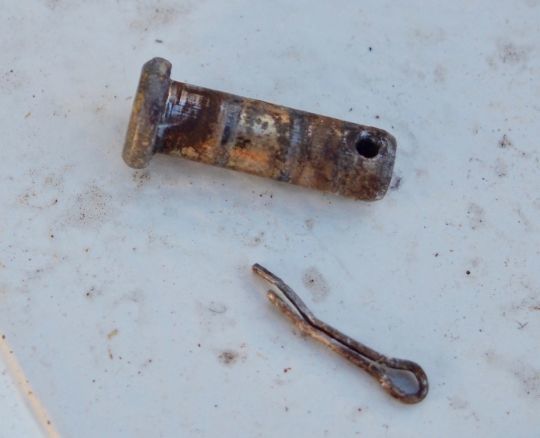
4 euros First the reversal of the engine
By operating the control, but also by shaking the cable connections, look for signs of wear. Replace any worn pin without mercy, especially in the case of dual controls. These systems increase the number of links and therefore the sources of play, which can add up to significant values.
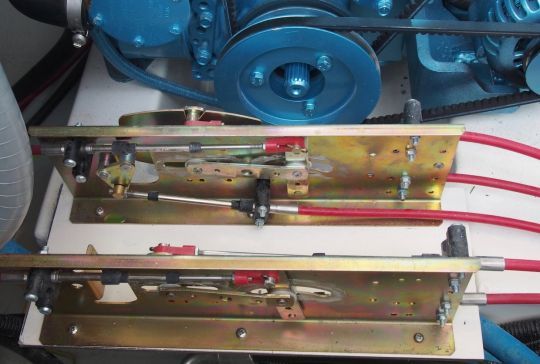
5 - Checks on the motor side
In the engine compartment, check that the bracket holding the cable sheath is secure and free of play. The same goes for the shuttle lever itself.
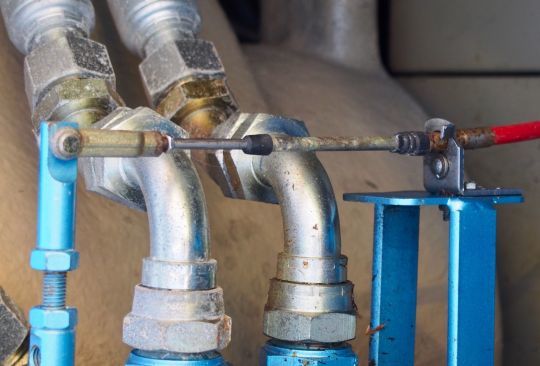
6 euros Check the axis of connection to the motor
Disconnect the clevis that connects the cable to the shuttle control and inspect the condition of the pin that connects them. Do not allow the slightest wear. These parts are inexpensive and should be replaced if there is any doubt.
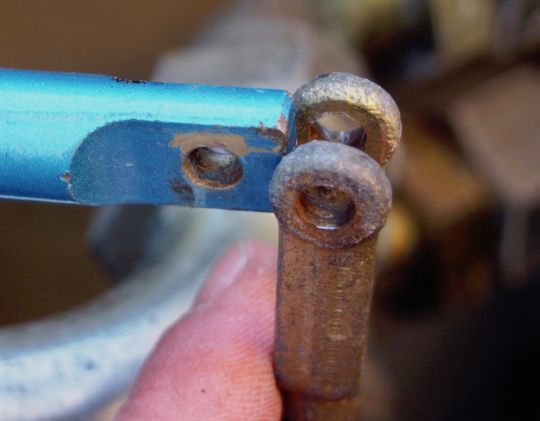
7 euros Check the race
With the cable disconnected from the shuttle, move the shuttle control to the neutral, forward and reverse positions in sequence and make sure that the cable has enough travel to fully actuate the shuttle lever forward and backward by operating the cockpit control.
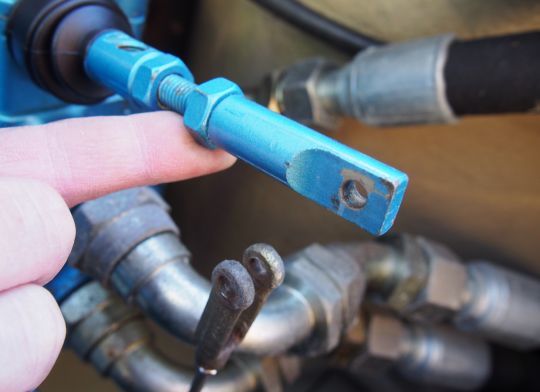
8 euros Adjusting the cable displacement
The travel is adjusted by adjusting the length of the cable. To do this, adjust the cable nut in the control box. There should be enough travel to allow firm engagement in the forward and reverse directions, but not so much that it is too tight.
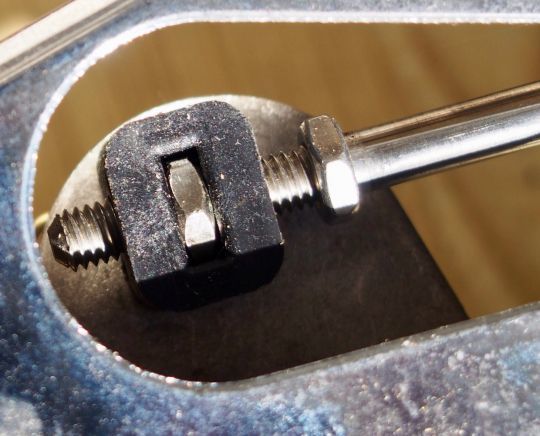
9 euros Fine tuning on the motor
If necessary, fine-tune the setting by adjusting the motor end of the cable. To do this, loosen the locknut and turn the clevis to achieve the desired result. The aim is to achieve a perfect match between the cable and the shuttle lever in the neutral position and also in the forward and reverse positions.
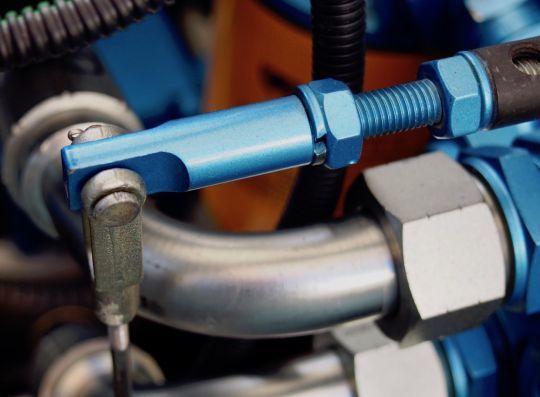
10 euros A trial run
Tighten the locknuts firmly and check that the pins that secure the pins and pivots are in place. Of course, don't forget to do a test run.
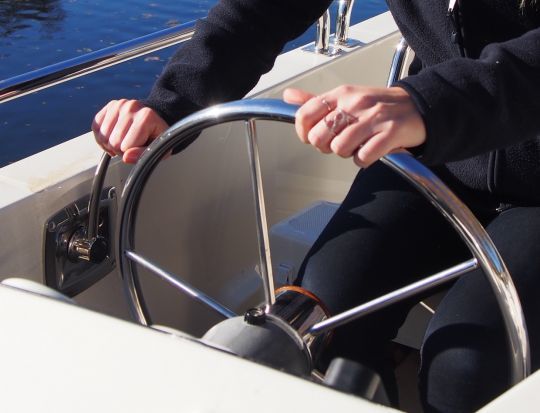
11 euros Check the throttle stroke
For acceleration, only 2 positions are important: idle and full throttle. When disconnecting the clevis from the lever on the injection pump, make sure that the cable travel is sufficient to reach these two points without forcing beyond them. Again, the travel can be adjusted from the cable nut in the control box.
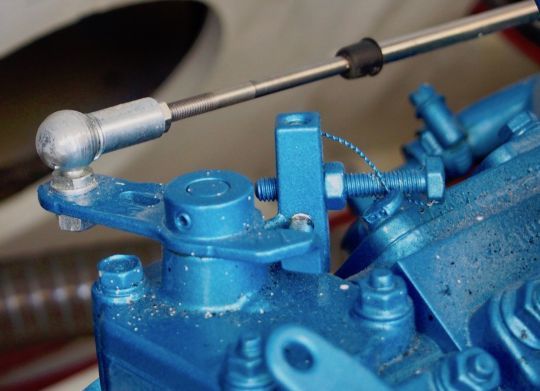
12 euros Spray lubricant
Before reassembling the case, lubricate all pivots and the mechanism. You can now enjoy the pleasure of finger-activated controls.
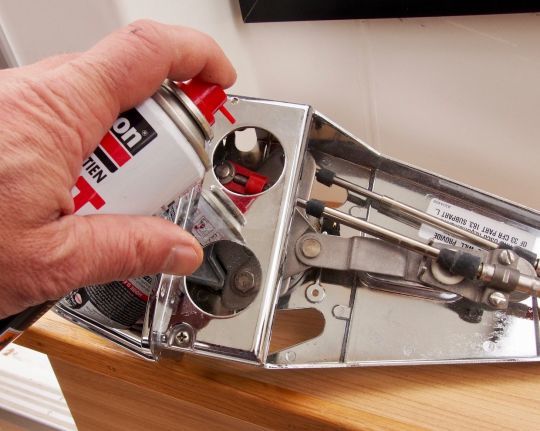

 /
/ 


