Step 1: Find the perpendicular
Before any attempt is made to adjust the mast, whether in terms of tension, general curve or straight line, it must be ensured that it does not lean more to starboard than to port. This is a factor that will affect stability and performance.

To check if the mast is perpendicular to the deck, the mainsail halyard will be used.
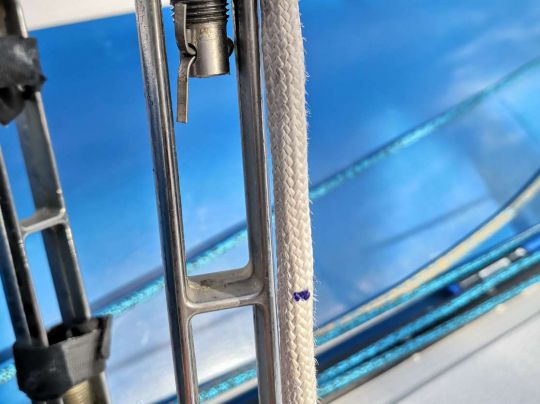
The method is quite simple: the halyard is brought to the rigging screw on one side. Using a felt pen, a mark is made on the end corresponding to the mid-length of the rigging screw.

Then, the halyard is brought to the other side, to the opposite rigging screw to check if the mark reaches the same level.
A difference of several centimetres is significant. If the mark is in the same place, your mast is perpendicular to the bridge. It's rare and admirable.

Tips :
- There may be a little too much elasticity in the halyard to make sufficiently reliable measurements. To overcome this problem, a weight of about ten kilos can be attached to the end of the halyard in order to apply the same force when measuring to starboard and then to port.
- If the halyard is really too elastic, consider changing to a more suitable string. Indeed, a halyard that stretches too much to prevent the sails from being properly adjusted when the wind strengthens. Alternatively, you can hoist a piece of dyneema, even of small diameter, at the mast head, this low elongation rope is not very expensive and can still be useful on board.
Step 2: Avoid zigs and zags
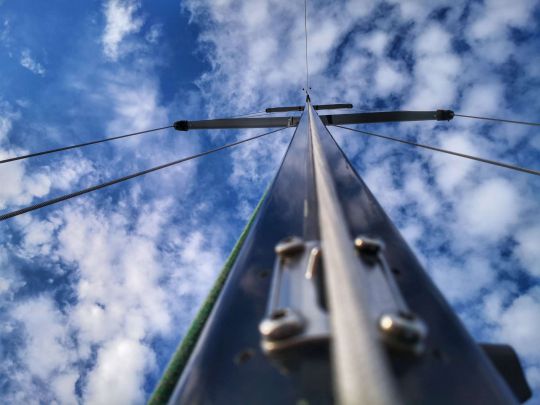
The mast must be straight, it must not make "s" or your sail settings will be difficult to reproduce from one side to the other.
In order to check this parameter, it is necessary to install yourself at the gooseneck level and look at the luff tape over its entire height. In general, it is easy to see whether the mast goes to the right or to the left and at what altitude this occurs. If you have any doubts, the mainsail halyard attached to the gooseneck and very tight will be a great help.
If, for example, the mast goes to the right at the first spreader spreader level, this is a sign that there is too much tension on the starboard lower shrouds, or not enough on the port lower shrouds.

Step 3: What tension in the haubans??
Unless you have the manufacturer's data and a good blood pressure monitor, this time it is while sailing that you will have to do the check.
Enjoy a fairly flat sea and a close-hauled tack with the whole canvas in around fifteen knots. If the leeward rigging happily starts dancing the jitter, it will be necessary to regain tension.
It can also be done at sea. A few turns of the rigging screw are given downwind and after a tack the same number of turns on the other side.
Obviously, this operation can be done at the port, but it will be necessary to validate the voltage by navigating in similar conditions.
How to pay for haubans??
To adjust the length of the shrouds, and therefore their tension, we will use rigging screws and wrenches.
To correct the curvature of the mast, the length of the shrouds should be adjusted by tightening on one side or relaxing on the other. As a reminder, a rigging screw tightens the cable when it is turned counter-clockwise.
Once the rigging has been adjusted, do not forget to place split pins to ensure that the shrouds or rigging screws do not turn and loosen. And especially if you have any doubts, commission your sailboat/ rigger to carry out a check. The rigging and sails are the engine of your boat, give them the necessary attention.
Once you have found a suitable adjustment for your mast, remember to put electrician's tape marks on the threads just outside the rigging screws. So after the next dismasting you will find the right settings in the blink of an eye.

 /
/ 


