As is often the case, a composite repair is performed in a cycle. Here, the procedure consists of sanding to prepare the surface to be repaired, filling the hole and finally sanding again to regain the original shape. Let's discover the details of each of these steps.
The right product and sufficient packaging
When you need to repair a tear in the hull, you must ask yourself the question of the product to use according to the location of the work to be undertaken.
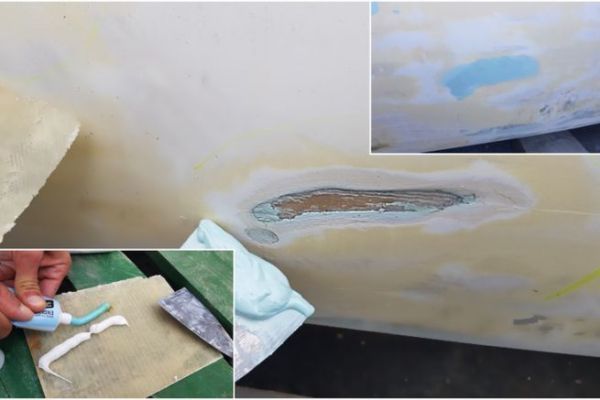
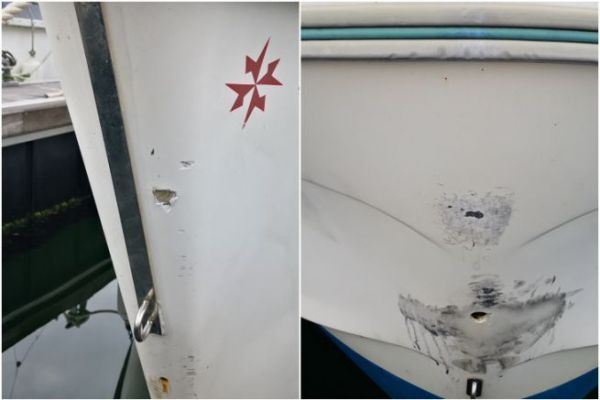
Here, this little boat suffered an encounter with the tip of a rock. As it is under the waterline, we will use epoxy putty. The boat is dry, we can start the repair.
In specialized shops, we find mainly pots of epoxy coating. But their volume is too big (as well as the price) and the opened pots often end up in the waste.
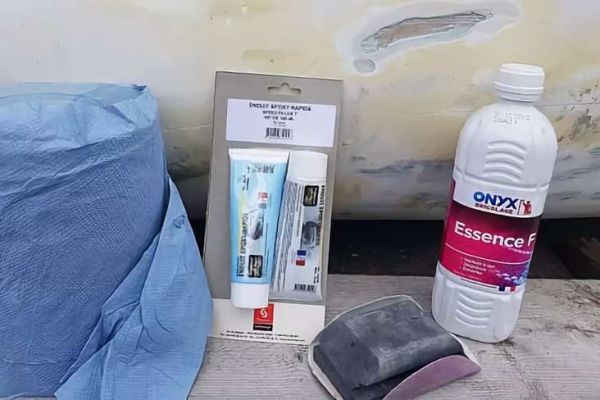
So as the damage is not extensive, we turn to small packages. Soromap like some other manufacturers offers clever packaging for boaters. Two components, so two tubes to be mixed in equal parts. Can we make it simpler?
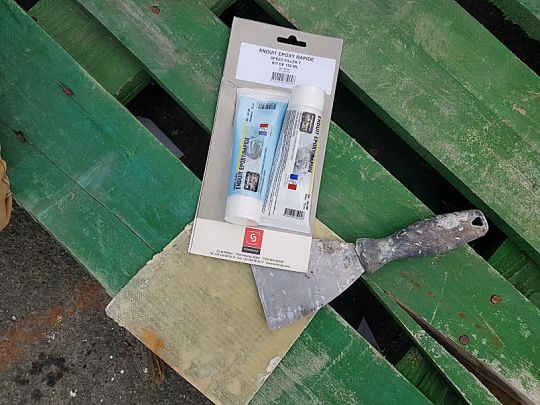
As recommended by the manufacturer, we took advantage of a dry day with a reasonable temperature (in Brittany, the second point is easier to acquire than the first)
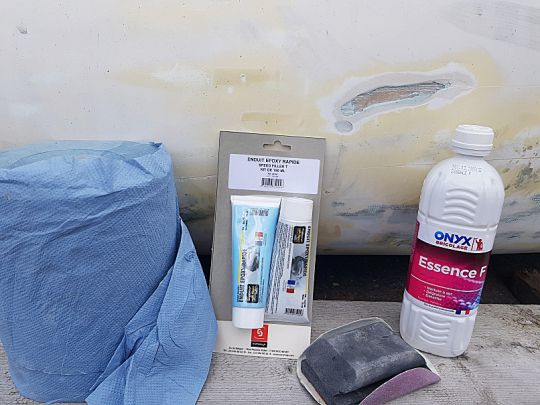
Gather the material, the checklist
- Before starting the work, we will check that we are not missing anything:
- Dust mask essential
- Sanding block with 120 and 320 grit paper
- Fast setting epoxy putty
- A coating spatula and a support for the mixture
- Degreaser (Acetone or F-gasoline)
- Rag paper
Step 1: STICK
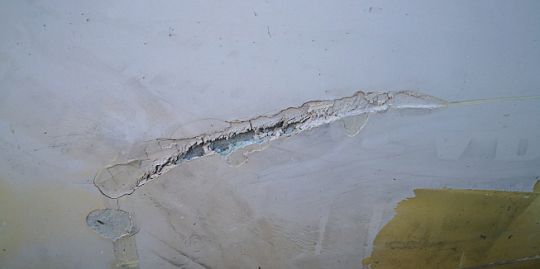
1- Assessing the injury
First of all, the surface to be filled must be prepared. Nothing sticks of course a crumbly support. Then we will widen the gap and remove all the pieces that are willing to come.
But before sanding, we will clean with degreaser around the future repair.
2- A bit of heavy lifting
The edges are sharp and uneven. A first sanding with 120 grit will remove the pieces of gel-coat composite and putty that are just waiting to be removed. The goal is to make the area "clean" for the future intervention.
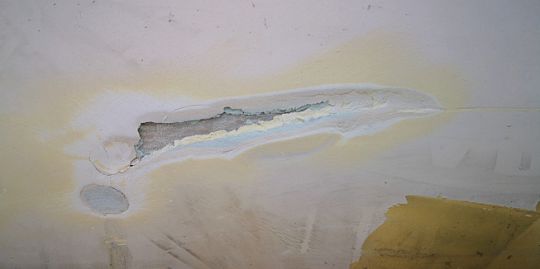
3- Prepare the cavity
The second sanding gives shape to the contours of the area to be filled. It is necessary to bevel the edges by sanding them to create a shower slope cavity.
When puttingtying, avoid covering areas with vertical edges. The putty will form a plug that will have a better mechanical hold. It also prevents air bubbles from being trapped.
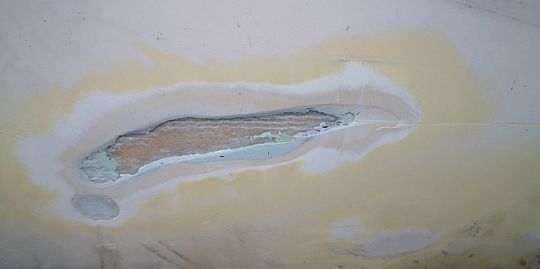
4- Striping the floor
A final sanding to create scratches. This ensures the mechanical grip of the filler. Here, we make sure that the "bottom" of the hole is well sanded.
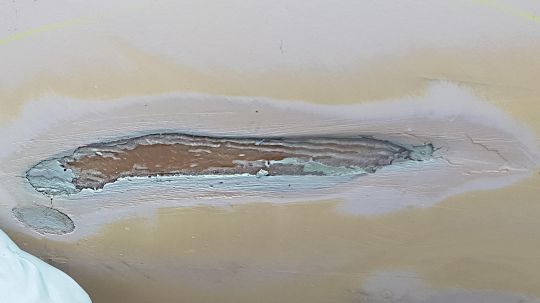
5- The wound is ready to be filled. The edges are "coated" and the bottom is sanded and dusted before degreasing.
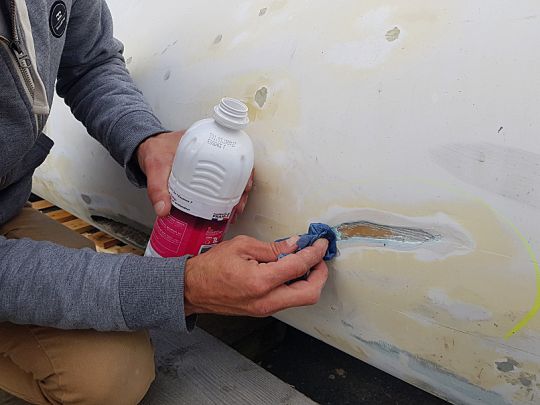
Step 2: MASTICATING
1- Since the repair is located on the living works (under the waterline), we chose epoxy mastic for its waterproofing.
Among the qualities of the epoxy putty, it is also worth noting that the time available to work on it before it dries is greater than that of polyester putties.
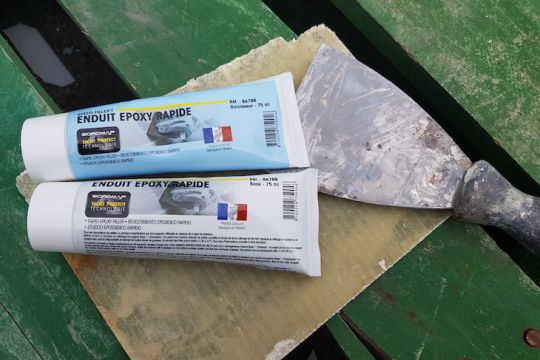
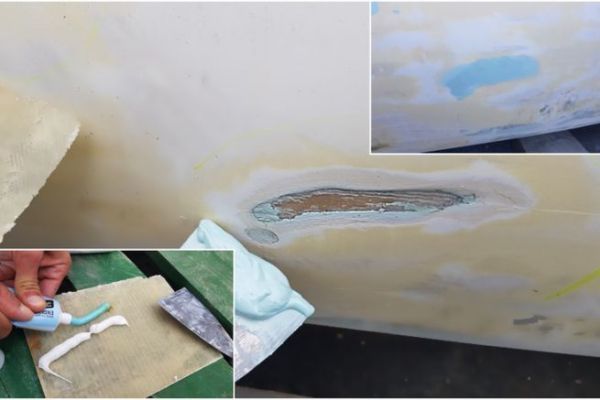
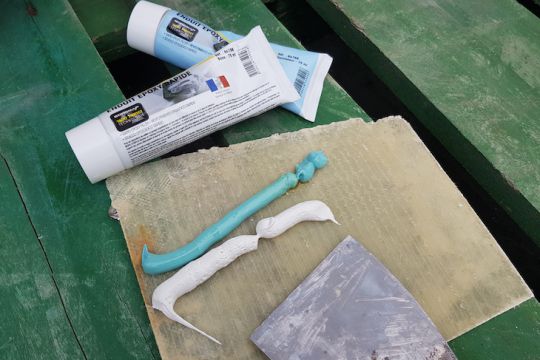
2- The mixture is very simple to make. One volume of component A for one volume of component B.
A bead of each product is placed on a stand and the mixing of the components is started.
It is necessary to be meticulous on the mixture of the two components. After mixing, the paste should be of uniform color.
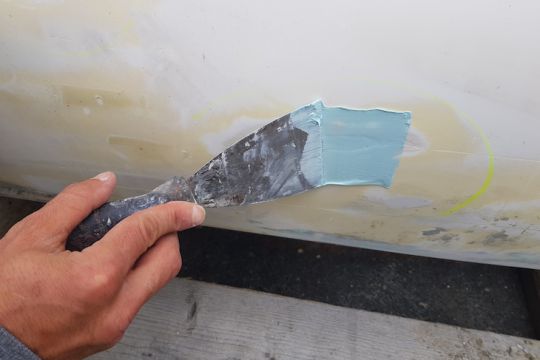
3- Since the cavity is deep, we will first apply a first layer to generously deposit the material.
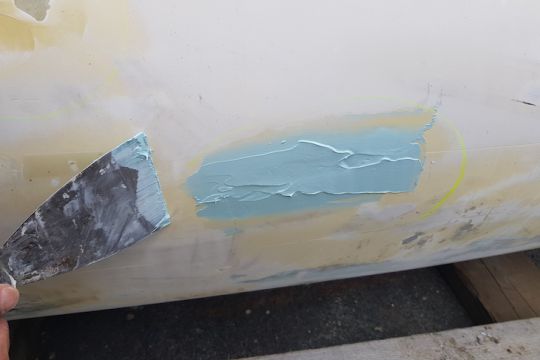
4- The second pass will level the surface. The putty will take several hours to dry. There is no need to sand before it has completely hardened, because you will only clog your disc.
Step 3: SANDING
Back home, the day after the repair, we will be able to see the hardening of the sealant. It is time to start the sanding phase. We will work by hand, with a sanding block, it is the only tool allowing a good control of the gesture.
First of all, we use a thick grain paper, 120, to give the desired shape. However, we do not recommend using more abrasive paper in the hope of saving time, because it leaves too many impressions in the material that you will have to fill in with... putty.
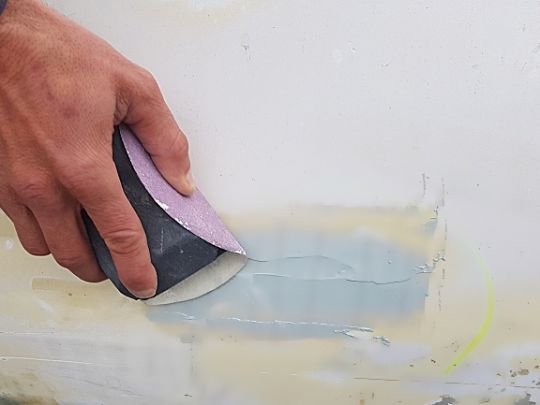
Then we move on to the finer grain, 320, to remove the scratches visible to the eye. A pass with the hand will ensure the quality of the work and possible hollows or bumps.
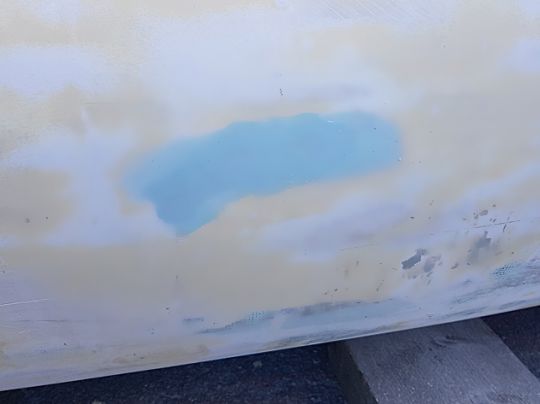
All that remains is to dust, and the repair is complete.
We will be able to start a new cycle, that of the painting of living works: primary, then antifouling.

 /
/ 