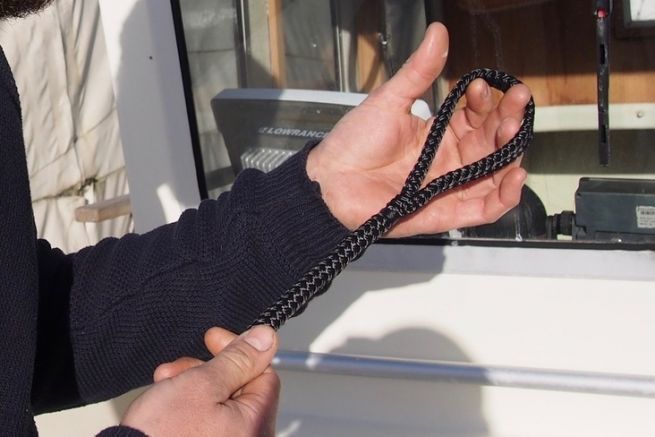
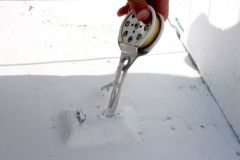
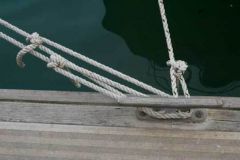
The hollow braiding of modern ropes allows for fine and strong splices. The eye is formed by sliding the free end of the rope into its fixed part. The tension makes this assembly particularly strong. These splices have a very clean appearance and do not have any extra thickness that could impede the sliding of the rope.
Modern ropes
The hollow braid expands when you make the move to shorten it. This opens up enough space to slide the free end into the rope itself. The resulting sheath tightens under tension and offers great strength.
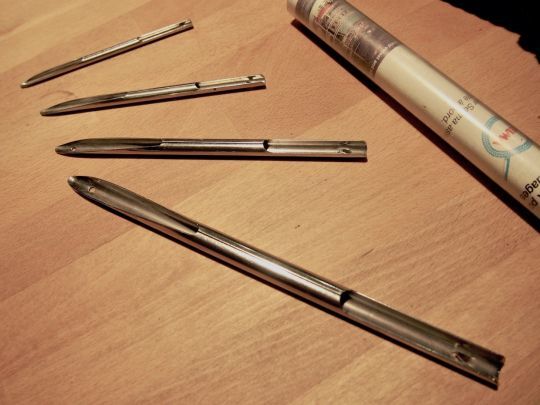
Hollow needles
Hollow needles are used. You can find them in hardware stores. If the braid is very loose, it is conceivable to use piano wire folded in half.
Measure and mark
For the splice to be as strong as the rope itself, it must measure 100 times the nominal diameter of the rope, or 1 meter for a 10 mm diameter rope. This measurement is marked on the rope with adhesive tape.
Fraying
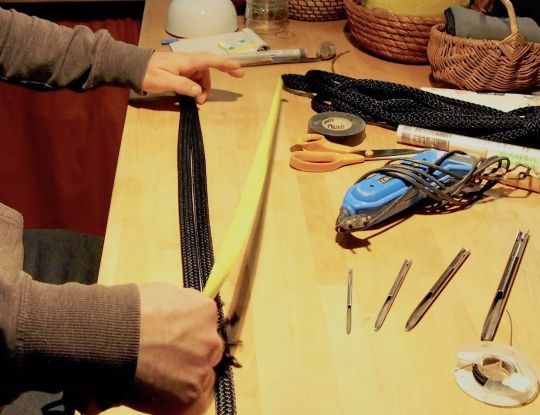
If the end of the rope has been burned, it is recut and then frayed over a few centimeters. Before introducing it firmly in the tube of the needle.
Relaxing the sheath
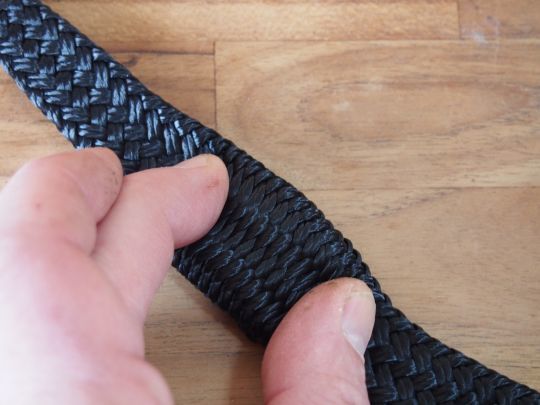
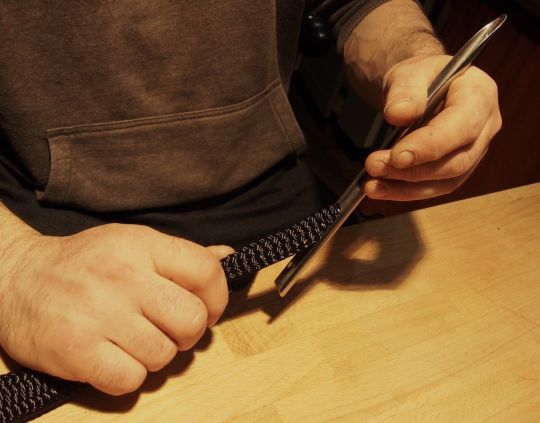
By pressing the rope on itself, we widen the sheath in which we make pass the needle taking care not to wound the fiber of the rope by passing inside.
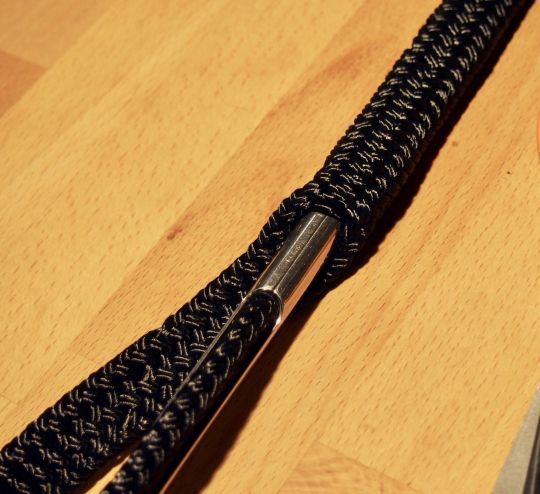
Push the needle!
When the tip of the needle reaches the length mark, it is pulled out of the sheath along with a small length of the end of the rope.
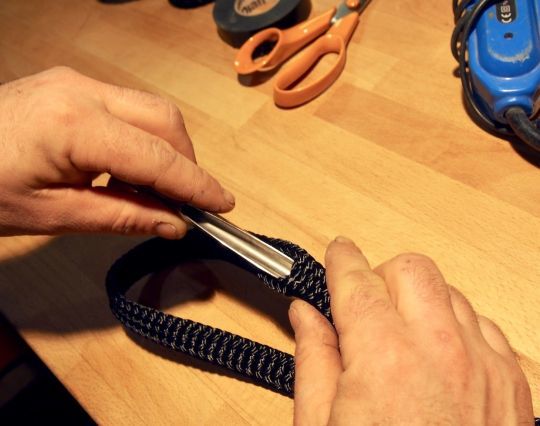
Hold the strap
The braid being still under pressure, we place an object in the braid to avoid that it disappears in the sheath. This allows you to devote yourself to tapering the end of the rope without a second thought.
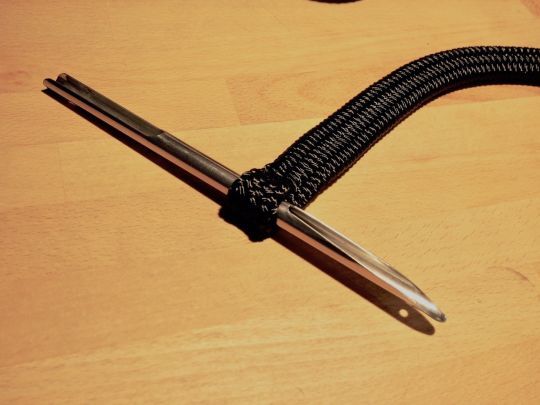
Tapering
Having taken out the end of the rope of about 40 centimeters, we take out spindles starting with the part closest to the sheath.
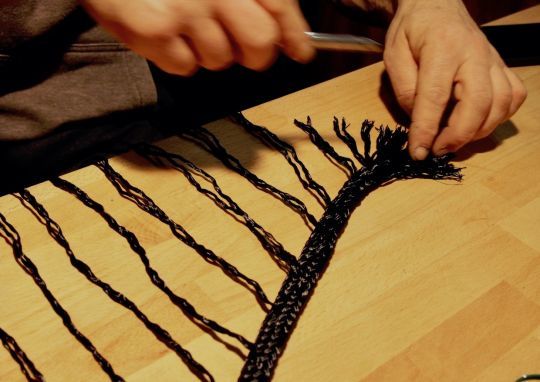
Cut off the excess
The spindles are laid flat and then cut flush with the rope, using a pair of perfectly sharpened scissors. The end of the rope is now tapered.
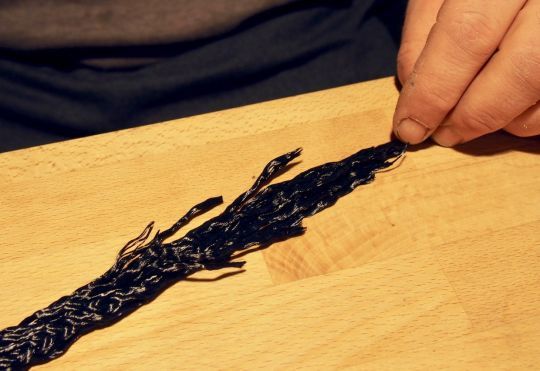
Adjusting the strap
By opening the braid to the desired size and extending the rope sheath, the tapered end disappears into the braid. Be careful not to go too far: it is possible to widen the braid, but not to narrow it.
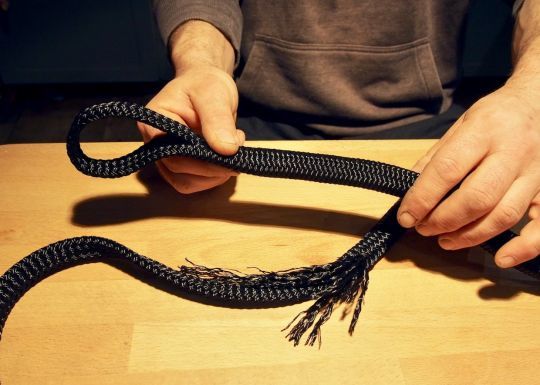
Stretch and smooth
By stretching the outer braid, the rope regains its shape and length. All you have to do is smooth it with the palm of your hand so that its constriction tightly encloses the strand it contains.
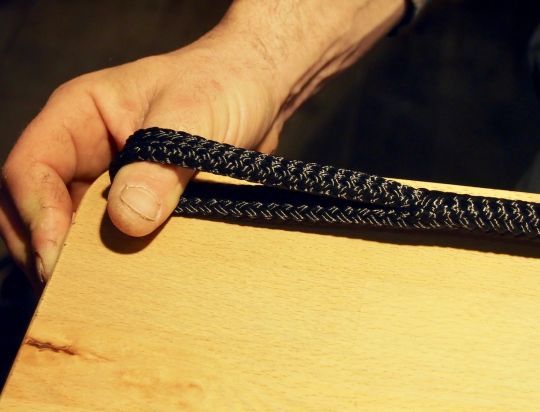
A sewn overbinding
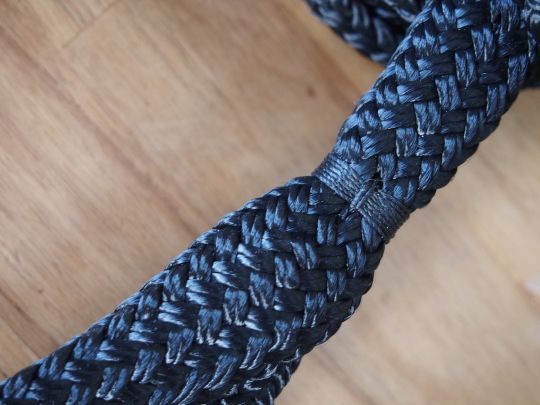
To prevent our splice from moving in case the braid is relaxed again, we make a sewn overbinding at the place where the rope plunges into the sheath.
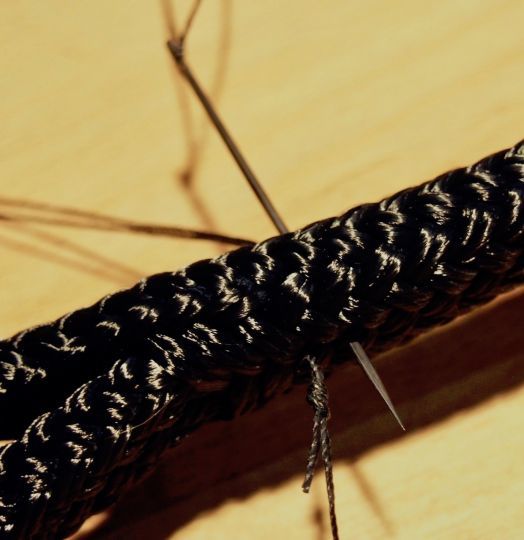
A ganse
By stitching through the rope, we form a braid with the thread, on which we wrap the turns of the overbinding. Finish by stitching into the braid flush with the overbinding. Then pull on the stopper knot to lock the thread in place.
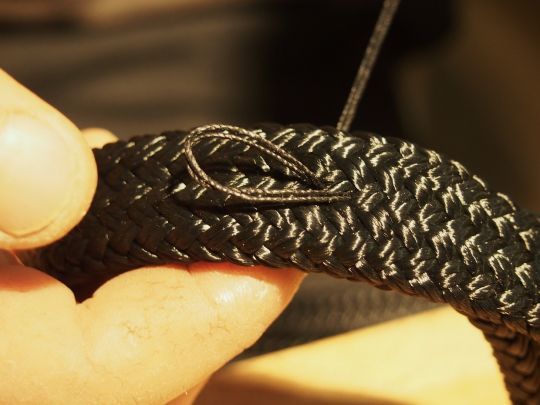
Crossed turns
Two rounds of stitching over and perpendicular to the coils of the overbinding help to complete this assembly. To finish marrying the fibers together, the splice can be tapped on the edge of the work table.
