Until now, you've observed with respect and detachment the elegant assembly of strands that makes up a splice... Of course, you don't make them. But it's useful to know how to make them.
A splice offers many advantages over a simple knot:
- You can't undo it. This prevents malicious acts.
- The end retains its full strength, whereas a knot can result in a 30-50% loss of breaking load.
- No chafing thanks to the pod.
- Well tapered, the splice effortlessly passes through the davit where the knot is likely to become entangled... and unravel again.

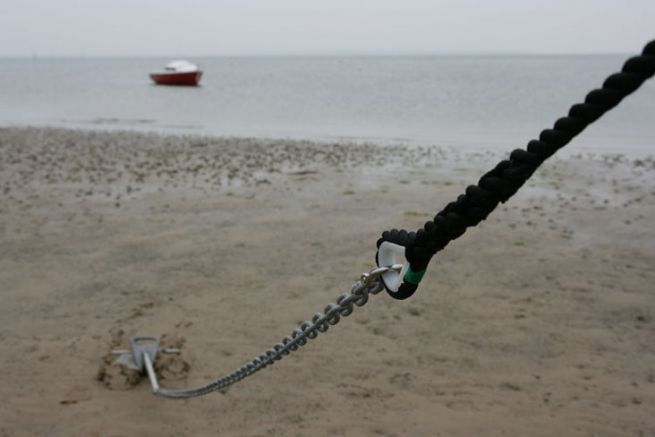
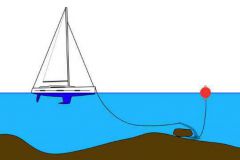
To set up an anchorage, there are a few things you should know before buying your cablot, depending on the size of your boat:
- 5 to 6.50 m: 10 mm rope and 6 mm chain
- From 6.50 to 9 m: 14 mm rope and 8 mm chain
- From 9 to 12 m: 18 mm rope and 10 mm chain
Your cable can be made of polyester or polyamide. The former is more flexible, a little more expensive, but less resistant than the latter. For a 14 mm diameter, for example, polyester breaks at 3.12 t, compared with 4 t for polyamide. Splices are also available without thimbles. In this case, you can adjust your mooring lines to suit your needs. Your yacht is stowed away more quickly, and the cleats are less loaded.
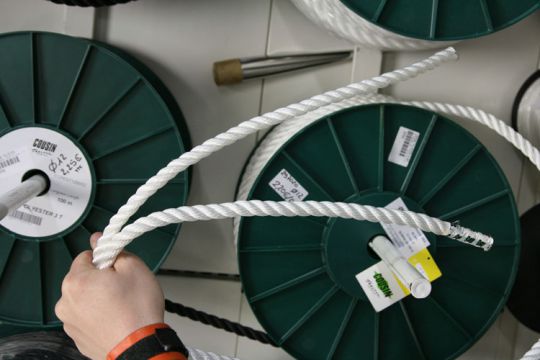
Polyester or polyamide?
Even when new, you can recognize the second one, which is already stiffer. And it doesn't get any better with age. Polyester is easier to splice. But polyamide still has two strong points: it's 30% stronger and much less expensive: ?2.00 per m in 14 mm vs. ?2.80 for polyester.
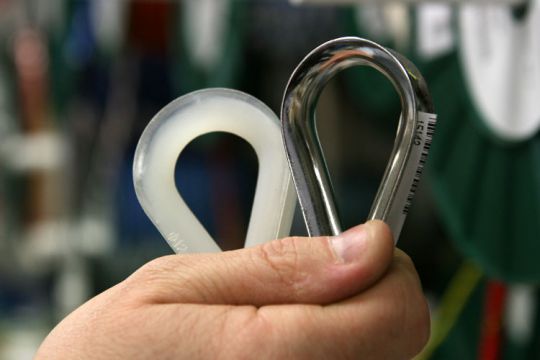
Plastic or stainless steel thimble?
The former is less expensive, but more sensitive to shock. After a violent gust of wind, it's not uncommon to find a "marked" thimble. For exposed anchorages, stainless steel is far more resistant.
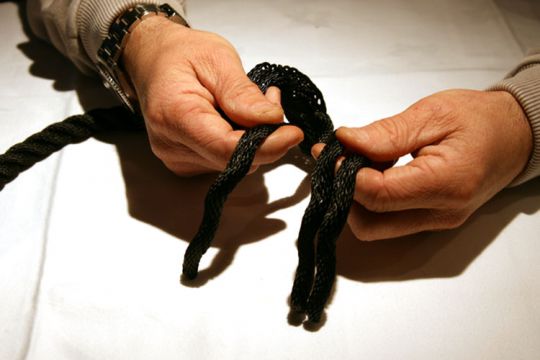
Separate the strands
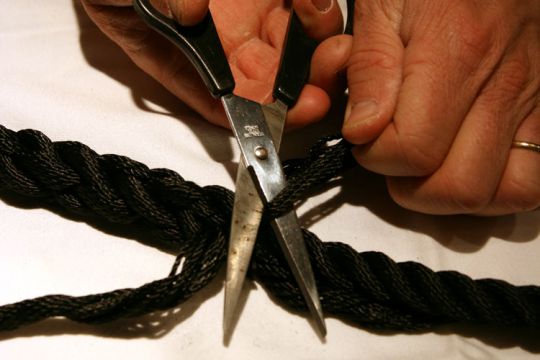
Using the splicer, or a pair of âeuros scissors if you've opted for polyamide, separate the three strands and ensure that their ends are clean and smooth. Tape them down to the desired length.
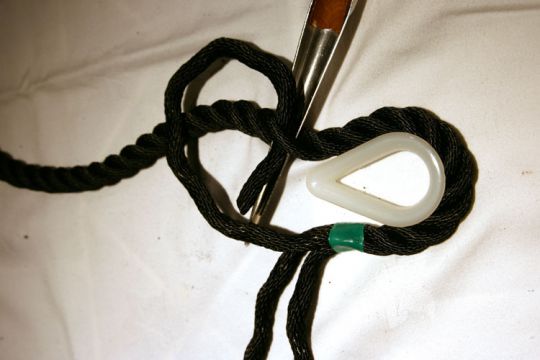
The most important first passage
With the splicer, pass under the end strand that comes to you, flush with the tip of the thimble, so as to prepare the passage of the first strand - the top one will do. Engage it in the splicer, then release the tool and pull on this first strand.
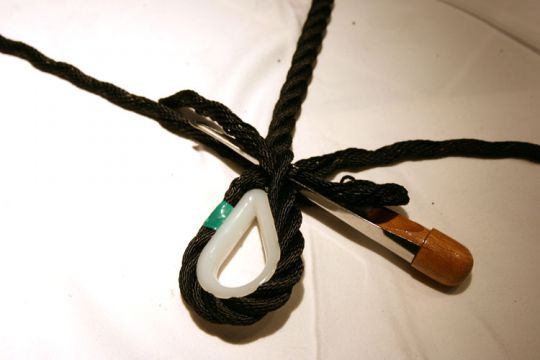
The equally important second strand
We do it again with the second strand, turning a quarter turn in the same direction as the first. The splicer prepares this second passage. Be careful, not in the same place, but under the second end strand, at the same height.
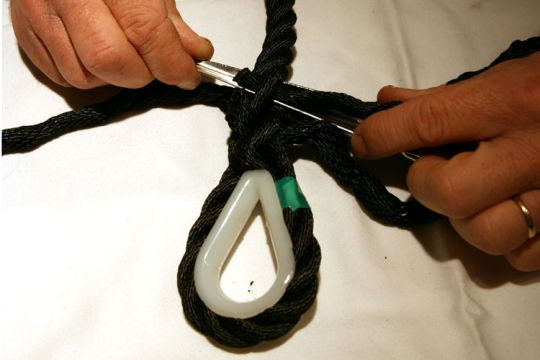
The third strand
Don't lose the wire, just take the last strand and pass it under the third strand at the end, always at the same height as the other two. For a splice without a thimble, make sure to pass this third strand through the loop first. Otherwise, pull to secure the terminal.
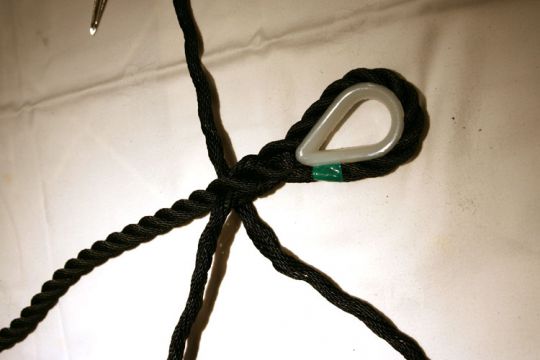
Check!
Control stop! After your first pass, check that each strand engages on its own in one of the three end strands and that all three emerge at the same height, 120° apart. If not, start again. Make this small check with each new pass.
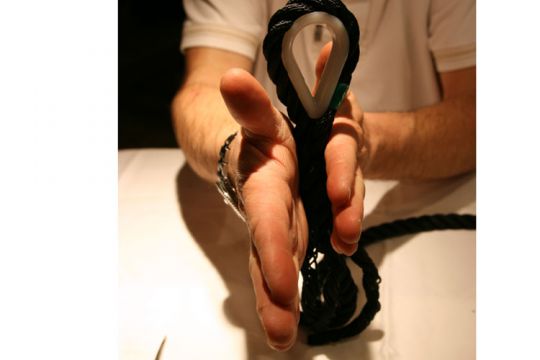
Drive
With each pass, don't hesitate to roll your splice energetically between your hands. For larger diameters, it's under your feet!
Refine
To obtain a well-tapered rat-tail splice, refine each strand by cutting two or three wires and making one or two more passes. Be vigilant and concentrated: if you make a mistake, it's a pain to repeat these last passes with these small wires.

Cut and burn
To determine the length to be spliced, count 10 times the rope diameter, adding 50 mm. This gives a splice length of 170 mm for the 12 mm presented here (120 + 50). Using scissors, cut off the degreased strands escaping from your splice and burn the excess. The ideal tool is an electric cutting iron, but a lighter will also do.
It's all over!
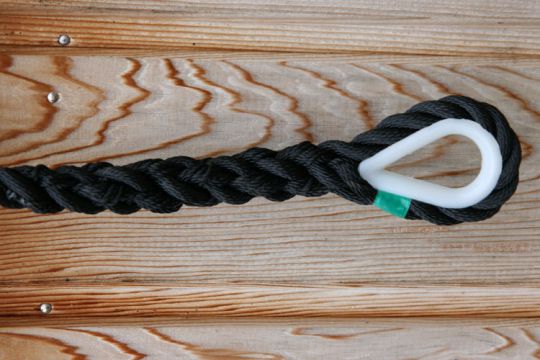
Your splice is ready for use! For intensive use, it's a good idea to overbind the strands by 2 times their diameter. For the junction with the chain, prefer a shackle with a 6-sided shackle, again to facilitate passage through the forceps.
Splice without thimble
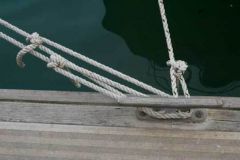
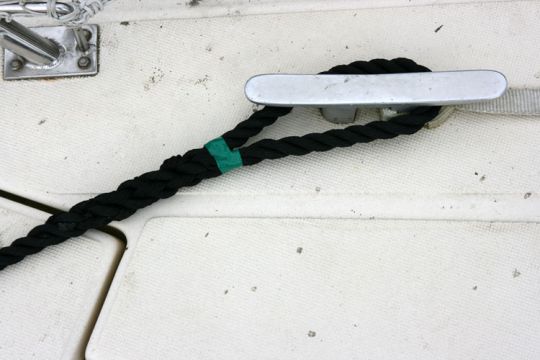
Without a thimble, a splice allows you to prepare your mooring lines to measure. The correct loop length is that which is measured from the base of the cleat to the opposite upper end. Allow a little margin, though!

 /
/ 