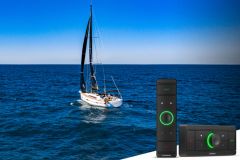
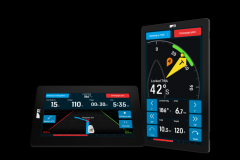
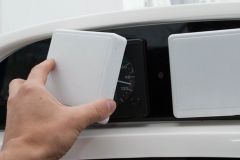
We have been looking for the failure of this old ST7000 autopilot for a week now. In desperation, the idea of creating our own pilot comes to us. After some research, the open source project "pypilot" caught our attention.
Looking for information about the pilot
The official website pypilot.org offers a presentation that is not worth a real documentation. You can start by reading the "pypilot workbook" then consult the forum openmarine.net . On this last one, little by little, we find all the information necessary for the selection of the components, the electrical connections and the computer part. The author of the project, Sean D'Epagnier, participates a lot by giving news and answering questions. Finally, several French people have successfully adopted Pypilot and share very useful information on various forums.
Select and order components
First of all, a good study of the project allows you to start buying without forgetting anything. The best thing to do is to order directly from Sean his driver and its components. They have the advantage of being wired and delivered in waterproof boxes very well designed by its creator. If you are not interested in electronics and computers, this is by far the best solution.
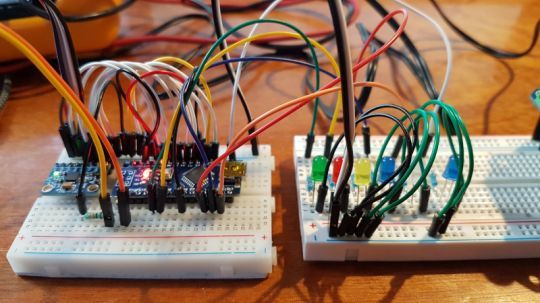
However, if you are in a hurry, it is possible to buy what you need elsewhere. You will need at least the following components for a Raspberry PI based solution:
-
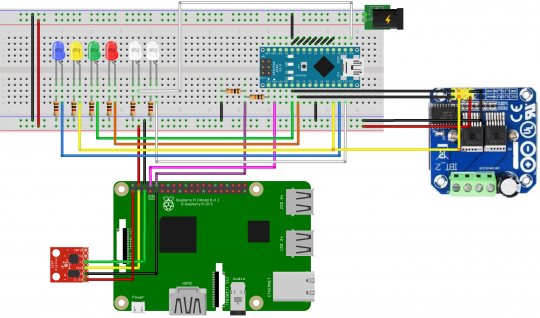
A Raspberry PI 3 or 4 . It is a small and economical computer (between 35 euros and 90 euros depending on the options) which is very successful in the world of electronics and computing. It will host the "OpenPlotter" system based on Linux and the main driver software (the computer).
-
A Arduino Nano a small programmable electronic board on which a Linux system can be installed, which will control the cylinder motor.
-
A h-bridge iBT-2 type (this model is not ideal but it is easy to find and works well). This component will receive the commands from the driver via the Arduino Nano and will translate them into power current to the actuator motor.
-
A inertial sensor (IMU) MPU-9255 or MPU-9250 which, when connected to the Raspberry, will act as a compass and gyroscope.
-
From what cable all these components: dupont wires and breadboard to start with, then a case and some soldering material afterwards.
The whole thing should cost less than a hundred euros. At this price, you can double the purchase of all the components without hesitation, in order to have some in advance if needed.
Cabling and software installation
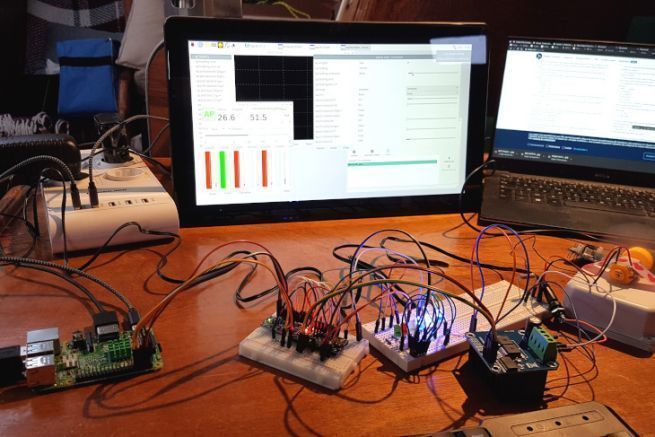
Once everything is there, we go to the initial wiring with some dupont wires and a breadboard. For this step, you have to use the comments contained in the file "motor.ino", the program to inject in the Arduino. You can find the details in the documentation and on the forums. Then we install OpenPlotter on the Raspberry with the latest version of the Pypilot software (because the one supplied with OpenPlotter is not recent enough).
After a few hours, O miracle, we have a functional automatic pilot!
Last step, replace the small motor used for these first tests by the one of the steering cylinder. And there, good news, it works ! This is how, for the first time on Arthur, we were able to navigate without touching the helm. Thanks to its web interface and the wifi on board, each computer, tablet and smartphone on board can be used as a control.
After installation, the settings
To adopt Pypilot for good, you still have to familiarize yourself with the settings that are not very intuitive at first. First of all, it is necessary to calibrate certain components such as the inertial and helm sensors. Then, the software part of the pilot gives access to the gains of the PID regulator, which allows to play on the behavior of the servo software, a principle used in the majority of the commercial pilots.
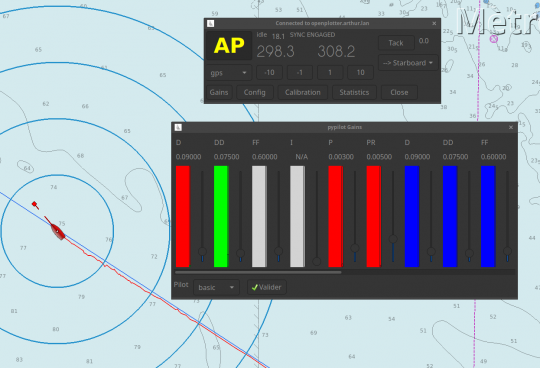
It will take many hours of sailing to know how to adapt the gains and the software configuration to the boat's behavior. Little by little, you will be able to adopt the right reflexes to optimize the pilot's reactions according to the speed, the sea state and the wind.
A very good pilot, technical to set up
In conclusion, we can say that pypilot is a serious tool that really works. As it is cheap, it is also a good choice to have a backup driver. The project is really exciting, because being free and very customizable, you can really adapt it to your needs. On the other hand, some knowledge in electronics and computer science is required to build it, as well as time to adopt it and set it up.
