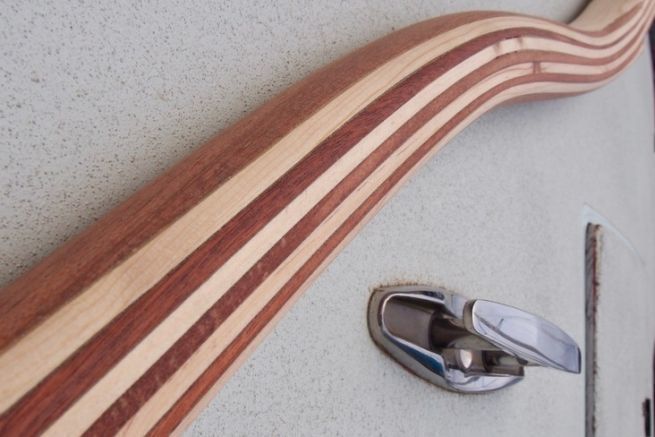
Glued laminated timber consists in assembling by gluing, a stack of planks that can be easily bent to the desired shape. The advantages are numerous: the grain of the wood is respected, the solidity is much better than if we cut a massive piece to the shape and we can marry several species within the same piece. This makes it possible to create interesting visual effects. The shapes that can be made are numerous. It is an accessible technique with spectacular results.
Full size layout
The old Kirikou bar was too low. The hanger of the new one will raise it by 15 centimeters. We start by tracing the profile of the piece at actual size on the "marble", a flat and sufficiently rigid work surface. A simple panel can do the trick if it is firmly fixed on a workbench. Be careful not to draw curves with too tight a radius that would be difficult to follow.
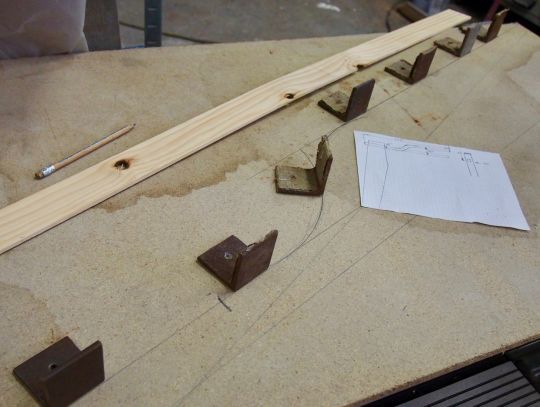
Realization of the mould's wedges
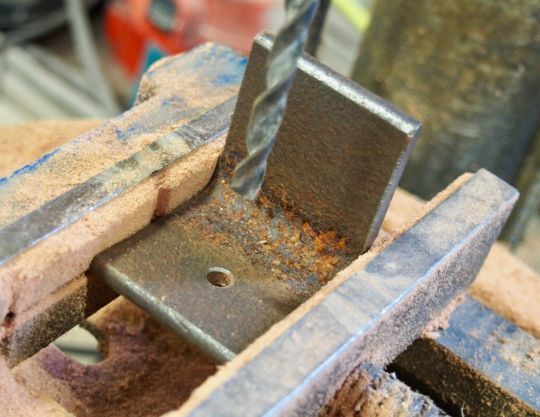
To shape the piece, it will be necessary to press it against wedges along the line. The most reliable way is to cut a few centimeters of metal angle and drill a hole in it to screw them into place. For a harmonious curve, place the wedges at the important points and let the wood draw its shape naturally between them.
Installation of the angles on a plastic sheet
The wedges will be screwed in place, but not without having inserted a sheet of transparent plastic (such as polyane) between them and the marble, so that the piece does not stick to it and you can follow your layout in transparency. The screwing must be solid: the tension of several combined presses is important!
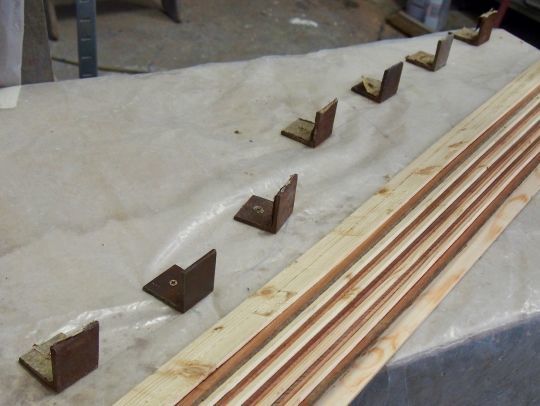
Timber flow
Then we can prepare the wood strips. It is difficult to find sliced wood (split according to the fibers of the wood) and we will settle for sawn wood but taking care to respect the grain of the wood.
The thickness of the slats should be adapted according to the bend you want them to take. The thinner they are, the shorter the radius they can follow. Allow 5 to 10 mm more in width to be able to plane your piece after gluing.
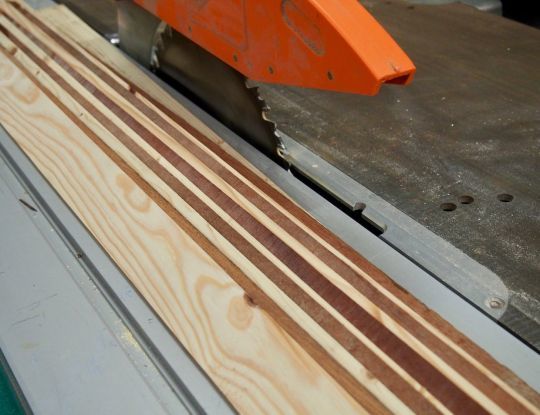
Blank bending test
It is very important to carry out a blank test, i.e. without glue. Believe us, those who skip this step do not make this mistake a second time! This is to make sure that everything fits together without any sinister cracking, that there are enough wedges, that they are well arranged and that the presses are playing their role well.
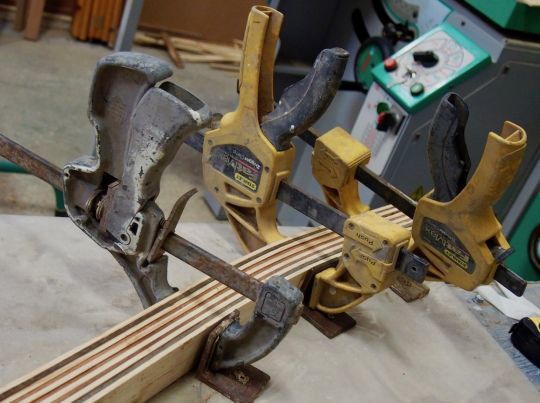
Steaming if necessary
If the wood is reluctant to follow the hanger, it will have to be wetted or better still steamed. An electric kettle can be used to scald the planks that are clamped onto the form while they are hot. This allows them to follow surprisingly tight curves. After drying under press, the wood will follow this curve again without breaking.
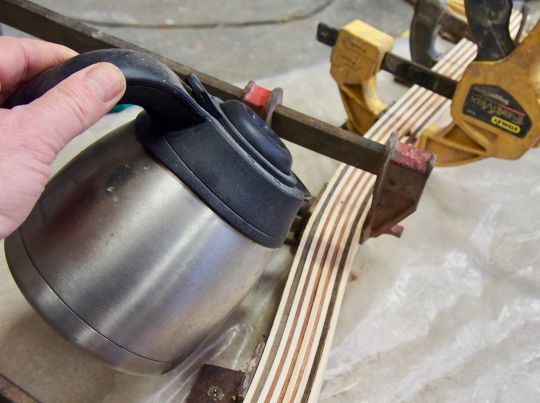
Gluing of the boards
It is highly recommended to wear work clothes and disposable gloves. Each slat is glued before being stacked on the next. PU (polyurethane) glue is ideal. It fills the gaps well and it polymerizes with humidity, which avoids having to wait too long after steaming. Be careful, once glued, the boards tend to slip between them, which makes them rather uncooperative!
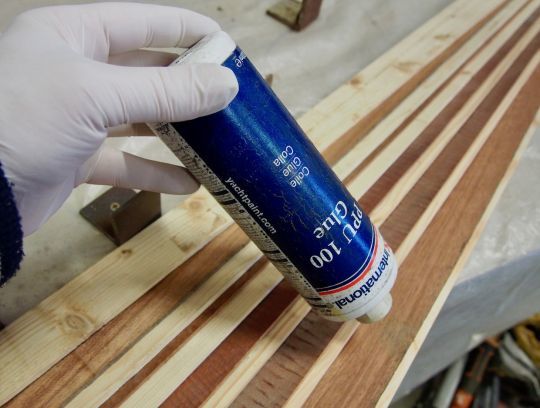
Progressive pressing
We start the clamping at one end so that the planks have the least possible tendency to shift between them. We progress from one wedge to the other by regularly ensuring that the edge of the planks is in contact with the "marble" by hammering them before completing the pressing. We make sure that the glue flows back well in all points.
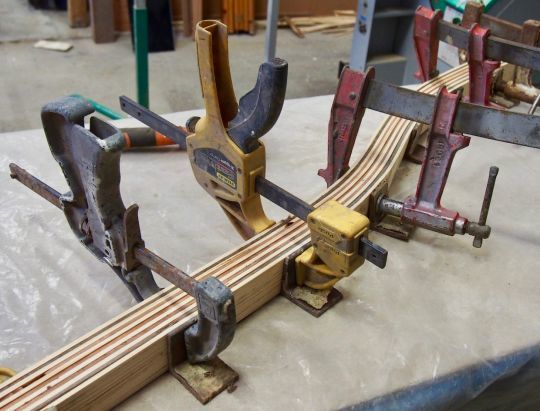
Demoulding and planing
After drying and unmolding, the piece looks like a pile of glue and small wood. Don't let us be disturbed, a nugget is hidden in this gangue! A stroke of the plane or jointer will remove the burrs and reveal the curve that will be used in our work.
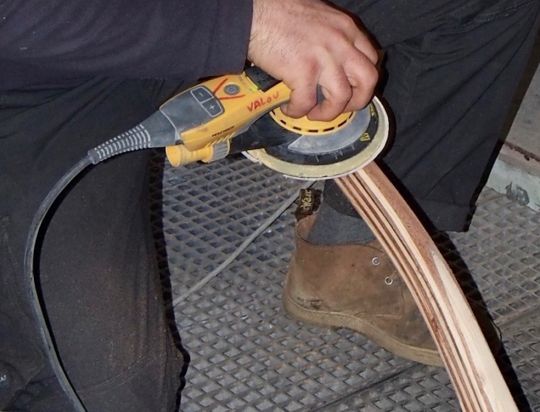
Finishing of the bar
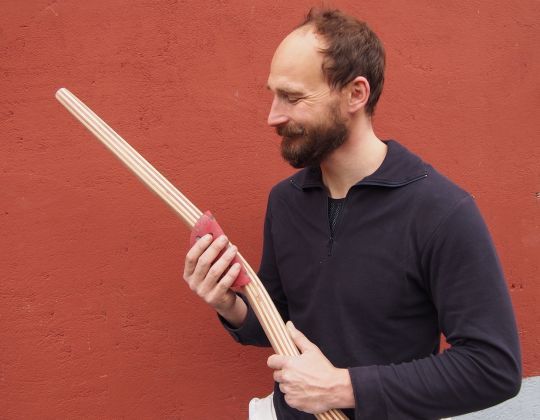
After calibration, we have to work on our bar as we would on any piece of solid wood, with the advantage of having the glue lines as reference points for cutting, and the design that we have composed by combining the species and which makes sense once varnished.

 /
/ 