The composite with polyester resin is built "upside down". That is to say that after the mold has been waxed to allow demolding, the builder lays down the gelcoat which will provide the outer layer, then the resin impregnated fabrics that will form the structure. During a repair and except particularly accessible break from the inside, we will have to reconstitute these layers by starting with the fiber. Here, a quick repair was done with a lot of mastic. We therefore take back the whole, from the structure to the gelcoat, which will ensure waterproofing and finishing.
Clearing the decks
For a good cohesion of the elements constituting the composite, these materials must be implemented on a clean, dry support and in conditions of temperature and suitable hygrometry. We make a clean sweep by removing a mooring cleat located right next to the repair.
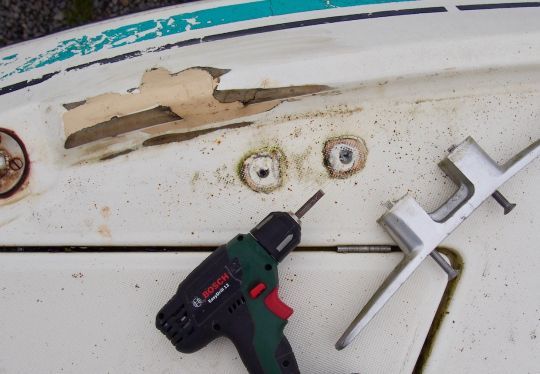
Working with a chisel to limit dust
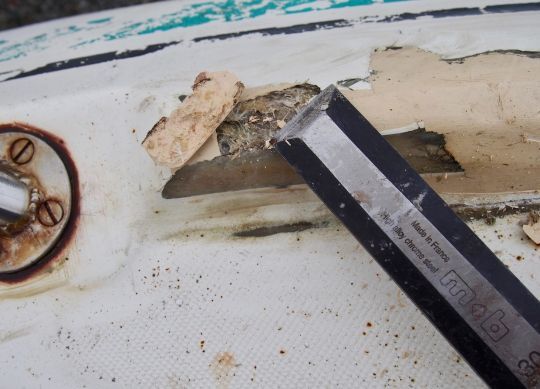
We are surrounded by other boats, so we remove the bulk of the old repair with a chisel. This method limits the amount of dust produced by blasting away a pile that has more filler than fiber anyway!
Protect yourself well
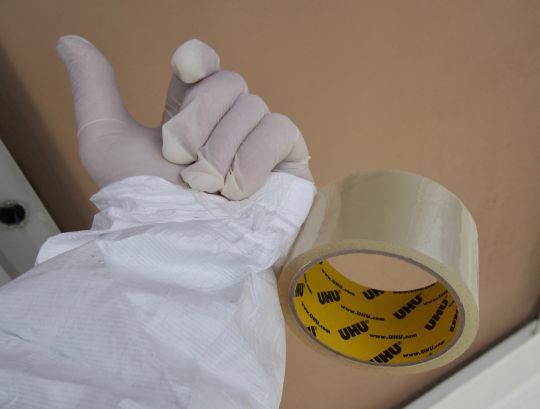
The glass fibers get into the skin and cause itching. A disposable suit is a must, as well as gloves, mask and goggles. We fit the sleeves over the gloves with tape and make sure to dust ourselves with a blow gun before stripping.
Prepare a large surface
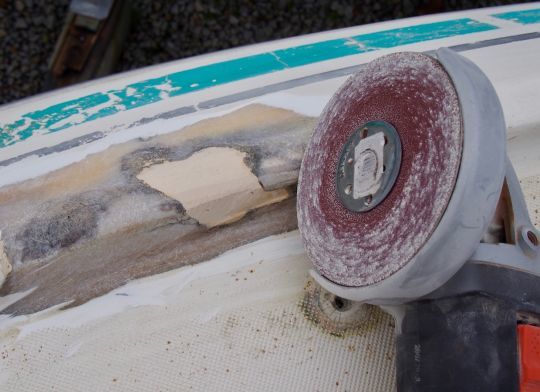
The healthy areas are translucent while the whitish ones indicate delaminations that must be removed. Using a grinder equipped with an 80 grit abrasive disc, we finish removing all the damaged parts without forgetting to keep reference points to reshape the footrest. We keep the tip of a vacuum cleaner on the grinding area to limit the diffusion of dust. To regain the original strength, a repair must extend beyond the break to about 10 times its depth.
Prevention of drips
After dusting the area around the repair, we mask the work area. Vertical areas are covered with paper held in place with masking tape to prevent resin drips from running down the planking or strip. In the same way, we protect a flat work surface that is large enough to safely place tools and resin. These precautions save a lot of time in case of clumsiness!
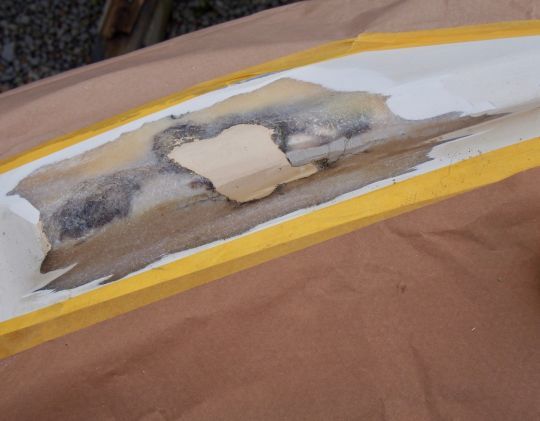
Don't touch!
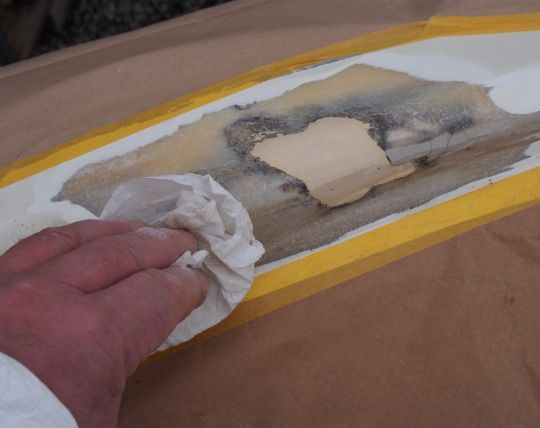
Polyester products do not cling well to greasy fingerprints. Before any application, we degrease the adhesion area with an acetone-soaked cloth and make sure to keep curious hands away.
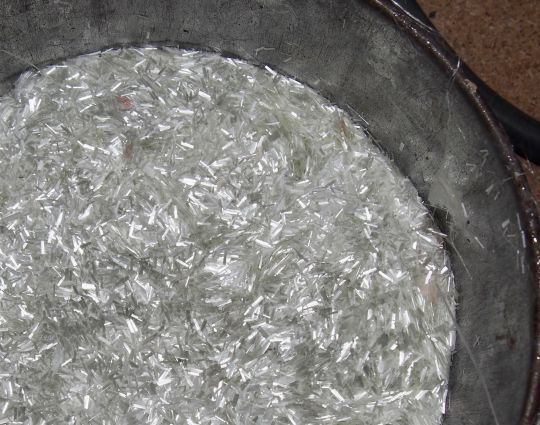
Sauerkraut
Sauerkraut" is a kind of paste made of resin and finely chopped fibers. It has no structural quality, but it fills a void by providing a support for future layers of tissue. In our case, the remnants of the old repair have this role.
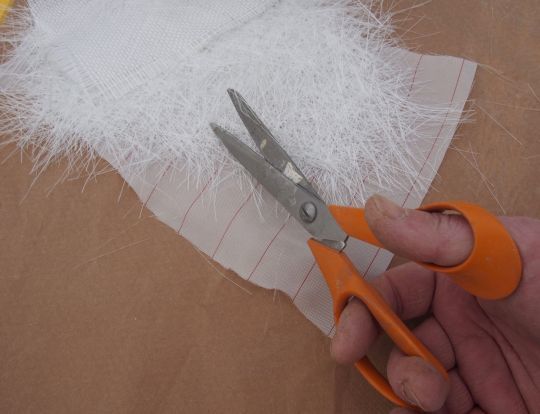
Cutting of fabrics
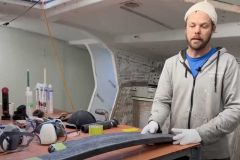
The most frequently used fabrics are roving and matting with intermingled fibers. We choose to interleave a layer of roving between several layers of mat. The fabrics are cut to the size of the repair, then smaller and smaller to fill the gap without forming too much excess thickness. The roving can be cut with good scissors, while the mat can be torn by hand. We add a peel-off fabric, a final peelable layer that allows for better roughing, and will protect the repair while we finish it.
Work space
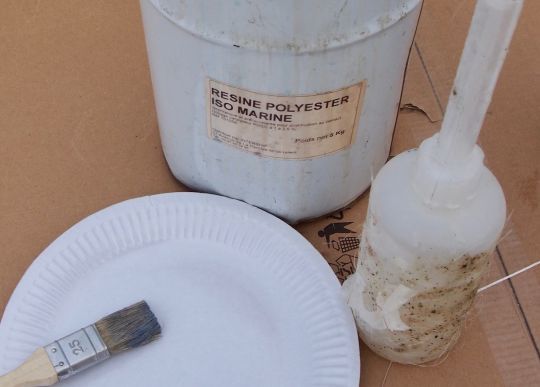
Working outdoors, we provide a weight so that the wind doesn't blow the little pieces of fabric away, which we stack in the order we will need them. We prepare a cheap brush, a boiling roller, a container for the resin, some acetone, and a good supply of paper towels.
Mixing your resin
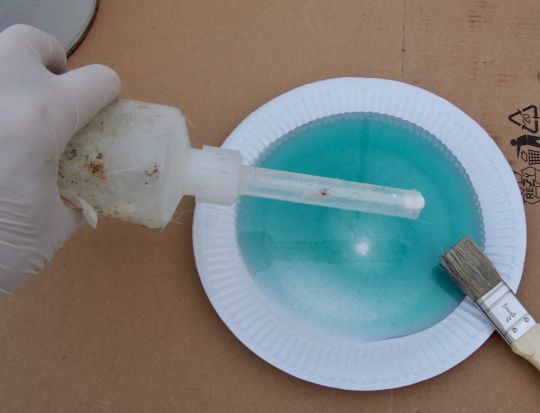
Polyester resin is best prepared in a disposable container (a cardboard plate is perfect, as opposed to plastic, which melts on contact with solvents). We follow the manufacturer's instructions for the catalyst dosage (usually 1%). We mix carefully, which is now fairly easy to ensure: most resins change color during mixing and then as the catalysis process proceeds.
Impregnation
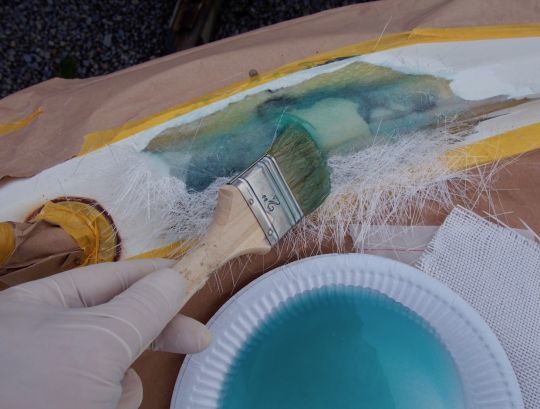
We spread a generous layer of resin on the repair, then we lay the first fabric. Tapping with the brush, we impregnate it with resin until it is translucent. We superimpose all the layers. If the resin takes too quickly, no need to insist! It's better to prepare a new volume than to take the risk of having to redo everything!
Love hookseuros
Any composite material owes its strength to the cohesion between its elements and therefore between the different layers. The bond can be physical or chemical. In the first case, a rough sanding allows to expose new material. The chemical bond is ensured when working on a support where the resin is still "in love", ie polymerized, but not yet hardened. The successive layers are then intimately blended without sanding.
Remove all bubbles from the composite
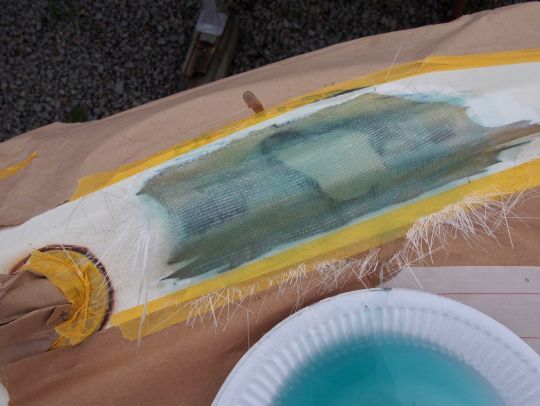
We finish with the tearing cloth before boiling. This is a step that is too often neglected and yet quite necessary! The tool used is a boiling roller made up of joined washers that press the fabrics together and bring the excess resin to the surface. This operation gives a real cohesion to the material and limits the excess thicknesses that would later need to be sanded.
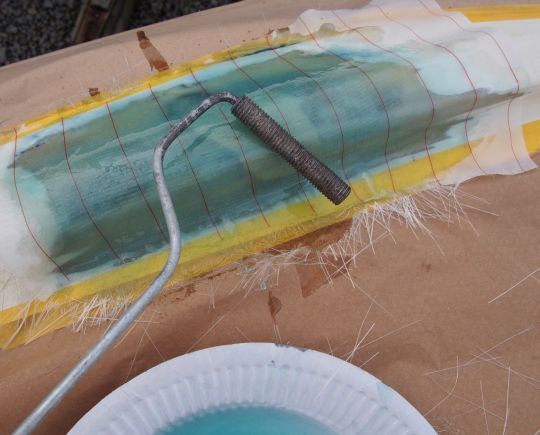
Getting back in shape
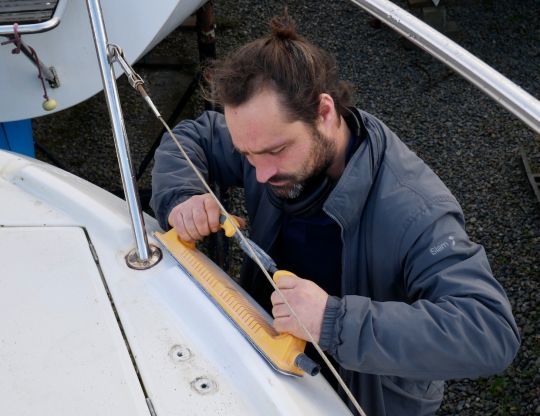
Once the resin has cured and the surface fabric has been removed, we grind the repair. The challenge is to restore the shape of the toe box while staying below the surface finish. We build up a gap for the gel coat without the polyester flush with the sanding. Using a ruler on the old gelcoat, we check that we have about a millimeter everywhere for the gelcoat finish.
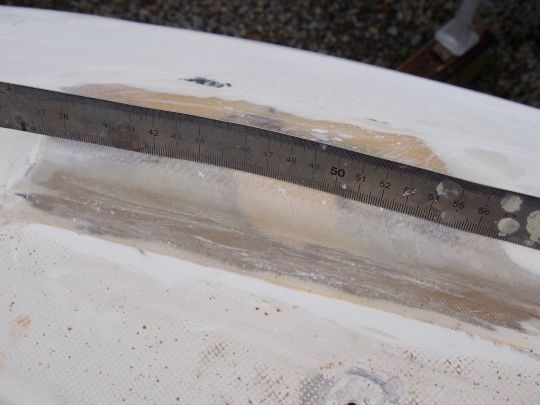
Surface kerosene
The gelcoat does not harden in the air. During construction, it is isolated between the mold and the resin. During repairs, it is imperative to use a specific product, containing a paraffin additive that rises to the surface to isolate it from the ambient air during the drying process.
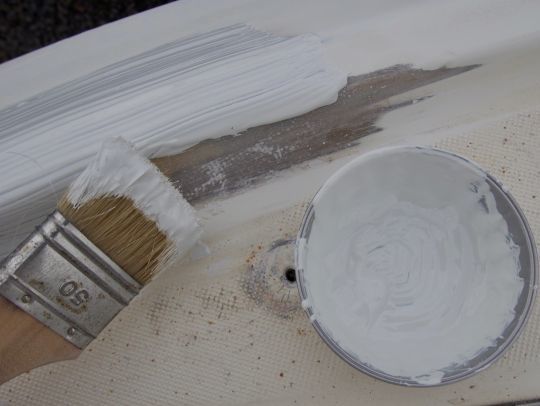
Finish
The gelcoat is applied with a brush, roller or spatula, trying not to create any hollows or bumps! After drying, a long sanding block is used to reshape the wedge. Several touch-ups are needed to fill in all the gaps. We finish with a water-based paper that gets finer and finer. The renovation "polish" that we pass on the whole boat will finish to make the repair almost invisible.
