A stubborn tree line
All the boats in the harbor are in the starting-blocks. With winter behind them, the first weekend of good weather gives Georges and Janine the opportunity to go sailing. Having made friends with a neighbor who owns the same boat as theirs, they embark on a friendly regatta.
VRROOOUUUUMMMMM
The engines are started. Georges and Janine set off first. They cast off, put the boat in reverse and ... Crac! A deafening noise resounds from the propeller. Their neighbor, who was right next to them at the start, helps them to re-anchor and understands that they'll hardly be able to take to the sea to race today.
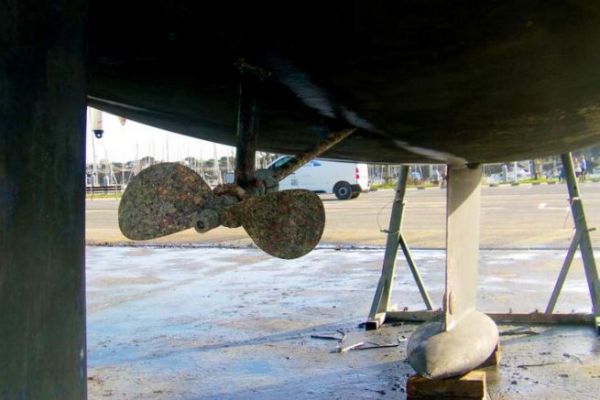
The only way to see what's happening at the propeller is to take the boat out of the water.
Once the boat is dry, Georges and Janine can see the fault. The anode on the propeller shaft is loose due to sacrificial wear. It was the anode that was making all that noise, flapping back and forth on the shaft. Georges and Janine had skipped the fairing this year, because the hull wasn't dirty. They hadn't thought that the anodes would wear out so quickly.
In addition to the anode, they found that the hydrolube ring also needed replacing, as it had far too much play. They then decided to completely overhaul the shaft line to avoid any further problems. The first step was to dismantle the propeller.
Removing the propeller
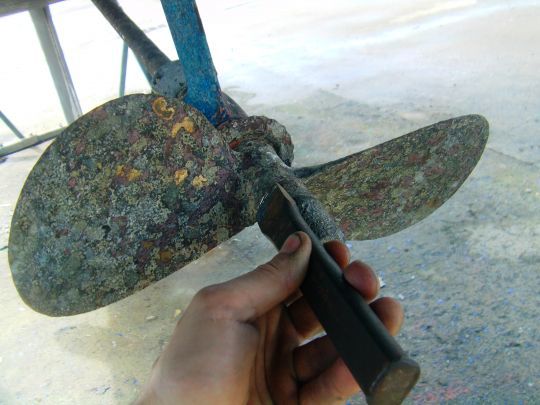
To dismantle the propeller, first unlock the brake using a hammer and chisel, then remove it. Tighten the nut, leaving 2 mm of clearance between it and the propeller. This will prevent the propeller from falling when it comes off the shaft line cone.
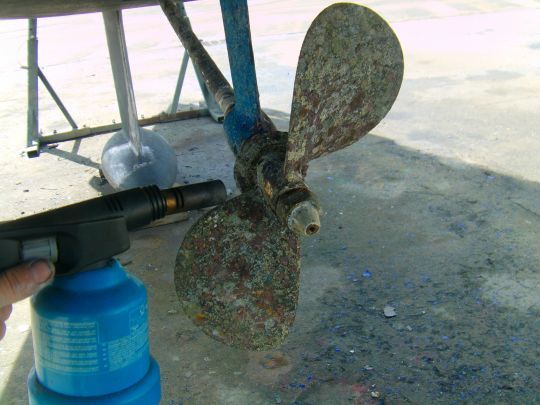
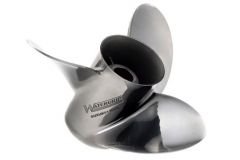
To remove the propeller, heat it on the key side. A hammer blow must be applied to the propeller to loosen it.
With the propeller disconnected from the cone, you'll need to remove the key and dismantle the splitter to work on the hydrolube ring.
Remove the hydrolube ring
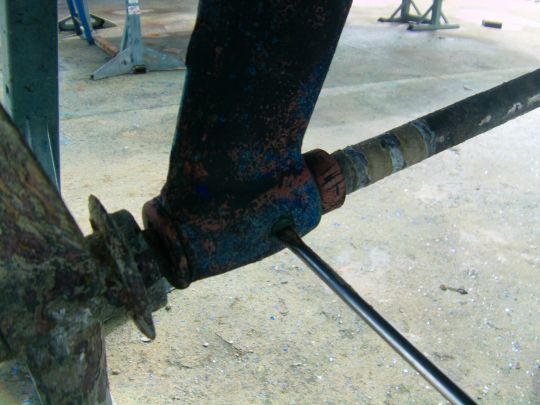
Before extracting the hydrolube ring, remove the plastic screw that secures it against rotation.
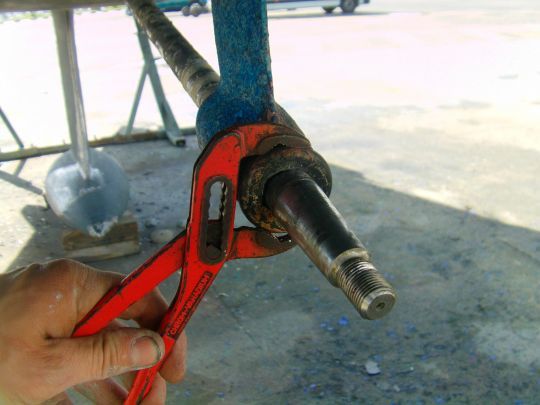
To extract it, use a pair of pliers.
Refitting a new ring
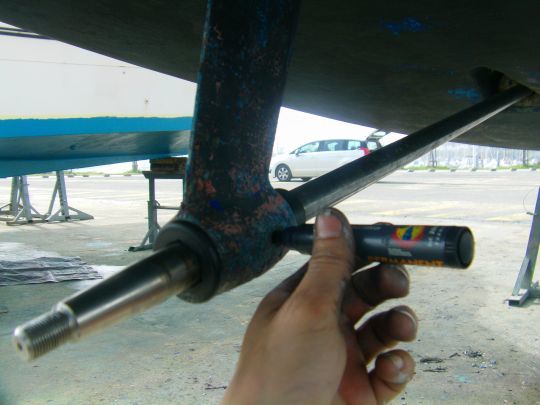
Before any final operation, fit the new ring blank and mark it with a marker. This mark indicates where the locking screw will be located.
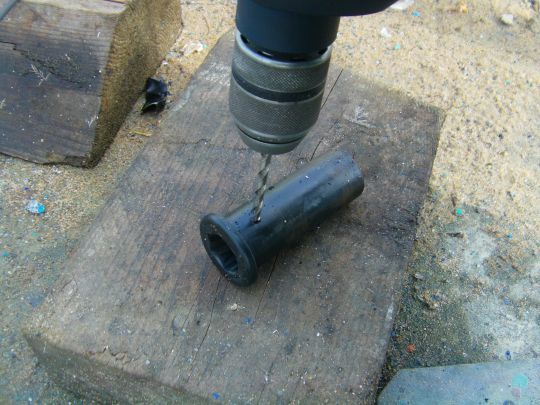
Then remove the ring, and use a drill to make an impression on the mark.
Finally, the ring can be reassembled for good, and the locking screw can be tightened on the specially-made impression to complete the operation.
Reassemble the propeller
In the reverse order to the previous operations, we start by reassembling the orbit cutter and the key, then fitting the propeller and tightening it. Once the propeller is securely mounted on the cone, don't forget to lock the brake to secure tightening.
We recommend fitting a new propeller brake each time you reassemble.
Interview tips
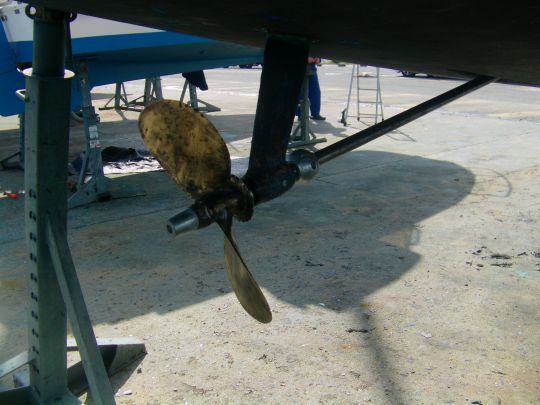
To avoid Georges and Janine's misfortunes, don't forget to change the anode. The propeller shaft anode should be placed as close as possible to the hydrolube ring. This avoids an unbalanced effect that can cause premature wear of the ring.
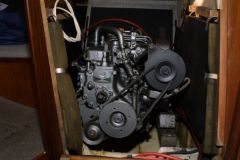
Then, if the hydrolube ring is still wearing out too quickly, a check of the engine alignment should be considered. A correctly aligned engine will limit wear and vibration inside the boat.
Finally, use only plastic screws as locking screws for the hydrolube bushing. Metal screws can wear down the shaft line as the ring begins to take up play.
Once the shaft line has been maintained during the refit, you'll have put all the chances on your side to have a good means of propulsion for the season.

 /
/ 