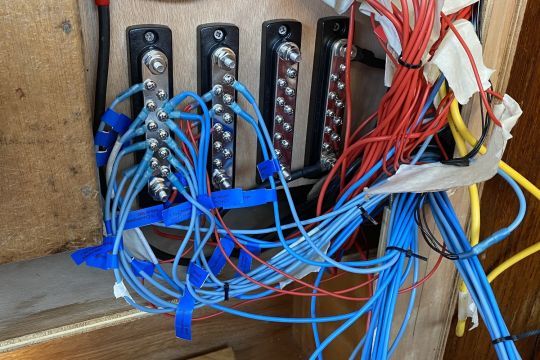
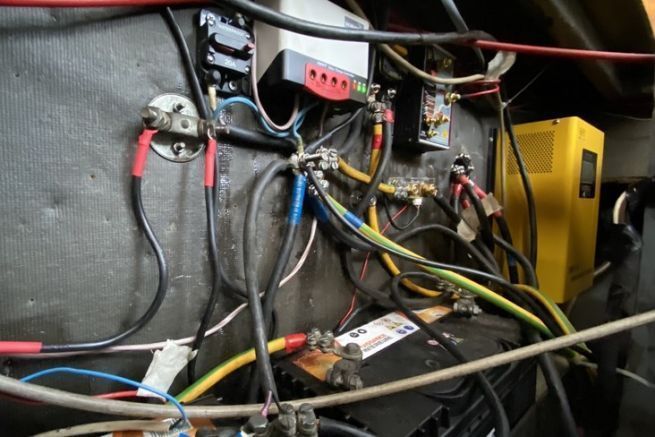
When we bought our Amerglass boat, we knew that the electrical installation had to be redesigned in its entirety. For the management of consumers, such as lighting, refrigerators or pumpsâ?¦, we opted for an "intelligent panel", based on EmpirBus technology. But upstream of this installation, we still had to connect the various elements: batteries, alternators, charger, solar panel, regulatorâeuros¦
Estimate the needs
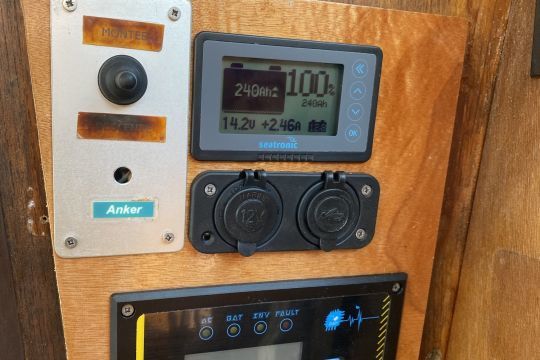
In terms of electrical needs, we need a certain autonomy at anchor, to avoid having to start the engines to recharge the batteries. We wanted to have a battery manager to keep us informed of the state of our fleet. Finally, we thought it would be a good idea to install a 12-230 V converter, so that we can use some of the 230 V equipment even when we are not connected to the dock. Of course we completed the installation with a charger, used when we are at the port connected to the 230 V socket.
3 batteries: two service batteries, one starter battery
At the time of our purchase, the Amerglass was equipped with 3 batteries that had been replaced the year before. Three identical lead batteries of 120 Ah each. We decided to keep them, dedicating one as a starting battery for the two engines, and the other two as service batteries.
A 3 in 1 charger
From these assumptions, helped by Seatronic, we drew the electrical diagram of the boat.
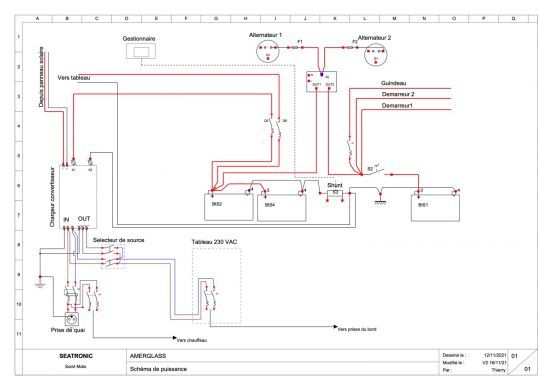
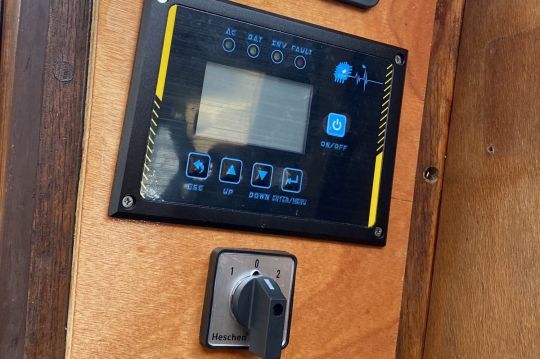
He advised us to install a newly imported 3-in-1 product. It is a charger - converter - solar panel regulator. This product recharges the batteries when it is supplied with 230 V, converts the 12 V into 230 V with a power of 1000 W, and integrates a MPPT regulator to manage solar panels, in our case, 2 times 110 Amps in rigid arranged on the deckhouse. This device also has a remote control panel. So we installed this 3 in 1 charger in the engine hold, close to the batteries, and the control panel near the helm station.
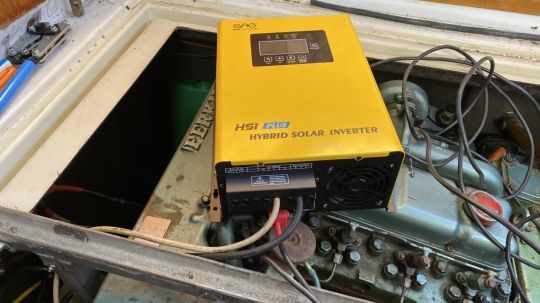
It is also Seatronic who provided us with the battery manager. A model of its manufacture simple to interpret and very reliable.
A 230 V circuit is always available
To get 230 V always available on board, the ice machine works with 230 Vâeuros¦, we had to go through a source selector. It is a circuit breaker that connects the 230 V coming from the dock, or the one coming from the converter. A neutral position cuts the 2 circuits.
Mandatory protections for the 230 V circuit
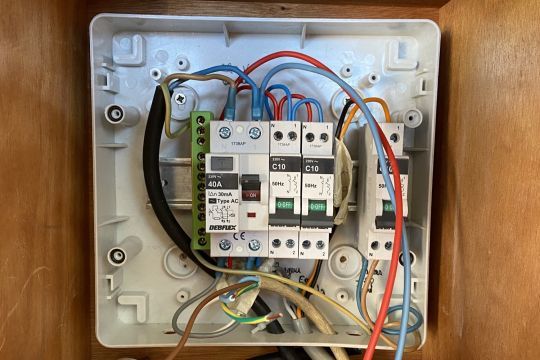
The various 230 V outlets on board are protected by a 10 Amp circuit breaker. But upstream, just after the shore power outlet, we have installed a differential circuit breaker, which avoids any risk of electrocution. These different circuit breakers are the same material that we find in our earthly homes. They are just installed in a box whose door is waterproof, IPX4.
12V protection circuit breaker
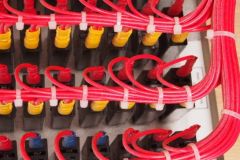
For the protection of all the elements of the 12 V circuit, such as the batteries or the windlass, we used Blue Sea material. Whether it is fuse holders or circuit breakers, these are marine quality materials known for their reliability.
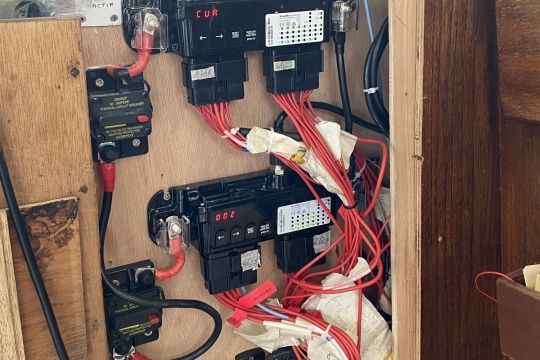
Thus, the battery charger is protected by a 50 Amp circuit breaker. Just like the 2 Connect50 EmpirBus. The same goes for the solar panels which are protected by a 50 Amp circuit breaker. These protections can be switched off manually to disconnect one or the other equipment from the circuit, in case of problem or simply for maintenance.
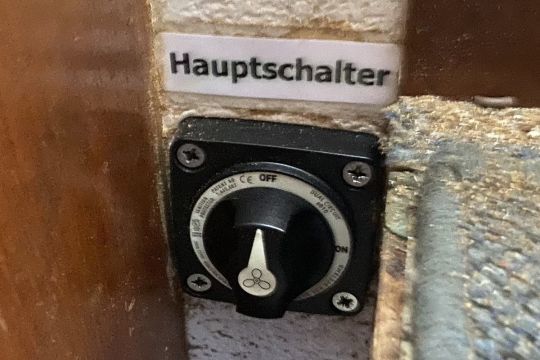
For the windlass, we chose an 80 Amp circuit breaker, defined as such according to the characteristics of our electric windlass. Finally, a general bipolar circuit breaker isolates the engine battery.
The service park is protected by a 300 Amp fuse installed right next to the batteries, to avoid any risk of fire on board.
To charge the batteries, the two alternators of the two engines are joined together to enter a lossless charge distributor. This box charges the engine battery first, before switching to the service park.
Waterproof lugs everywhere
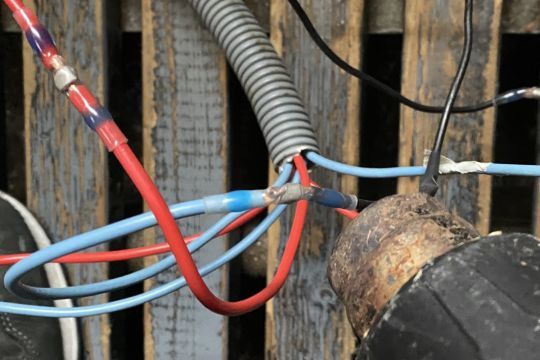
The realization of all this electrical circuit was done simply by following the diagram, and by connecting the various cables between them. All connections were made with crimped lugs and sealed with heat-shrinkable tubing. Either sheath only for the big lugs, or heat-shrinkable lugs themselves. We made this choice to avoid tinning. Indeed, tinning a wire protects it from oxidation but it becomes brittle, which is why in aviation, this method is no longer used. The solution of sealed terminals is then recommended.
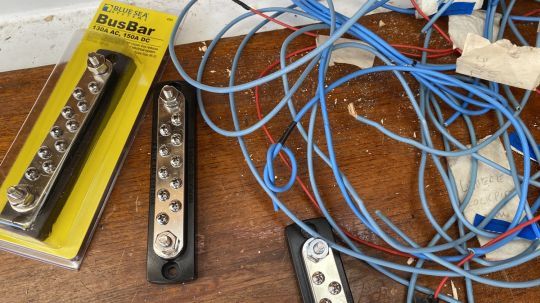
Although the budget for a sealed terminal is not the same as that of a tinned wire, it ensures a good and lasting contact, even under severe conditions of use.
