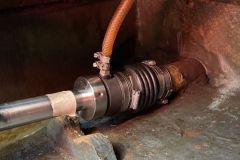
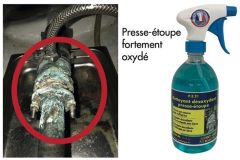
What is a cable gland?
This is a sealing element that prevents water from entering the propeller shaft. There are several models available, and while some provide a perfect seal, it's normal for others to let a few drops of water through.
Why cable glands?
Tow is the fibrous component produced, among other things, during the combing of flax or hemp. In early naval times, oakum was mainly made from hemp and lint from old ropes, and was used to choke and caulk ships.
With the advent of shaft-driven motorboats, the problem of water ingress arose, and oakum, previously soaked, was the only known seal. It was held in place by a stuffing box. This generic term is still used today to designate rotary joints and other sealing systems.
What about today?
Many boats are equipped with shaft drives*, and the stuffing box is a must.
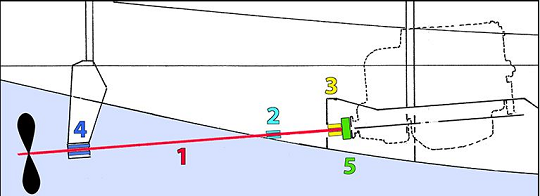
The propeller shaft line consists of
- a propeller shaft (1)
- a trunnion to connect the propeller shaft to the reverser and thus to the motor (5)
- sealing gland (3)
- a stern tube to guide and hold the propeller shaft (2)
- a hydrolube ring to limit propeller vibrations during rotation and cool the shaft by allowing water to pass through the shaft seat (4)
Two main gland families
There are 2 main families of cable glands:
- With oakum
- With swivel joint
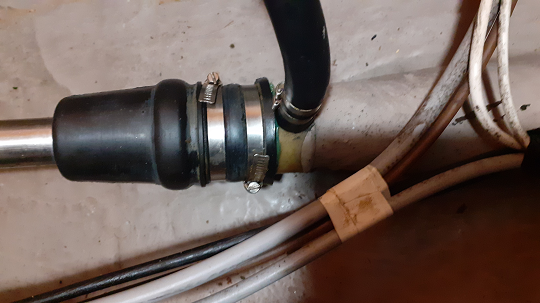
The rubber gasket gland is a popular product for sailboats. Water circulation lubricates the seal. The propeller shaft is sealed by a lip seal. On some installations, a water inlet is required for better operation.
A little maintenance and vigilance
Before launching your boat and after a long winter, we recommend sliding the seal onto the shaft and checking everything. First of all, you need to have the tools and products you need on hand.
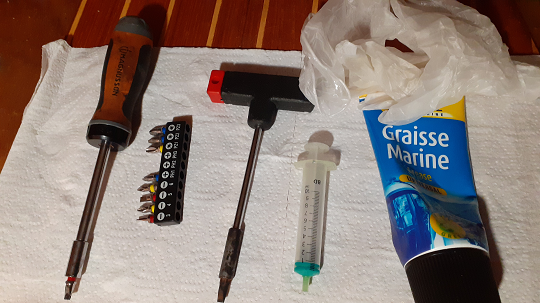
ATTENTION this operation should only be carried out with the boat out of the water!
Step 1 unscrew the clamps securing the seal to the stern.
Rotate it to check its condition. There should be no cracks or crevices.
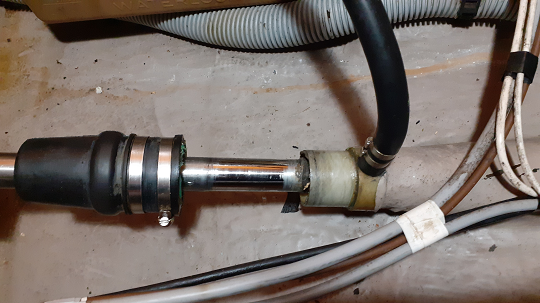
Step 2 clean and grease the outer part of the stern and the shaft.
(This makes it easy to replace the seal)
You can also use a syringe to grease the bottom of the stern.
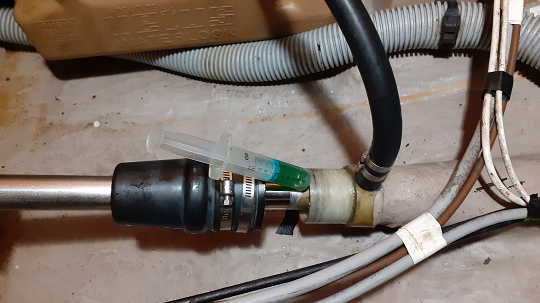
Step 3 reassemble and rotate the shaft by hand to check that everything is securely in place.
Checked and maintained, your gasket will ensure 500 to 600 hours of trouble-free engine operation.
While your boat is dry, take the opportunity to check the clearance of the hydrolube ring in the shaft chair. If a clearance of 1 to 2 mm is normal, beyond this you risk strong vibrations damaging the shaft and motor. It is therefore preferable to replace the bushing.
Once in the water, make sure the rubber bellows of your stuffing box is filled with water before starting up. To find out, push the bellows slightly apart to let the water through. For boats that run aground, or just after a launch, it's very important to squeeze the gasket so that the water replaces the air in it.

 /
/ 