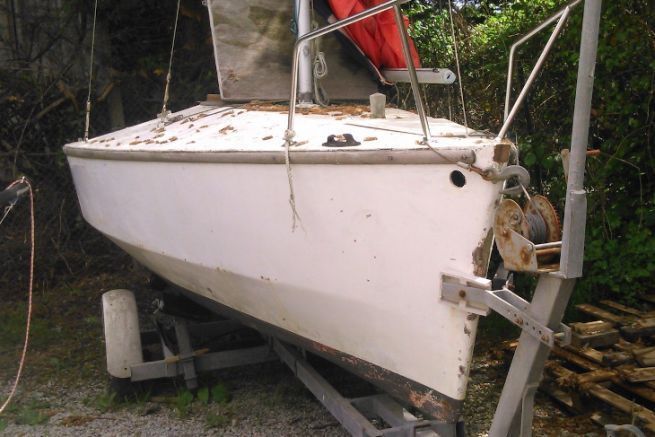
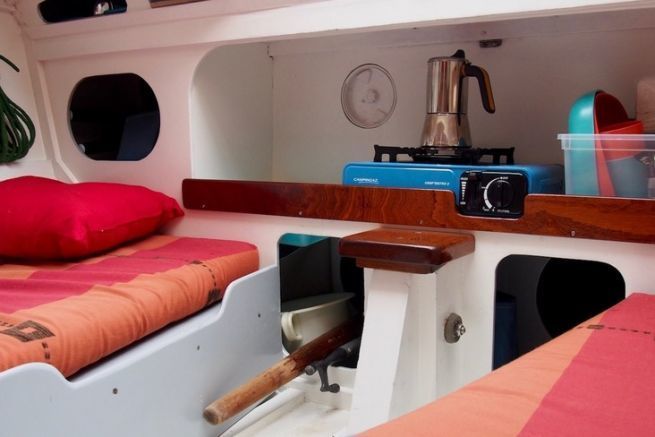
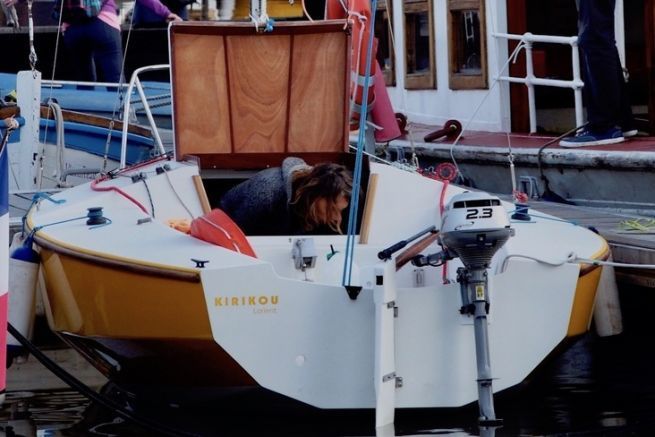
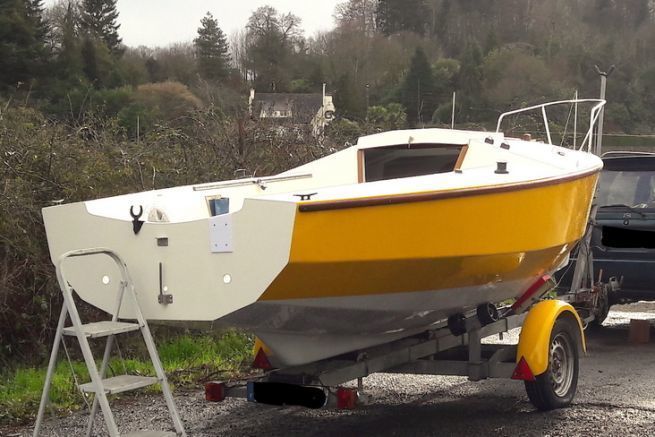
After a first discovery of the boat and its cleaning it's time to start working on the hull of Kirikou, my new Figaro 5.
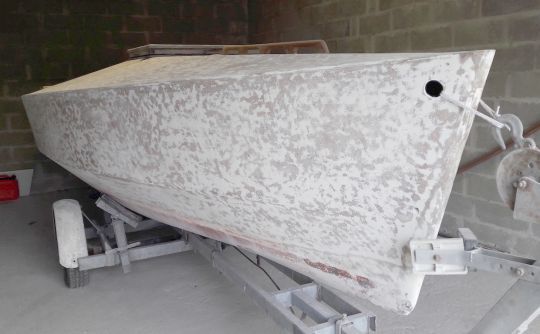
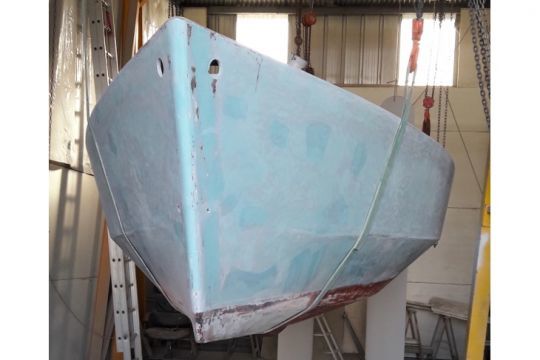
The multiple layers of paint accumulated make it impossible to know the real state of the wood. However, this one has been stratified, that is to say covered with a layer of glass cloth impregnated with polyurethane glue as it was done at the time. This kind of surface layer is effective against scratching, but tends to trap moisture and can hide many defects. It's time to get to the bottom of it and for that you need to sand!
A long stripping of the hull
Then begin the (very) long hours of stripping, as exhausting as noisy and dirty. Whole days, arms tense on the sander and rocked by the soft song of the vacuum cleaner which tries to avoid dusting the surroundings... The hull has obviously been maintained with quality products and the paint surface is as hard as stone. Fortunately, it turns out that underneath, the hull condition is quite healthy. The roving layer adheres to the plywood without bubbles or traces of peeling. Except for a few minor lamination rework at the impact locations, I wouldn't have to go back too much.
Sanding the deck: How far to go?
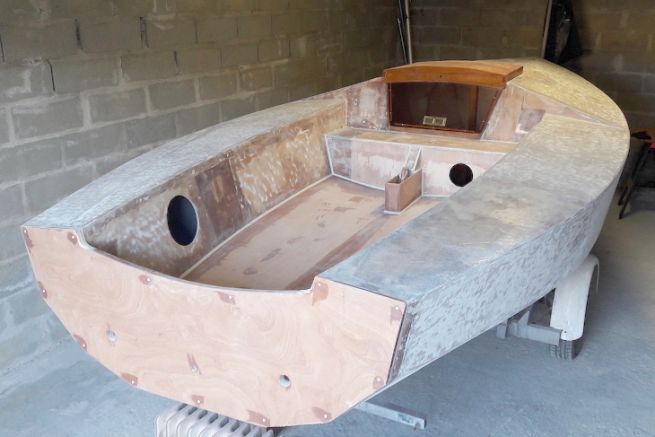
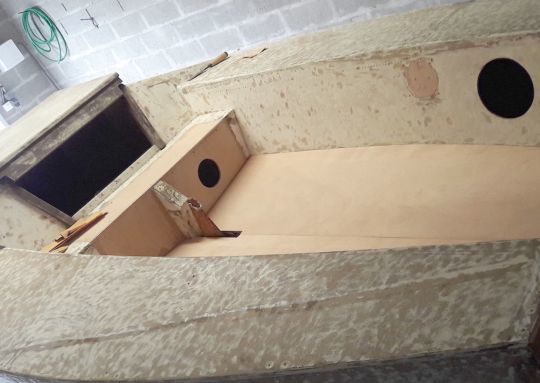
The same is not true of the deck and cockpit, from which I finally removed the entire bottom. The ribs and floors do not have eels, these holes in the lower part of the boat that allow water to flow from one mesh to another. Water stagnates in the inaccessible places and I take advantage of the fact that everything is open to clean up the whole boat before drilling holes in the floors that will prevent the problem from returning. The bridge-deck, the step in front of the companionway, is also rotten, as well as the deck around the hood. I use an oscillating saw to remove the damaged parts: it's a magic tool, that I discover on this occasion and that allows to avoid removing too much material. I also remove the unsightly beam that reinforces the transom and I take the opportunity to reshape it according to a more actual curve. Out of curiosity, I weigh what I remove. In total, the boat will be lightened by a good 50 kilos, which will not harm the performance under sail, nor the road towing!
New and light wood!
Since the job site is more than 3 hours away from my home, I can only work on it in episodes. This gives the wood time to dry well between the different stages of the reconstruction. I start by repainting the bottoms that will not be accessible afterwards and start fitting the new plywood pieces that will replace the damaged parts. The bridge deck is rebuilt, the cockpit floor as well, while the transom is entirely lined to regain its solidity. The gluing was done with epoxy, a resin that is perfectly waterproof but expensive and delicate to use: the dosage must be very precise and burrs must be avoided at all costs, as the product becomes hard once catalyzed. All the parts of the old laminate that have a doubtful adhesion are redone, also with epoxy. Finally, the concave corners of the cockpit are reinforced and rounded off with elongated joints.
Epoxy surface protection
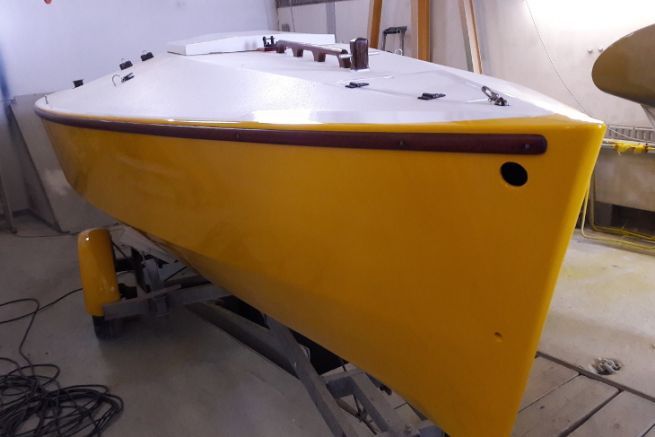
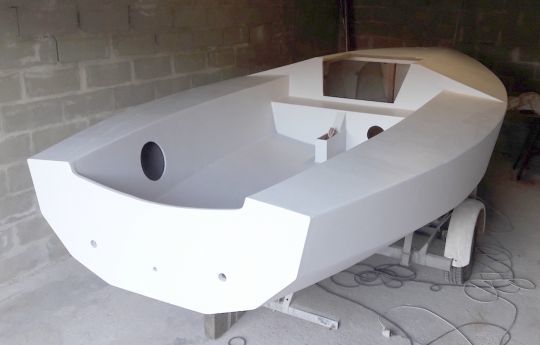
The whole is then coated and sanded, then re-coated and sanded again... The care taken at this stage is decisive for the quality of the final result! With its multiple repairs and the dull aspect of the stripped surface, the boat looks like a real patchwork and it is very difficult to visualize where we are working. So I apply a first epoxy treatment with a roller, which has the triple advantage of protecting the wood, of better discerning the parts to be coated and, above all, of offering a motivating vision of the progress of the work.
In parallel and when my obligations keep me away from the yard, I take advantage of my free time to work on transportable parts and all those accessories without which a boat would not be what it is. I build a new companionway cover, lighter and better shaped than the original one, and I replace the aluminum companionway door with a new one in Plexiglas that will bring some light into the cabin. The helm and rudder are re-profiled and all the removable woodwork is sanded and painted or varnished.
