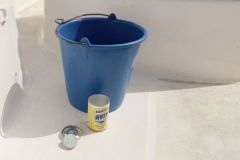
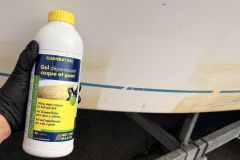
We sometimes tend to think that we just have to apply wax to the polyester hull of our boat to make it shine again. This may be possible on very new boats, but in most cases you have to go through a lot of steps before the waxing.
Let's say you have a very large boat with a hull that has become almost floury. This is called gelcoat oxidation. Once the beautiful one is ashore, the first thing to do, in order to determine the work to be done, is to do a little test.
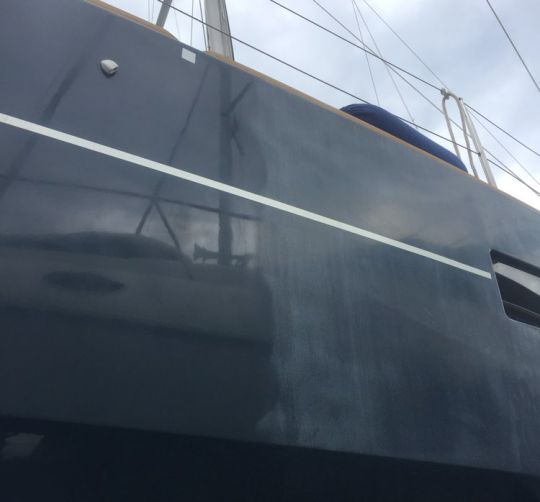
We start with the least aggressive method and work our way up to the one that requires more work:
- Wax application by hand
- Machine polishing (eccentric) with wax or fine polishing liquid and foam
- Orbital machine polishing with abrasive polishing paste and sheepskin + Machine polishing (eccentric) with wax or fine polishing liquid and foam
- Wet sanding with abralon disc 500, 1000, 2000 and Trizact 3000 +
- Orbital machine polishing with abrasive polishing paste and sheepskin + Machine polishing (eccentric) with wax or fine polishing liquid and foam
If at each step you are not satisfied with the result, you will have to move on to the next method on another part to test it. So if your boat is very difficult to shine, which is often the case with coloured hulls, here is how to proceed in detail.
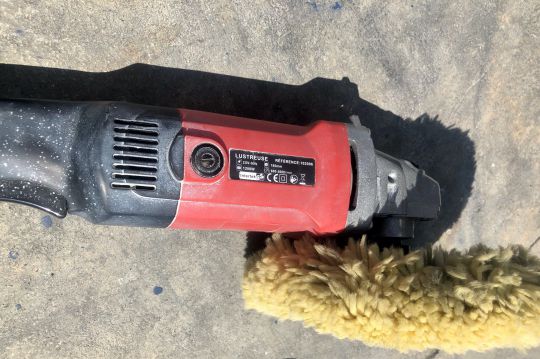
Material needed
- Orbital polisher
- Sheepskin
- Eccentric polisher
- Honeycombed foam
- Polishing paste
- Buffing liquid
- Micro fibers
- Water sprayer
- Abralon discs 500, 1000, 2000
- 3M Trizact 3000 discs
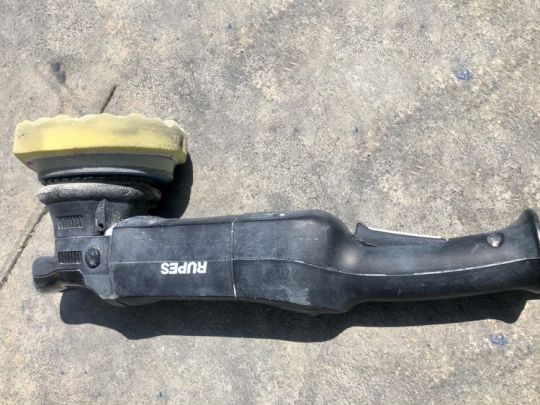
1 / Cleaning
Before starting, the first thing to do is to clean the hull with a brush and soap. The objective is to remove any roughness on the surface that would scratch the hull when polished.
For the most oxidized hulls, after wetting the hull, it can be brushed with a water/hydrochloric acid mixture. Be careful, at this stage, it is important to neutralize the acid by washing with soap immediately.
2/ Sanding
For the most oxidized hulls, it will be necessary to go through the sanding stage. The objective is to get rid of the top layer of gelcoat. A boat polish using this method will prolong the shiny effect, but on the other hand, the thickness of the gelcoat is reduced. Not to be done every year therefore.
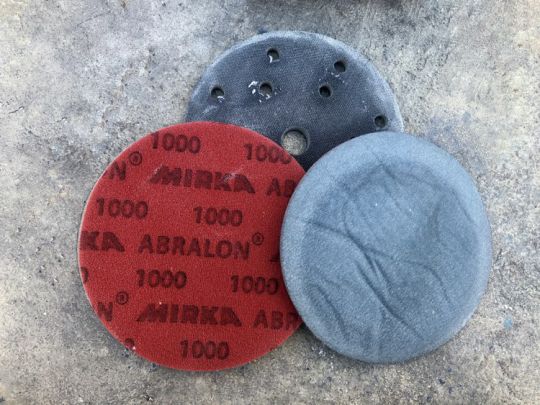
Take a sprayer filled with water and wet the surface to be treated, e.g. 1 x 1 m. With the orbital polisher and the Abralon 500 disc, at medium speed, sand the section, making sure it never dries. Do not hesitate to make 2 or 3 passes by spraying water each time. Do the same with the 1000, 2000 and 3000 discs .
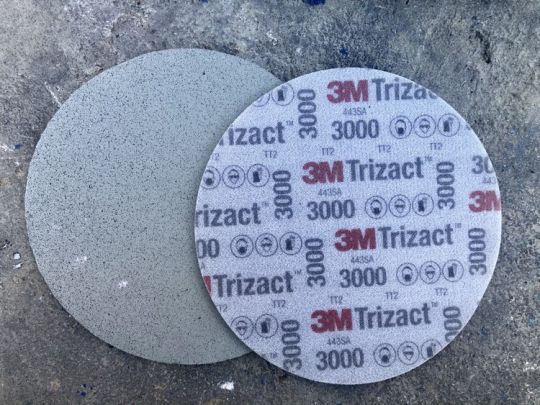
...yes I know it's long, but it's the price to pay for being the star of the anchor !
3 / Polishing
Then you will take a microfiber folded in 2 or 4 to apply the polishing paste on a surface of about 50 X 50 cm. Use the same polisher as before, this time equipped with a sheepskin and polish the shell until the polishing paste disappears completely and the surface seems perfectly shiny (this is not yet the case, we will see).
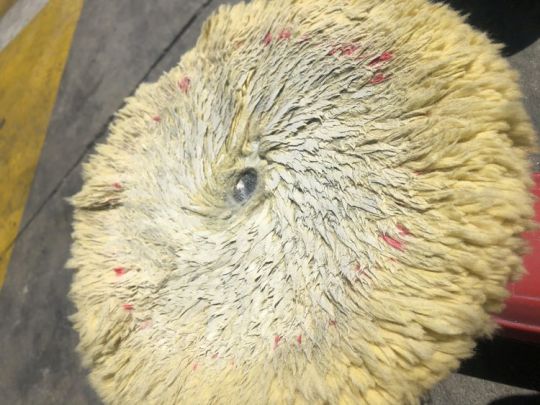
Always at medium speed, be careful not to stay too long in the same place at the risk of burning the gelcoat.
If the temperature is low, you can work on larger surfaces, but if the temperature is high, you will have to spray water on your section to prevent the polish from drying, which would make it less effective.
4 / Polishing
At this course you should already be proud of yourself and give yourself a little coffee break and a croissant for energy. Yes, because it's not over yet! Indeed, the surface currently looks shiny and will suit most people, but we are perfectionists.
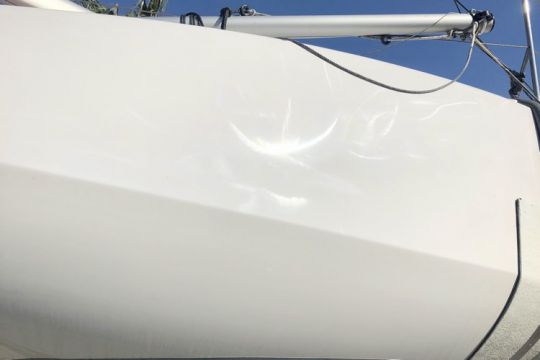
When you look at the hull at certain angles to the sun, there are what are called holograms, no there is no bluish character appearing on the hull, they are unsightly little whirlpools created by the orbital polisher. To get rid of the holograms, we'll have to finish with the polishing stage.
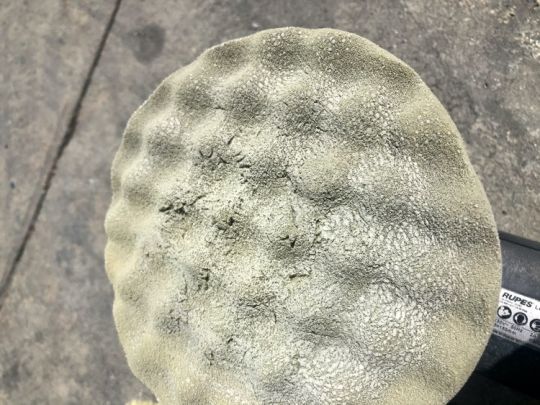
With an eccentric polisher equipped with a polishing foam (rather soft and honeycombed if possible), you will proceed in the same way as during polishing. The only difference lies in the speed of the polisher: low at first to make sure the liquid is well spread, then very fast to dry it and finish the polishing. After polishing the section, it will be necessary to get rid of the remains of polishing liquid with a clean microfibre.
5 / Wax finish
This step is not mandatory, but if you want to do it thoroughly, congratulations! The wax will, for a while, protect the hull from UV rays and provide a very water-repellent surface, but it will also provide a slightly deeper shine. Here no machine is needed, everything is done by hand with 3 microfibers.
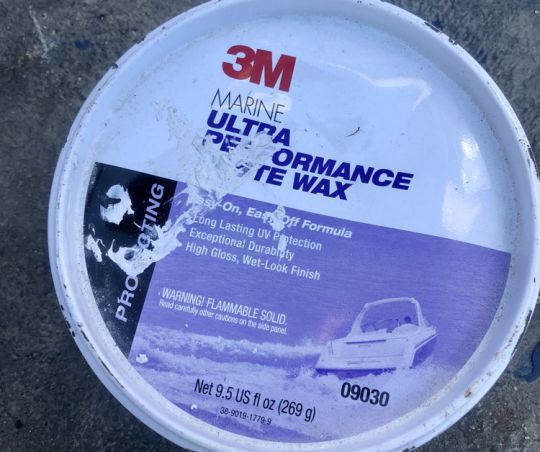
The wax application should be done on the side in the shade of the boat for a faster and less stressful work for your arms and shoulders.
- Apply the wax with the first microfiber with circular movements
- When the wax is dry, remove it with the number 2 microfiber
- With the number 3 microfiber, which must remain very clean, finish to remove any wax residue and dust.
If your boat is not shiny after that, you might want to consider painting or covering it up, because that's where you've done your best.


