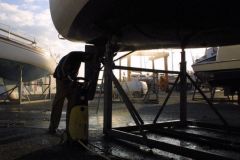
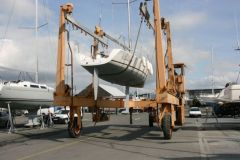
First, the fairing!
Before putting the boat back in the water, it is necessary to go through the careening process. Find out more, 10 steps to a successful fairing . The last coat of antifouling is dry, spring is on its way and your boat has ants in its keel.
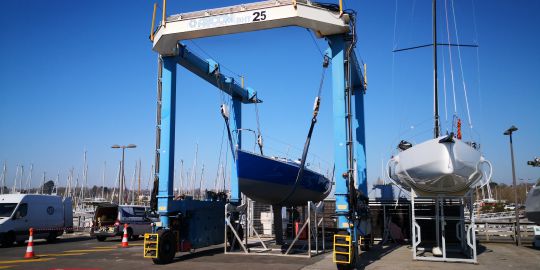
Lifting your boat with a crane
First of all, the backstay of the mast will obstruct the hook of the crane during handling. It should therefore be disconnected from the deck. Having probably had to slacken the rigging for wintering, it should be easy to remove the clevis pin. Once this is done, the crane operator can finally position his hook above the boat.
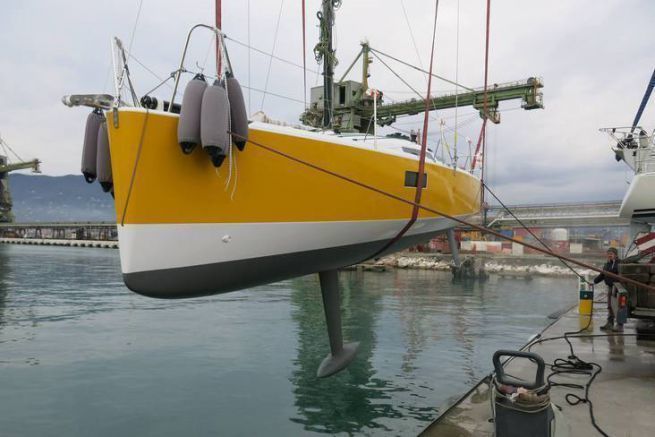
He will then put the straps at the foot of the boat. For this, a crew member will have to climb aboard (don't forget the ladder!). From the deck, the straps are passed to him on one side so that he can attach them to the hook. In general, the straps are passed under the lines.
But if the crane is equipped with an X and your boat is narrow, the crane operator will advise you to run them outside the lines.
Lift the boat with a travel lift.
The travel lift is a mobile lifting device at least as impressive as a crane. This system, which requires a launching pit, is reserved for ports with very good handling infrastructures.
Its particularity is to be mobile. With this mobile lifting device, nothing is touched, neither the backstay, nor the aerials, nor the hawsers to guide the boat in the air.
The operator will position his travel lift on either side of your boat still on its cradle. The straps can move forward or backward and he will position them under your hull at the right place before lifting.
Position the straps in the right place
In order not to damage the boat during lifting operations, the positioning of the straps on the hull is fundamental. By supporting the weight of the boat on small surfaces, the compression forces will be important.
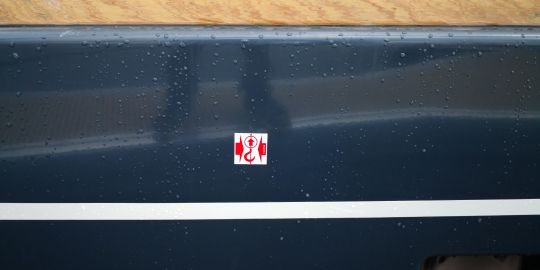
Sometimes you will find markings on the gunwale of your boat. They indicate the position of the straps for lifting. On new boats, this marking is now standardized. And if you don't have any markings, don't panic!
You'll be looking for a solid part of the hull, such as an area reinforced by a bulkhead or mantle. To find this reinforcement from the outside, you'll probe the hull with a solid, dense tool like a wrench. As you tap the hull, you'll determine the location of the reinforcement by the sound, which will become more "solid.
Once the straps are in the correct position, you must check that they don't get in the way of the depth and speed sensors. If you have a propeller shaft, you will obviously have to pass the strap over it to avoid damaging it.
Tensioning of the straps
The boat is lifted gently to check the longitudinal balance. The boat should be relatively in line. For example, the boat should not nose down excessively. If the balance is not good, simply move the straps a few centimeters.
Paint touch-ups
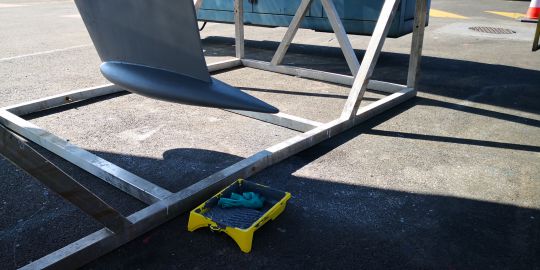
Remember that not long ago your boat was on a berth in the middle of an antifouling painting session. You put 2 coats everywhere except on the skids and under the keel. The lift is the only opportunity to do this touch up and the crane operators will be patient.
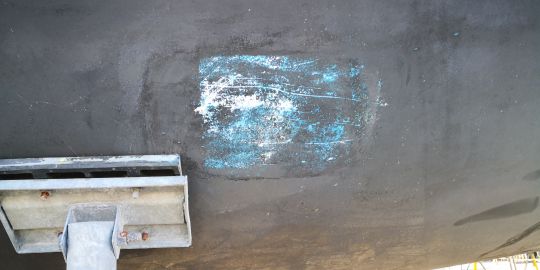
For touch-ups, remember to take 240 grit sandpaper to prepare the surfaces to be painted, your antifouling pot and the necessary painting accessories: tray, roller(s), gloves, masks and goggles.
The paint dries quickly, so you can put it back in the water quickly after the final touches.
