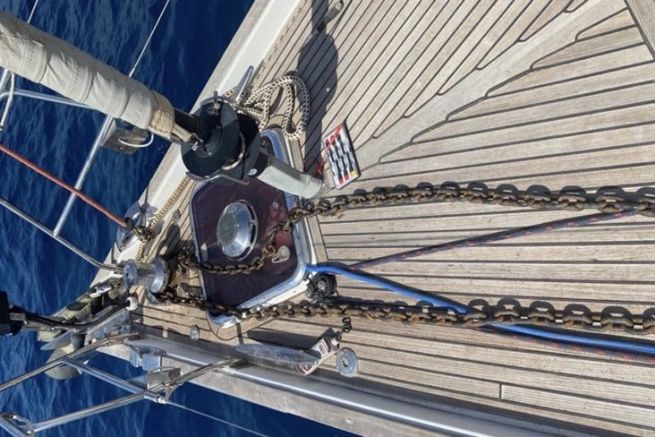
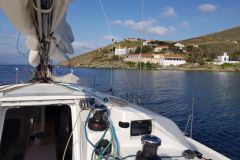
After a month of summer sailing on the Ajité Crew, the last anchorage was one too many for the windlass. As the crew prepares to weigh anchor to return to port... the electric windlass is no longer responding. It will take more than an hour to hoist the anchor with the help of a rope and the winches, metre by metre. Back in port, it's time to examine the windlass.
Here is a feedback that may help you solve your Electric Windlass problem faster!
Step 1: Engine Inspection
First we'll take a look at the condition of the windlass engine. Bad news, after 15 years of loyal service, the corrosion has increased, the engine is ruined. So we have no choice but to change it completely. Receipt of our new Lewmar GEARBOX 1800W 12V engine, we unscrew, we reconnect, we disconnect, we reconnect.
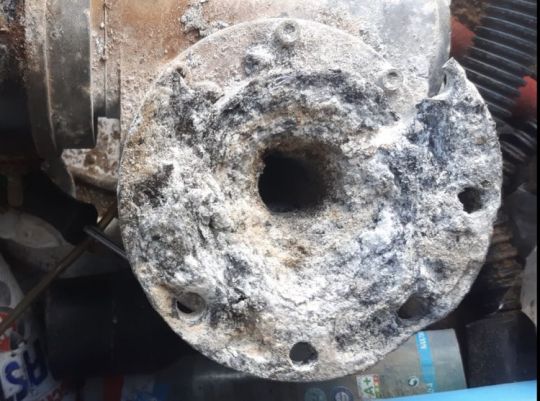
(NB: it's important to always take a picture before removing everything, it will be much easier to put the right elements in the right place).
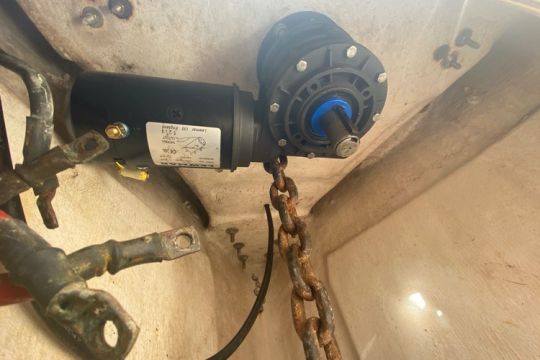
When the new engine was installed, it was noticed that the stainless steel threaded rods were too large and that they were in contact with part of the engine. They must therefore be sawn off.
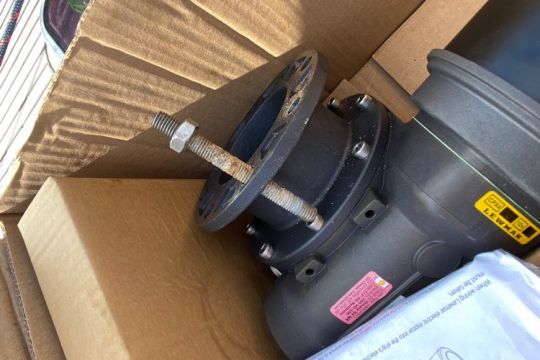
When the engine is changed, we also take the opportunity to change the control box supplied with the windlass engine.
We turn the power back on, it's time to test the electric windlass, we press the up and down button on our windlass control and ... it doesn't work!
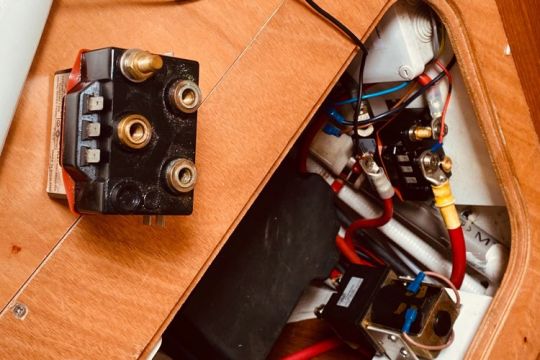
Step 2: Checking the windlass control system
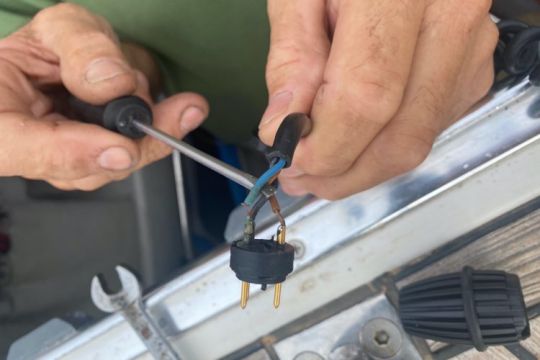
So we're moving on to the second stage. We're going to check our two-position Quick remote control (UP to raise the anchor, DOWN to lower it). Opening the remote control, we discover that the cables are damaged, corrosion has also damaged the connections. It is therefore necessary to use specific pliers to strip the 3 wires. We will also use a metal brush to clean the corrosion and considering the state of the plug, we decide to weld the electric cables to it with a metal rod. Of course, when we take care of the electrical system on the boat, we don't forget to make sure that we have a circuit breaker before touching the cables..
Now that the remote control is fixed, we tell ourselves that now it's ok, it's going to work! It's time to go to the test ... You can hear a little click, but the windlass still doesn't turn! We think that a manual windlass would be easier to repair.
Step 3: Checking the relay
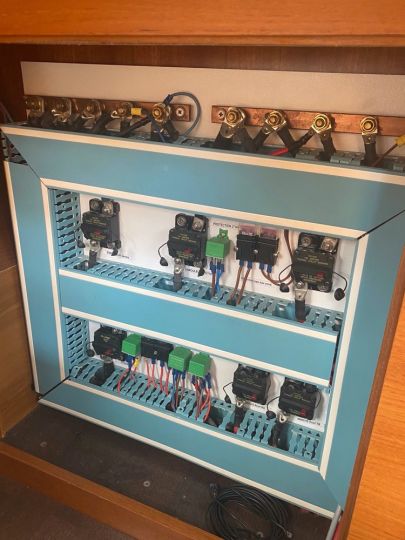
An electromechanical relay is an electrical device that distributes power based on an order issued by the control part. The relay allows the opening and closing of an electrical power circuit based on logical information. If the windlass motor has been changed and the control has been repaired, then there must be a problem with the relay. The information must not be arriving correctly. So we decide to change the relay of the electric windlass, we do a test and then TADAM... it works!
Windlass Relief Tip: The Iron Hand
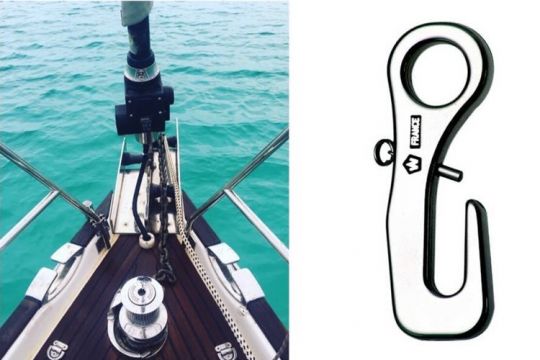
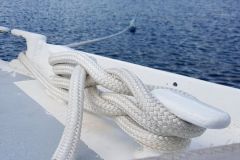
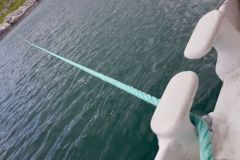
The Iron Hand, also known as a mooring hook, is intended to relieve the windlass and increase safety at anchor. Several techniques exist for the installation of this iron hand: with two mooring lines, with a mooring line passing through the davit or a mooring line passing through the starboard or port fairlead, in all cases, it will be fixed to the cleats (the areas of the boat most reinforced during construction). The Iron Hand will relieve the tension on the chain and thus on your windlass when the wind and swell rise at anchor. It will also prevent wear and tear on the gears. Furthermore, the Iron Hand will prevent the chain from unwinding completely if the windlass breaks and this is preferable especially when you are caught in a white squall with 60 knots of wind for example in the middle of the night...
You'll understand why we put it in place every time now!

 /
/ 