As soon as it leaves the salt water, the engine begins to oxidize. It must therefore be rinsed as soon as possible. This work is simple and can be done with the tool kit supplied with the engine. Still add a Navy6 water repellent aerosol.
An outboard doesn't like sea water
Whatever the cause, we must act quickly.
The immersion time does not matter: a few seconds or an hour the result and the treatment will be the same.
It is the time between the time you take it out of the water and the time you start rinsing that is important. We must act quickly! Indeed, as soon as it leaves the salt water, the metal begins to oxidize. Ideally, it should be soaked in a barrel of fresh water and taken to your dealer. Difficult maneuver... Failing that, you must intervene and desalinate it before restarting it
2 or 4 times: same procedure
The detailed steps below for restarting an outboard that has fallen into the water are performed on a 2-stroke engine. They will be identical on a 4-stroke engine with an engine oil change. To replace the oil that would have taken water with a clean oil.
6 steps to restart your engine:
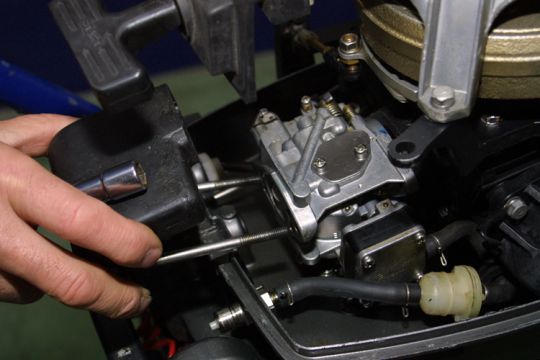
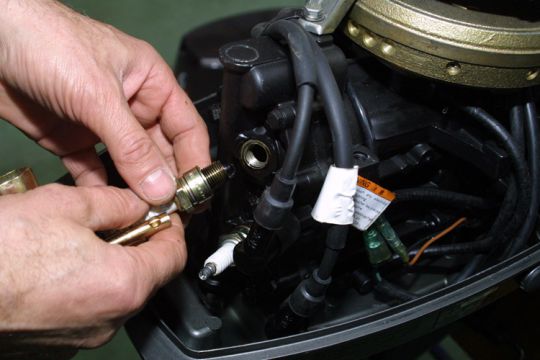
1 - disassembly
To thoroughly rinse the entire engine, some parts must first be dismantled. We start with the launcher to reach the coils of the magnetic flywheel just below. Both the air filter and the carburettor(s) will be removed. Ditto for the candle which will allow by its orifice to rinse the cylinders.
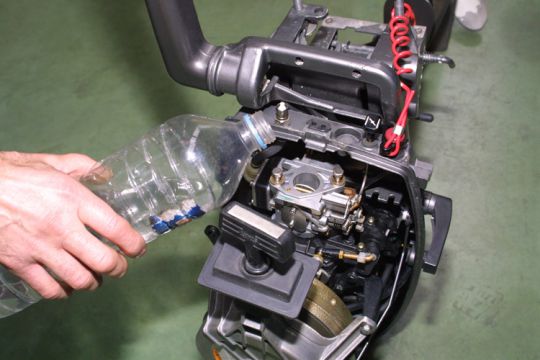
2 - General rinsing
Using plenty of fresh water (a good spray is very appropriate) flush the entire engine block. Do not hesitate to turn the magnetic wheel to let water penetrate everywhere. You can also put the engine down so that the water penetrates well. Even if it impresses, do not hesitate to fill the cylinder(s).
For this large rinse, fresh water is sufficient, but there are products like StopSel which increases the quality of the rinse by quickly and completely removing salt.
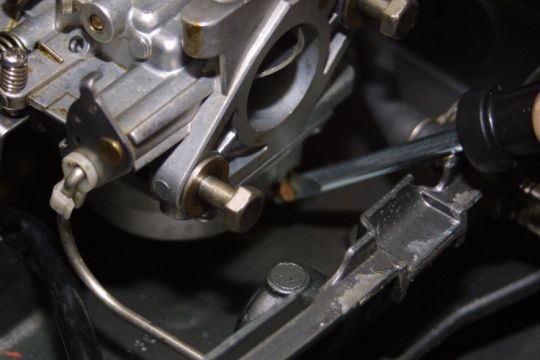
3 - Emptying the petrol
If the engine is equipped with an integrated tank, it must be drained. The easiest way is to take it apart to put it upside down and empty it completely. On the carburettor side, the fuel is drained by unscrewing the drain screw at the bottom of the tank. The fuel supply is also disconnected to blow into the pipe and empty it completely.
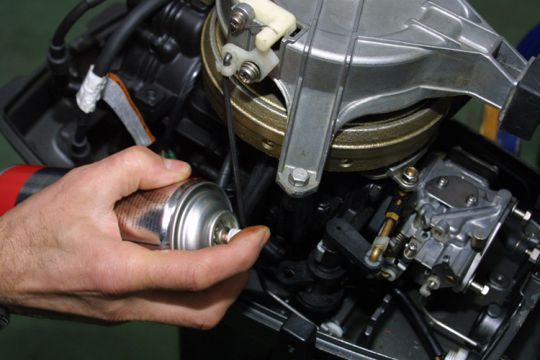
4 - Drying and lubrication
To remove water, use a water-repellent product. The Navy6 presented in bomb is particularly recommended for this use. Spray all internal and external mechanical parts of the motor. Steel parts such as launcher springs, for example, require special care.
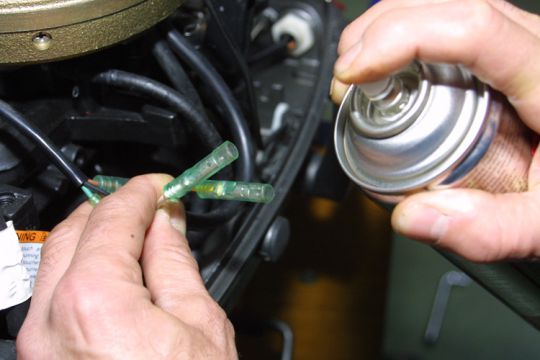
As with the rinsing one makes turn the engine with the wheel in order to sprinkle well all the engine. Take advantage of this to disconnect the electrical terminals and spray them inside. The same goes for the candle caps.
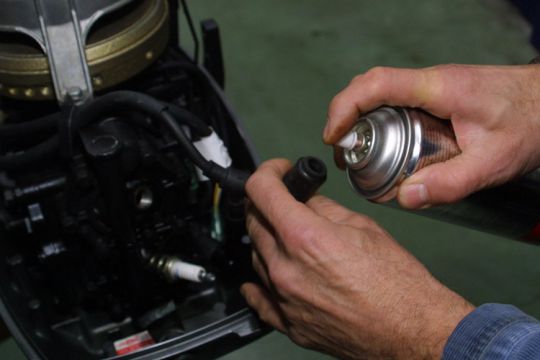
5 - Reassembly and lubrication
Before reassembling everything, it is necessary to dry, in particular the cylinders. For that, one uses the launcher and one actuates several times the engine with the spark plug always disassembled. To ensure lubrication, 2-stroke oil can be put inside the cylinder. The candles can then be reassembled.
All other dismantled parts will be well greased at each thread or thread pitch.
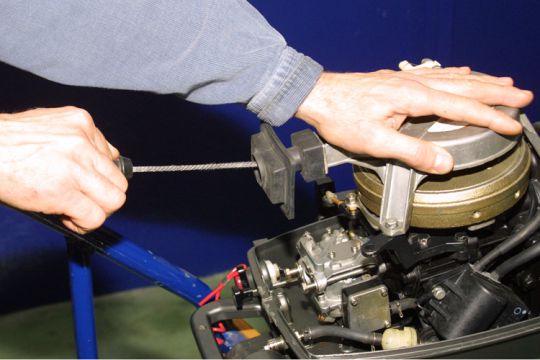
6 - Restarting
For the first refuelling, after the accident, use a mixture richer in oil (at least 2%). The engine will smoke a little more, but lubrication will be better. Once the engine has started, let it run slowly for one hour. By heating, it will dry the water that would remain hidden. Then you can renavigate.
