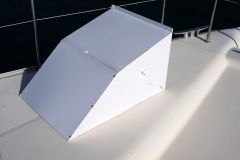
Before your tiller gives in your hands, it will give you some signs of fatigue. Sometimes there is abnormal flexibility. Most often, black marks around the screw holes indicate water ingress, and therefore rot. And that's of course where it breaks. At sea more than anywhere else, prevention is better than cure. If your bar seems tired, replace it without delay.
Sometimes it is a change of rudder shovel that imposes a wider or narrower bar: this is a second reason to get a new bar, even if a set of shims can solve the problem.
And the sporting use in regattas of a unit hitherto little solicited can reveal a sub-sampling of the original bar. All on with four men at the rappel and a good chop to negotiate, a tiller takes much more effort than during a peaceful family navigation. In that case too, to your planes!
Making a tiller yourself is within the reach of any handyman, especially if your wood supplier can roughen and plane the piece of wood. We redid the bar of a Muscadet with a wood specialist: Marc-Etienne Rohmer.
"On our sailboats, teak and mahogany - sapelli or sipo - are the most used species. The first requires no protection. It quickly turns grey but remains very stable. The second will preferably be protected by a varnish. In the series of exotic woods, padouk is a species with qualities very close to teak. Brut, this very red wood sometimes rebukes. This colour can be preserved by applying a colourless stain. On the outside, the colour of the padouk quickly turns grey. I am sensitive to the ecological impact. If teak seems to me to be a must for the deck, an acacia bar is a good choice. It is a local species, more brittle than exotic woods and a little less stable, but naturally imputresible. There is therefore no need to protect it. Another alternative is ash. This highly elastic wood was used for skis and tennis rackets, but it is brittle and cannot stand to stay outside without protection. It needs to be varnished
My advice: take special care of the end of your bar, that's where you put your hand!"
Choose your wood
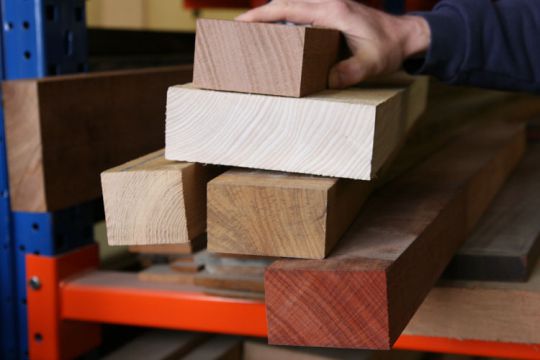
We have gathered five species of wood for the same bar: at the top, mahogany, just below, acacia. Down on the left, ash. On the right, the teak wood. Count 20 euros for a raw blade for one of these 4 species. Below, a padouk blade, three times cheaper...
Take the measures
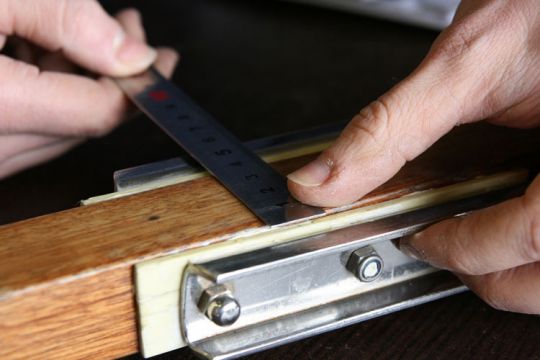
We start with the measurements: width above the rudder shovel and length, the rest is free or almost free. The easiest way is obviously to take the dimensions from the old bar... and correct its defects: here, the new part will be wider to do without shims and more rigidity.
Sawing and planing
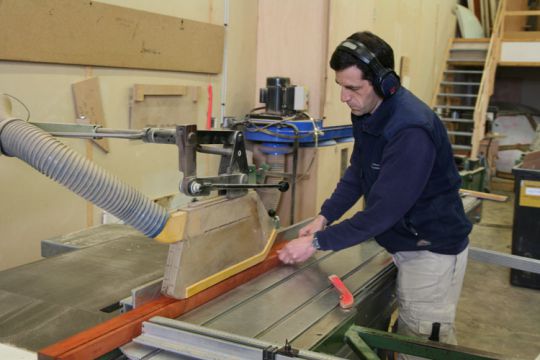
Using the woodworking machine, the workpiece is planed on one side and planed on the opposite side. A margin of 1 mm is retained to plan both sides of the planed surface. It is advisable to ask your wood supplier to carry out this operation. From that point on, there is no need for specialized machines. An ordinary boater can get by with a sharp hand plane and a little elbow grease.
Draw
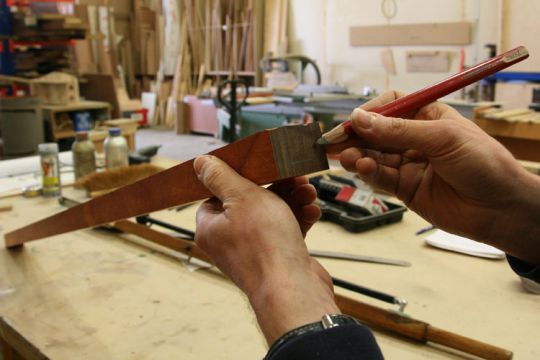
For a good grip, the handle does not remain a rough rectangle of 55 by 45 mm... One traces with a pencil the part which one wishes to preserve. Same on the sides of the bar. Outside these marks, the wood will be removed.
Planing
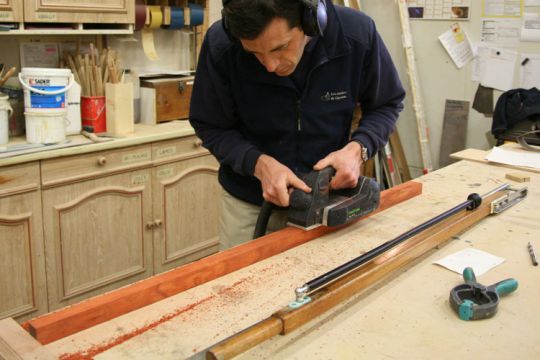
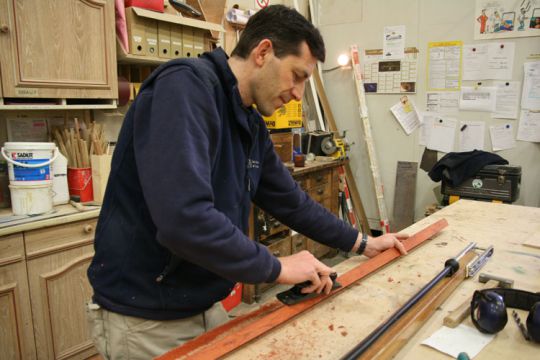
Electric or manual planer? If you have the first, it is still easier (and especially faster). Set it to a cutout of 0.5 or 1 mm max. Small passes are always made to avoid removing too much material. When you get very close to the pencil line, you go to fine adjustment, 0.2 mm.
Round angles
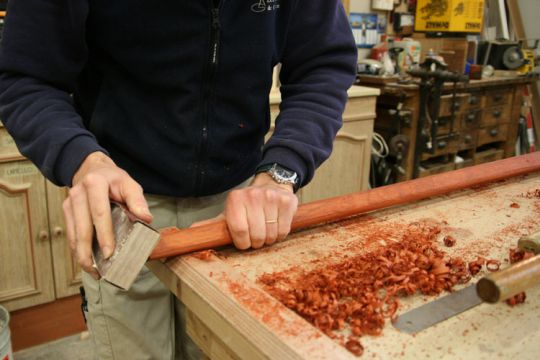
To round the corners, we use a hand plane. For a good job, remember to settle down and block the room. On solid wood, there is often a direction of planing, which is sometimes reversed from one side to the other. Carefully monitor the surface condition and create a 5 mm flat.
Sand
For the finishing, 100 or 120 sandpaper is used. The sanding block is perfect for flat areas, but for corners, use hand held paper alone. Beware of blisters for small fragile hands! For woodworking, it's over.
Drill
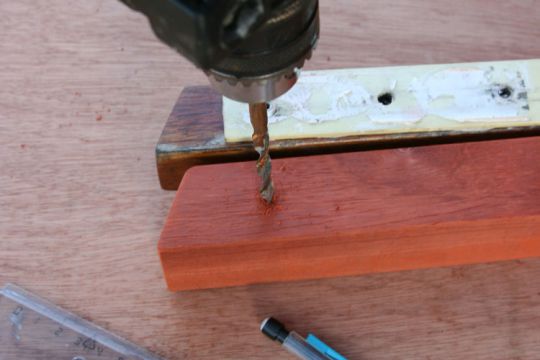
Use the old bar to carefully trace the holes in the fittings. To avoid errors, mark and drill on both sides. This will prevent you from finding a hole that is 5 or 8 mm offset from the fitting.
Rise up
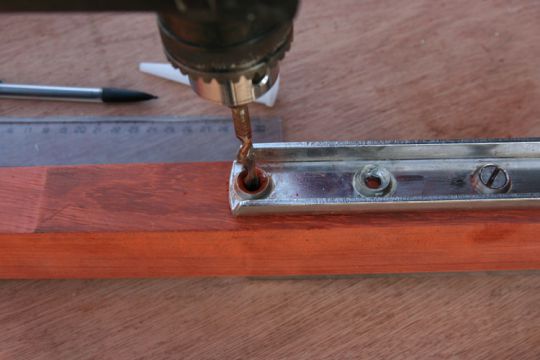
Start installing the fittings from the first hole drilled. Remember to apply Sika on the threads its screws. All you have to do is drill the farthest hole in the wood, always on both sides. Fit screws and nuts and finish the same way in the middle.
Installing the stick
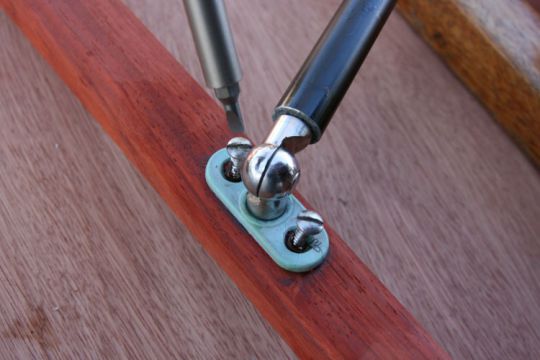
You still like your stick? Is his joint in good shape? It's neither too big nor too short and doesn't get stuck in the transom? Then keep it. Otherwise, it's time to change. Drill pre-drilled holes with a wooden drill 1 mm smaller than the diameter of the screws. To avoid infiltrations, the screws are coated with Sika.
Attaching the autopilot
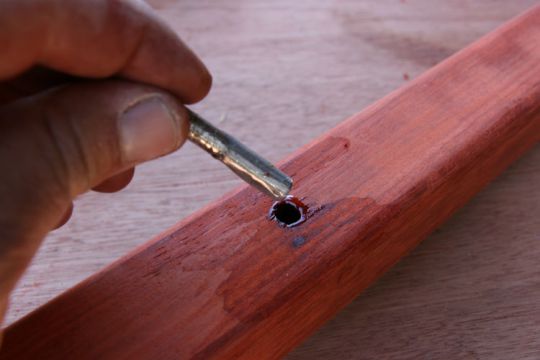
If your sailboat is equipped with a tiller pilot, drill at the manufacturer's location - or transfer the same location as the old tiller. The hole must be slightly smaller than the diameter of the stainless steel stud. Prepare an epoxy resin/hardener mixture to permanently bond the stainless steel nipple. Pay attention to the drying time, do not use the driver immediately!
It's ready!
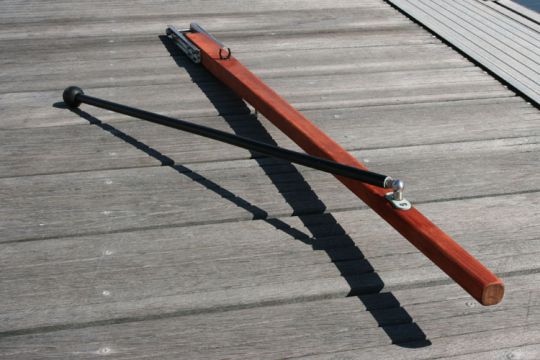
Fittings, screws, stick: all the elements of the bar are in position. All that's left to do is to put it all back on the rudder head. Use a lock nut for safety and especially not to overtighten: the bar must be able to be raised without effort... but to hold in place with the chosen angle.
