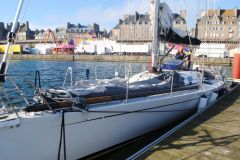
Stratification of the bathing platform
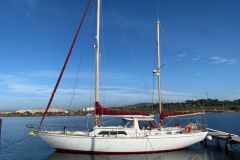
Salvaging old bulkheads cut out during the interior modification of the sailboat, Matt continues to work on Duracell's transom to make it a 60-foot cruiser. After lengthening the cockpit floor, it's time to make the step that will lead to the water.
The elements are sanded to remove the paint and find the necessary grip for the lamination. They are then pre-assembled and laminated on the outside to ensure the right angle. Once cured, Matt removes the assembly to laminate the inside face, but not without first setting a fillet radius to better transmit the forces. A quick bond is finally made, to avoid the nasty surprises of a filled epoxy that quickly sets in the summer temperatures.
Parts to accommodate backstay chainplates
In the next, more informative episode, Matt tackles the transom cheeks that will house the backstay chainplates. He starts by making an ingenious tool, using a bastaing to cut out the back side of the planking, making sure it's a single plane, in line with the future backstay strands.
He then cuts the geometry of the cheeks from Coosa Board, a pre-assembled foam and fiberglass complex. The choice of material guarantees a better fit for this critical area of the boat.
Fiberglass chainplates
To attach his two strands of backstay, Matt makes monolithic fiberglass chainplates. The very thick piece is laminated directly into the thickness of the bulkhead. A hole will allow a dyneema loop to be passed through it, blocked inside the boat by a dog bone. Matt concedes that the solution will not be perfectly watertight, but has the advantage of simplicity and low cost.
Before gluing the cheeks, Matt finishes the edges with a glass cloth joining the inner and outer skins.


